Local Configurations 49
Border Figure 4-33
Click Left to complete the left border setting. Step 3
The PTZ control panel is displayed.
On the PTZ control panel, use the direction buttons to set the right border. Step 4
On the PTZ control panel, click Set > Border > Right. Step 5
4.2.2.4 Calling PTZ Functions
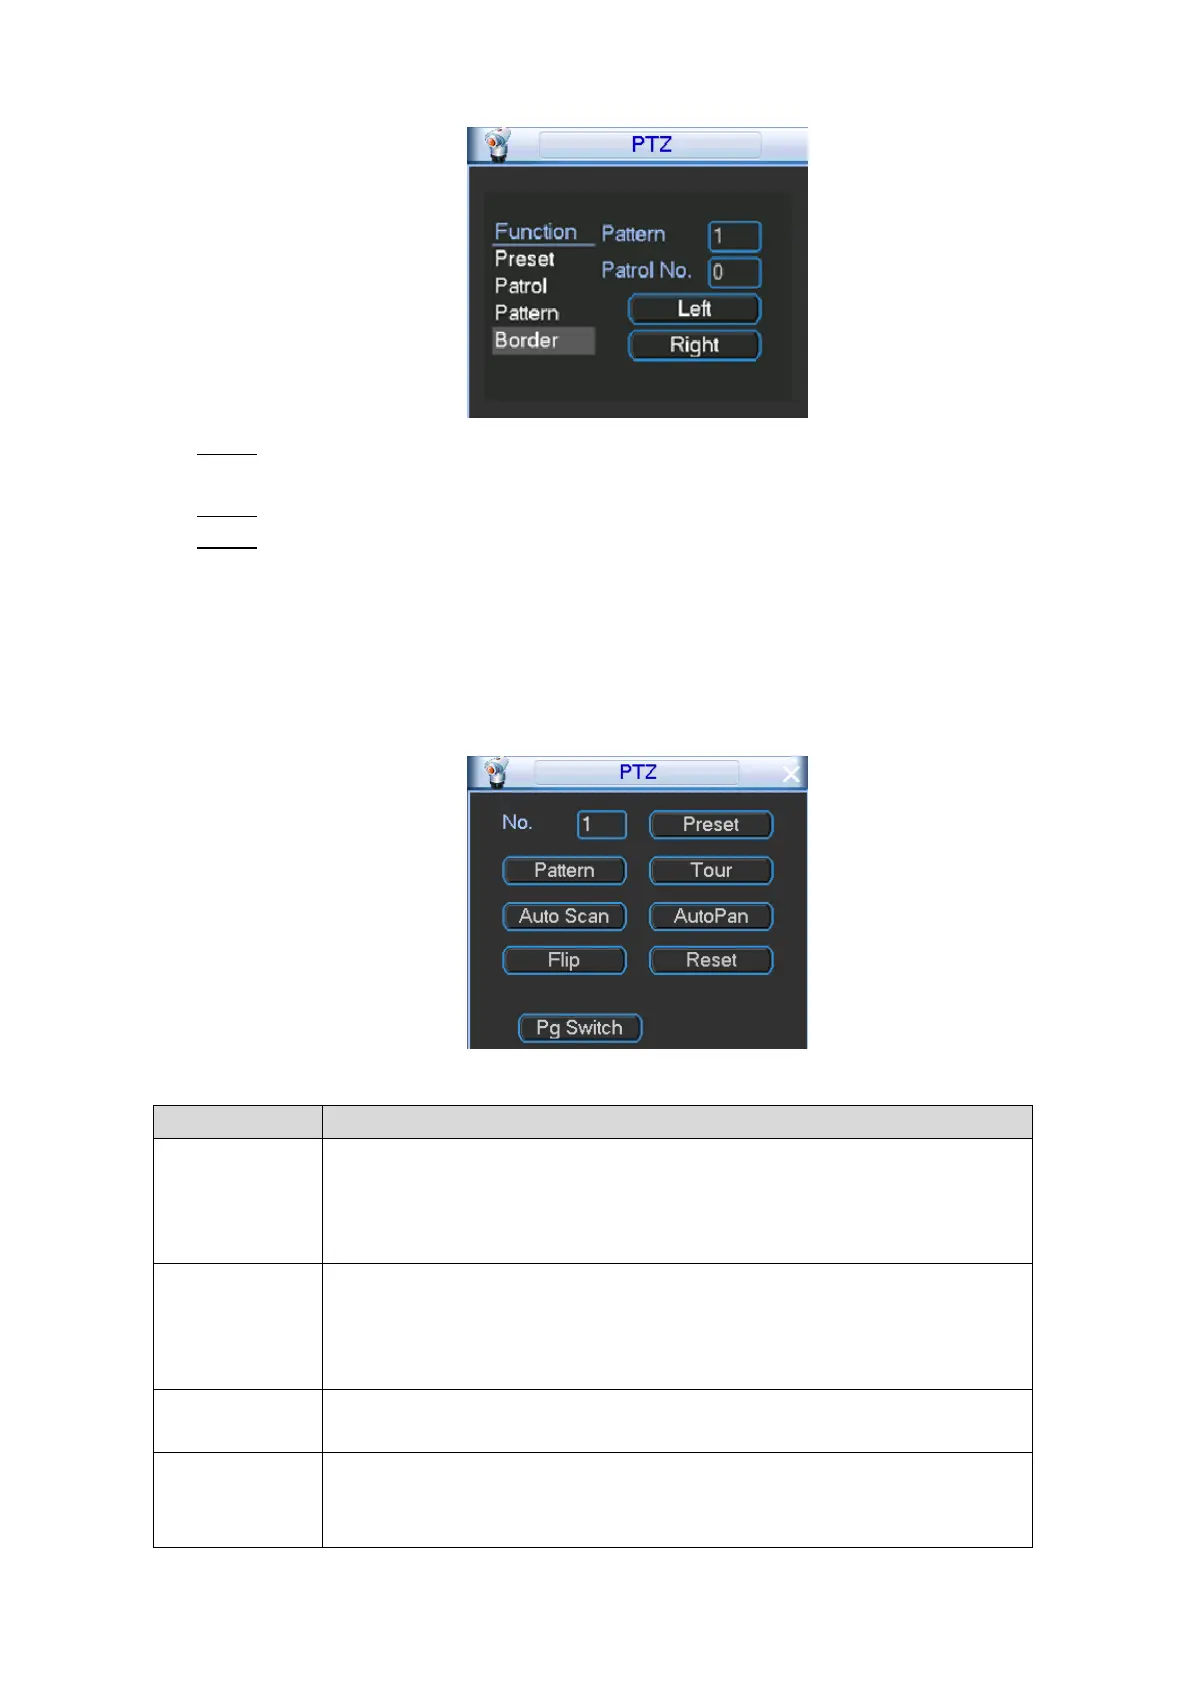
On the PTZ control panel, click Pg Switch, the PTZ function calling interface is displayed, see
Figure 4-34. For details, see Table 4-13.
PTZ functions Figure 4-34
Table 4-13 Function operations
In the No. box, enter a preset number, and then click Preset. Then you
can quickly move the PTZ camera to the corresponding position. The
preset includes the information such as horizontal angle, lateral angle, and
focus of PTZ camera.
In the No. box, enter a pattern number, and then click Pattern. The PTZ
camera repeats movement according to the configured operations. The
operation records include the information such as the manual operations
and focus adjustment.
In the No. box, enter a tour number, and then click Tour. The PTZ camera
repeats performing tours among the configured presets after configuration.
In the No. box, enter an auto scan number, and then click Auto Scan. The
PTZ camera automatically scans the configured left border and right
border after configuration.
 Loading...