Figure 20. Installing the system feet
Next steps
1 Place the system upright on a at, stable surface, and rotate the system feet outward.
2 Follow the procedure listed in After working inside your system.
Caster wheels – optional
Removing caster wheels
Prerequisites
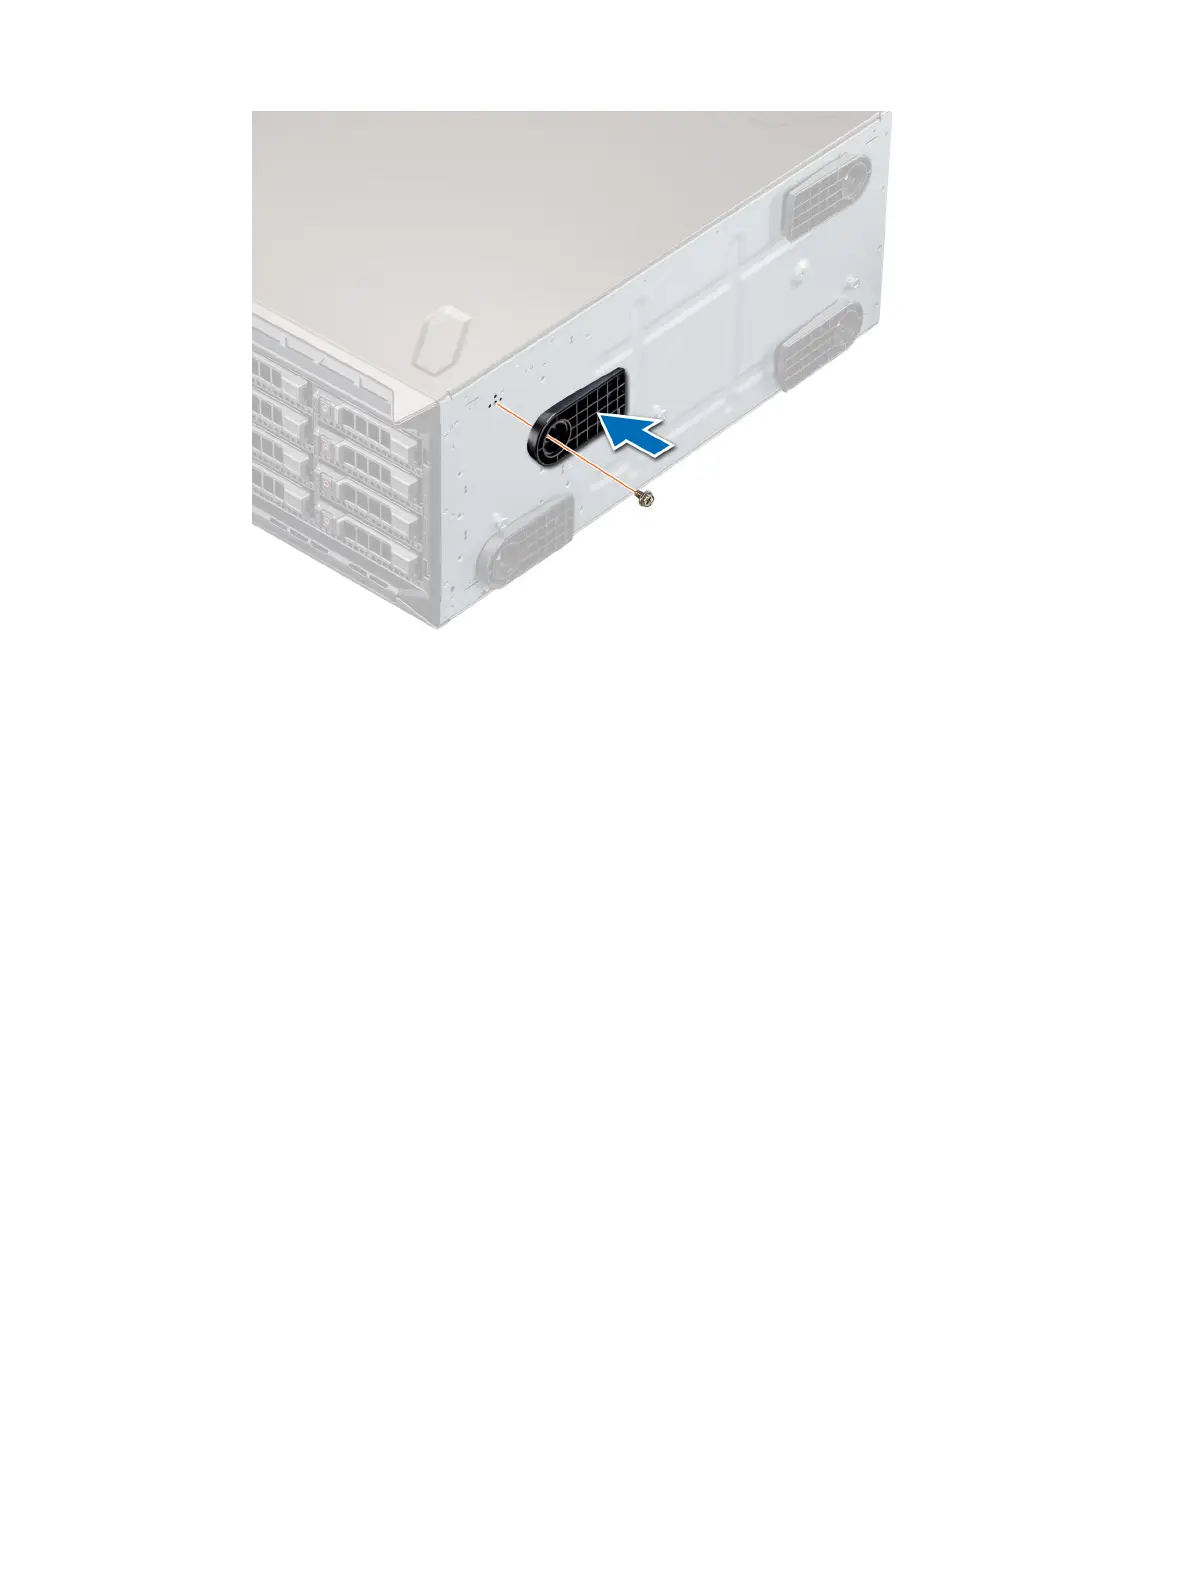
1 Follow the safety guidelines listed in Safety instructions.
2 Place the system on its side on a at, stable surface.
Steps
1 Using the Phillips #2 screwdriver, loosen the captive screw that secures the front wheel unit to the base of the system.
2 Push the front wheel unit toward the rear of the system to release the retention hooks, and pull out the front wheel unit.
3 Loosen the screw that secures the back wheel unit to the base of the system.
4 Push the rear wheel unit toward the front of the system to release the retention hooks, and pull out the rear wheel unit.
Installing and removing system components
47

 Loading...


