Next step
1 Replace or install the system board.
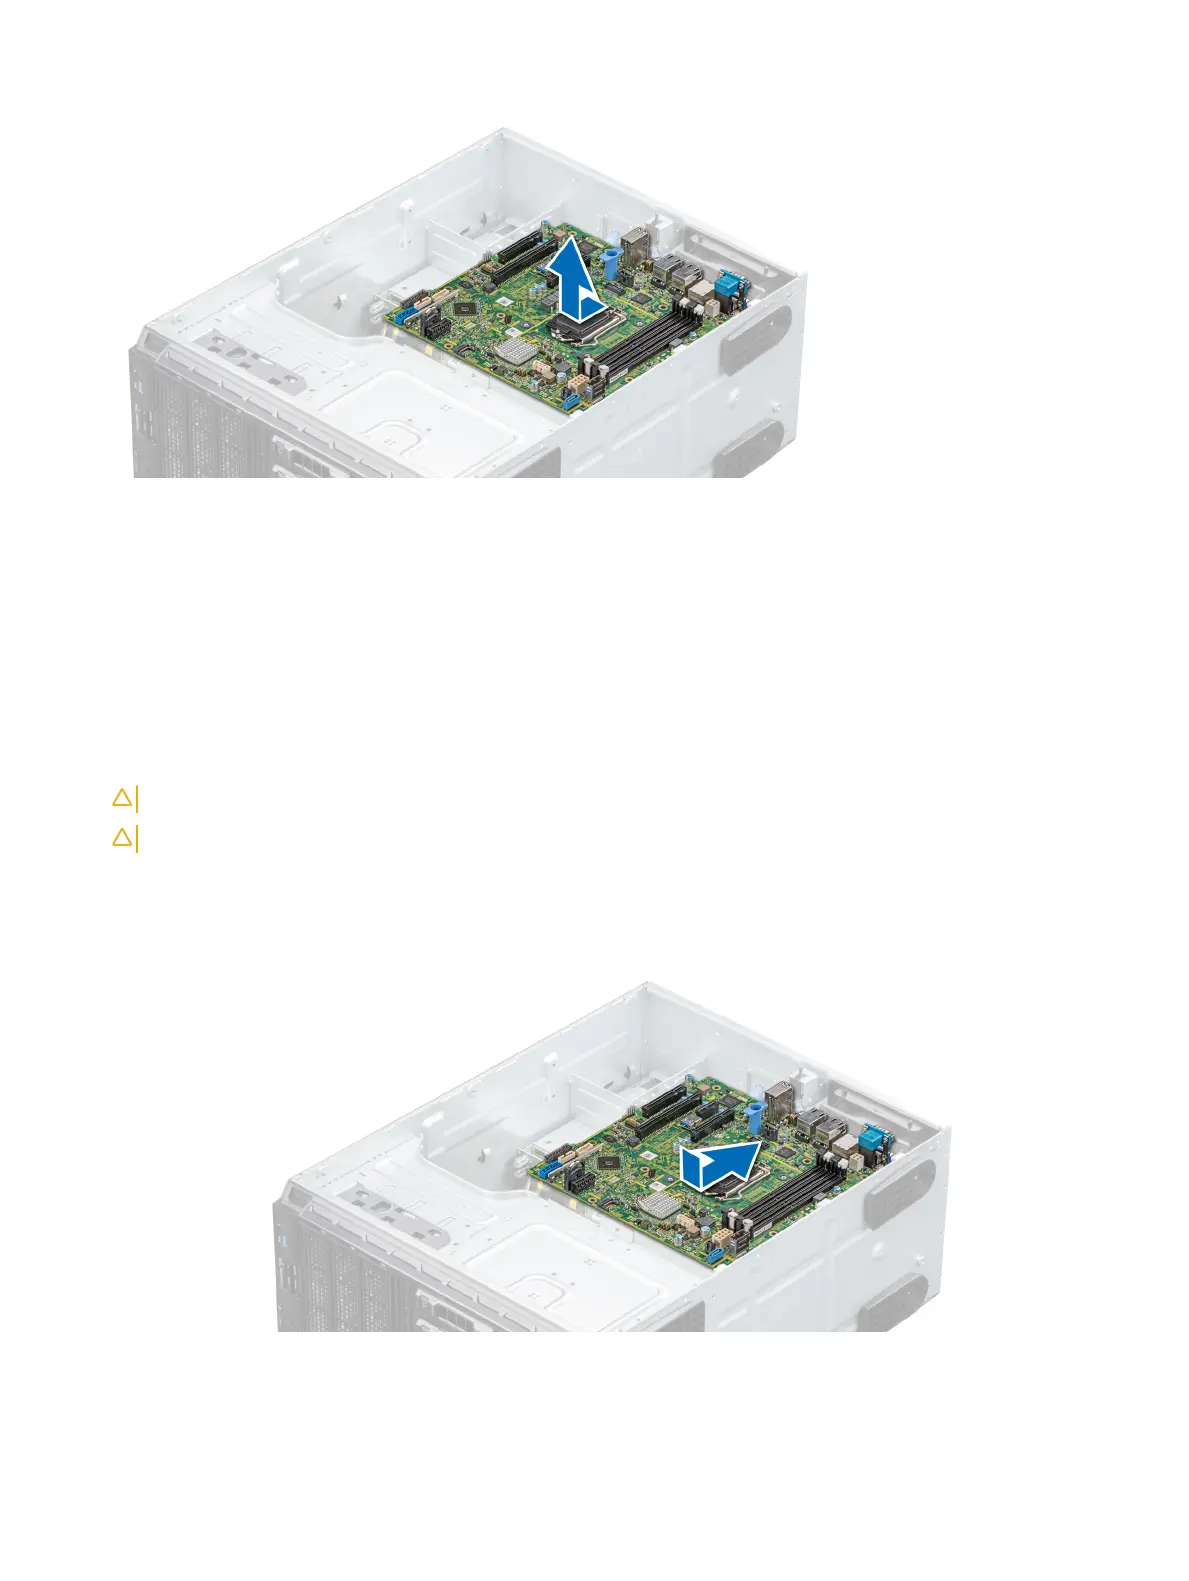
Installing the system board
Prerequisite
Follow the safety guidelines listed in Safety instructions.
Steps
1 Unpack the new system board assembly.
CAUTION
: Do not lift the system board by holding a memory module, processor, or other components.
CAUTION: Take care not to damage the system identication button while placing the system board into the system.
2 Holding the post, incline the system board, and lower the system board into the system.
3 Holding the system board holder, push the system board toward the back of the system such that the ports on the system board align
with the corresponding slots on the system.
4 Using the Phillips #2 screwdriver, secure the system board to the system with screws.
Figure 82. Installing the system board
Installing and removing system components
107

 Loading...


