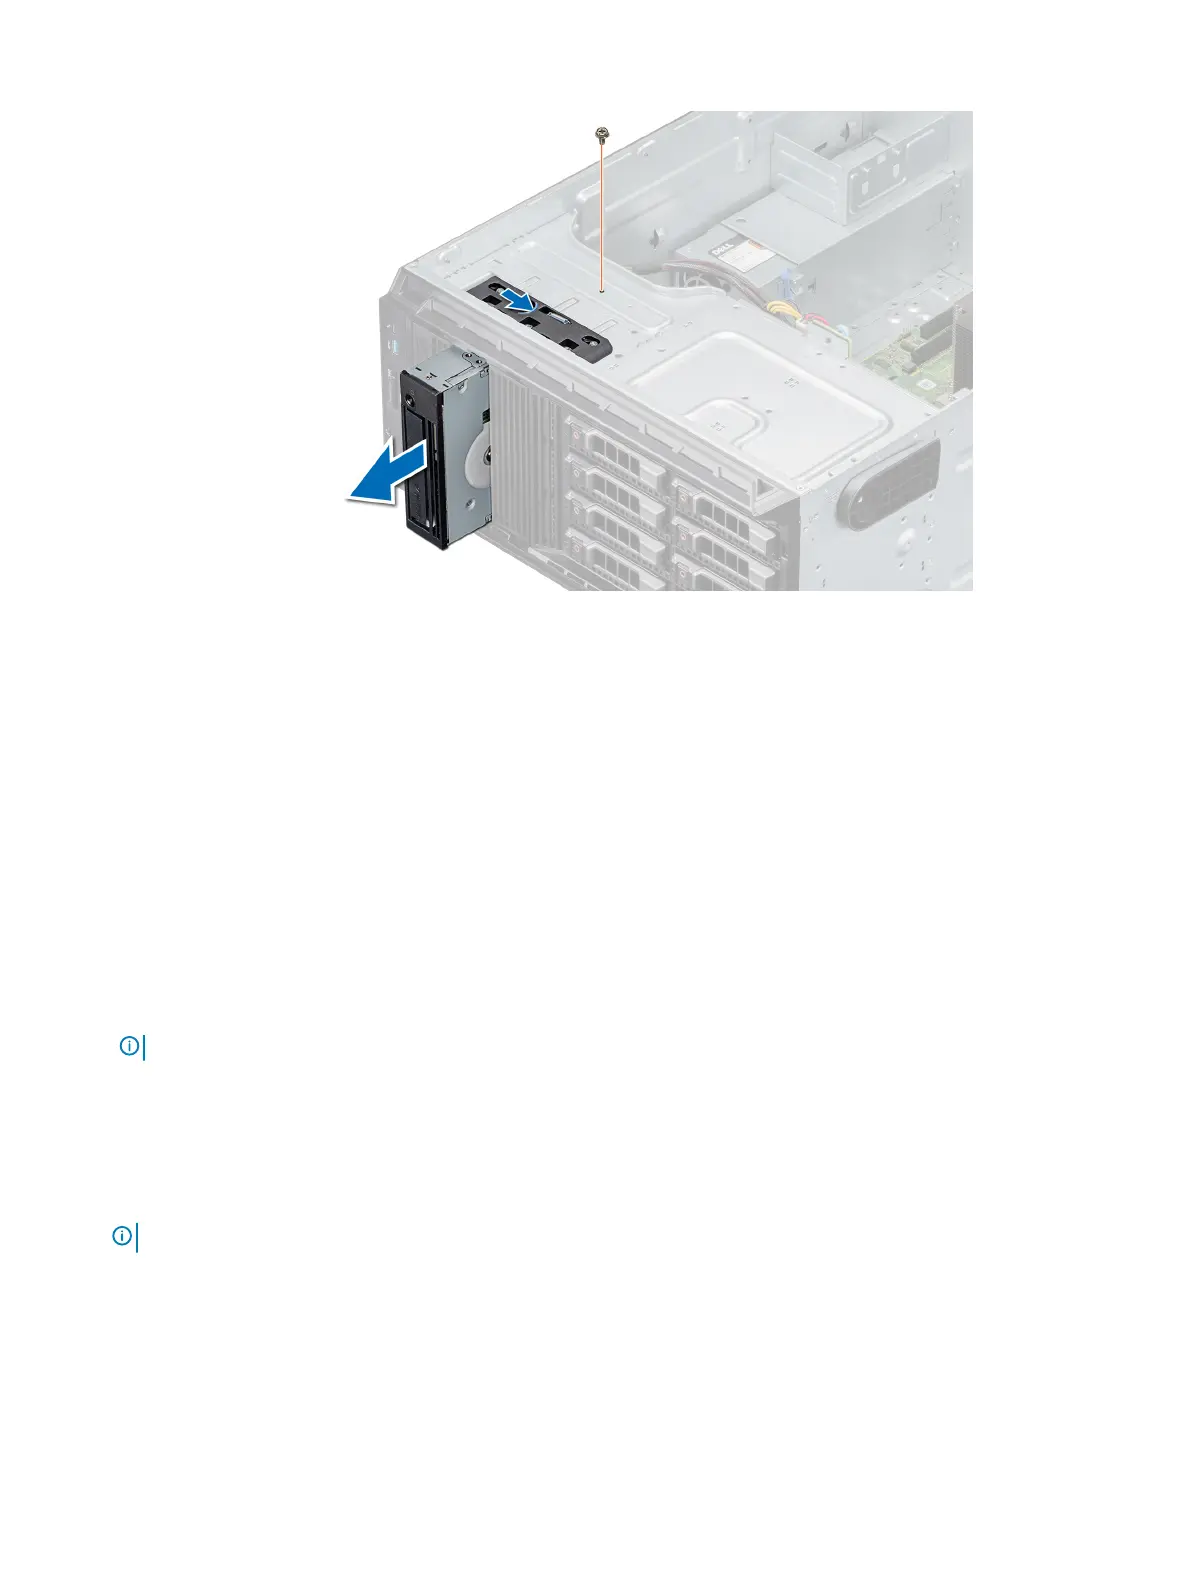
Figure 42. Removing the tape drive
Next steps
1 Replace the tape drive.
2 Follow the procedure listed in After working inside your system.
Installing the tape drive
Prerequisites
1 Ensure that you follow the procedure listed in Safety instructions.
2 Follow the procedure listed in Before working inside your system.
3 Remove the front bezel.
4 If applicable, remove the tape drive blank.
NOTE
: The procedure to remove the tape drive blank and the tape drive is similar.
Steps
1 Align and slide the tape drive into the tape drive bay until it clicks into place.
2 Using the Phillips #2 screwdriver, secure the tape drive to the drive bay.
3 Connect the power and data cable connectors to the connectors on the tape drive.
4 Connect the power and data cable connectors to the backplane and the system board.
NOTE
: Route the cables properly to prevent them from being pinched or crimped.
Installing and removing system components 69

 Loading...


