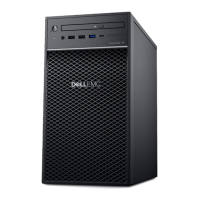
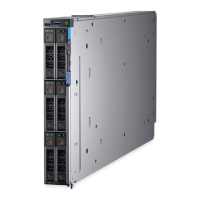
Figure 22. Removing the system cover
Installing the system cover
Prerequisites
1 Follow the safety guidelines listed in Safety instructions.
2 Remove the front bezel.
3 Power o the system and all attached peripherals.
4 Disconnect the system from the electrical outlet and disconnect the peripherals.
5 Ensure that all internal cables are connected and placed out of the way and no tools or extra parts are left inside the system.
Steps
1 Align the tabs on the system cover with the slots on the system.
2 Press the cover release latch, and push the cover toward the system until the latch locks into place.
3 Using a 1/4-inch at head or a Phillips #2 screwdriver, rotate the cover release latch lock clockwise to the locked position.
50
Installing and removing system components

 Loading...


