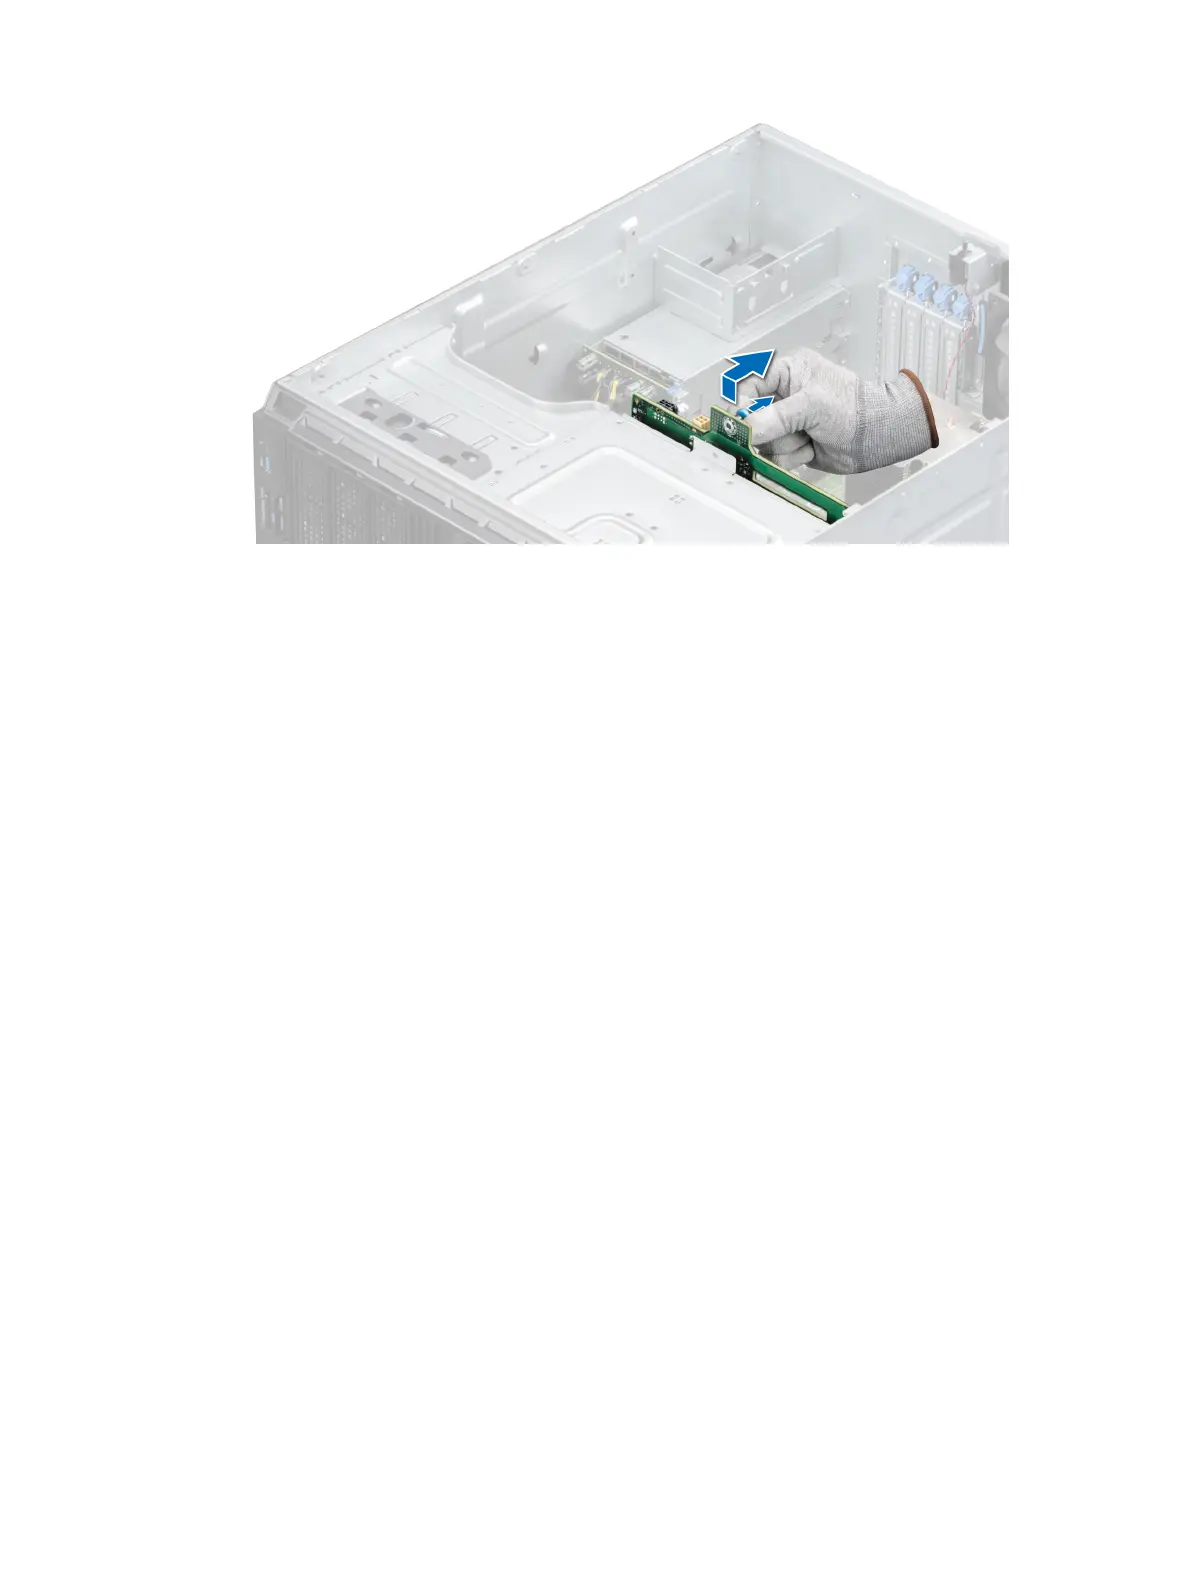
Figure 45. Removing the drive backplane
Next steps
1 Replace a drive backplane.
2 Follow the procedure listed in After working inside your system.
Installing the drive backplane
Prerequisites
1 Follow the safety guidelines listed in Safety instructions.
2 Follow the procedure listed in Before working inside your system.
3 Remove the front bezel..
4 Remove the air shroud.
5 Remove all the drives.
Steps
1 Align the slots on the backplane with the hooks on the system.
2 Lower the drive backplane into the system until the release pin locks in place, securing the drive backplane to the system.
3 Connect the data, signal, and power cables to the backplane.
72
Installing and removing system components

 Loading...


