168 | Installing System Components
1 Remove the system-board assembly. See “Removing a System-Board
Assembly" on page 163.
WARNING: The heat sink may be hot to touch for some time after the system has
been powered down. Allow the heat sink to cool before removing it.
CAUTION: Never remove the heat sink from a processor unless you intend to
remove the processor. The heat sink is necessary to maintain proper thermal
conditions.
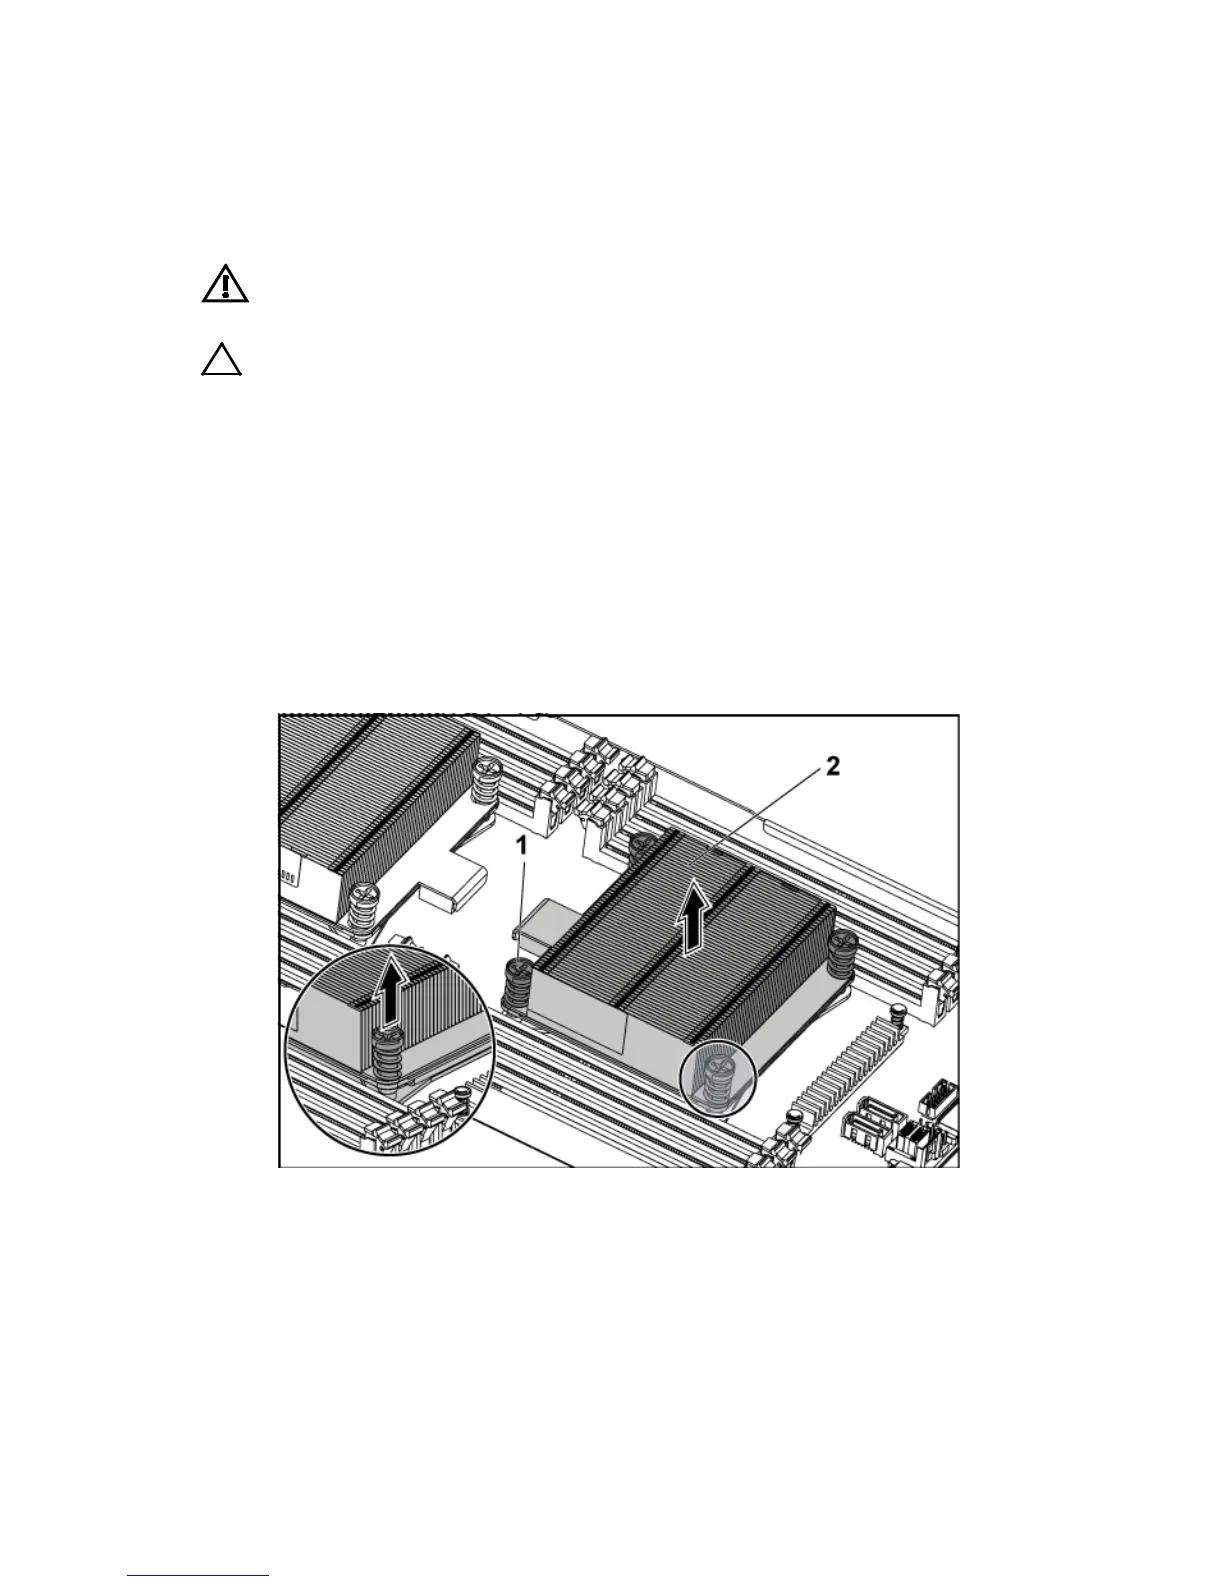
2 Using a Phillips screwdriver, loosen one of the heat-sink retention
screws. See Figure 3-13.
Wait for 30 seconds for the heat sink to loosen from the processor.
3 Remove the other three heat-sink retention screws.
4 Gently lift the heat sink off the processor and set the heat sink aside
with thermal grease side facing up.
Figure 3-13. Removing and Installing the Heat Sink

 Loading...


