Installing System Components | 295
3 Replace the screws that secure the front-panel assembly to the hard-
drive cage. See Figure 3-102.
4 Replace the hard-drive cage into the chassis. See Figure 3-93.
5 Replace the screws that secure the front-panel assemblies to the chassis.
See Figure 3-93.
6 Replace the screws that secure the hard-drive cage to the chassis. See
Figure 3-92.
7 Connect front panel cables to the power distribution board. See Figure
3-105 or Figure 3-108.
You must route these cables properly on the chassis to prevent them
from being pinched or crimped.
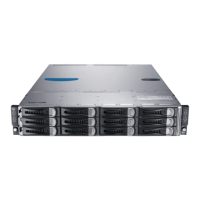
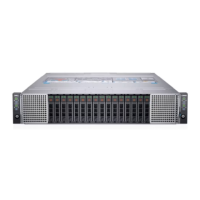
8 Connect all the cables to the backplane. See Figure 3-90 for 3.5-inch
hard drives and Figure 3-91 for 2.5-inch hard drives.
You must route these cables properly on the chassis to prevent them
from being pinched or crimped.
9 Close the system. See “Closing the System” on page 247.
10 Replace the hard drives. See “Installing a Hard Drive into a Hard-Drive
Carrier” on page 159.
11 Reconnect the system to its electrical outlet and turn on the system,
including any attached peripherals.
 Loading...


