2. Insert the cartridge magazines removed from the defective library into the same
positions in the replacement library enclosure.
3. Insert the cartridge magazines removed from the replacement library enclosure
into the same positions in the defective libraryto return to Dell.
4. Wait for inventory of the magazines to complete.
a. If inventory is successful:
1) The replacement library enclosure will complete with the
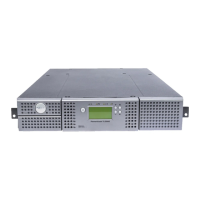
Ready/Activity LED (1 in Figure 10-20 on page 10-22) ON.
2) Power OFF the replacement library enclosure.
3) Proceed to “Swapping Power Supplies” on page 10-19.
b. If inventory is not successful:
1) The Error LED (4 in Figure 10-20 on page 10-22) will turn ON.
2) Power OFF the enclosure.
3) Contact Technical Support for further instructions.
Installing the Replacement Library Enclosure
Refer to the appropriate procedure in this section (rack or desktop) for installing
the replacement library enclosure.
Note: If you are shipping the replacement library enclosure to a remote location,
install the shipping lock and label before shipment.
Rack Installation:
1. Remove the mounting brackets (1 in Figure 10-24 on page 10-26) and anchors
(2) from each side of the defective library and install them on the
replacement library enclosure.
a77ug24
6
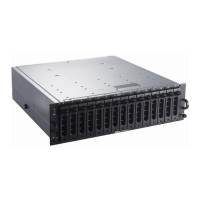
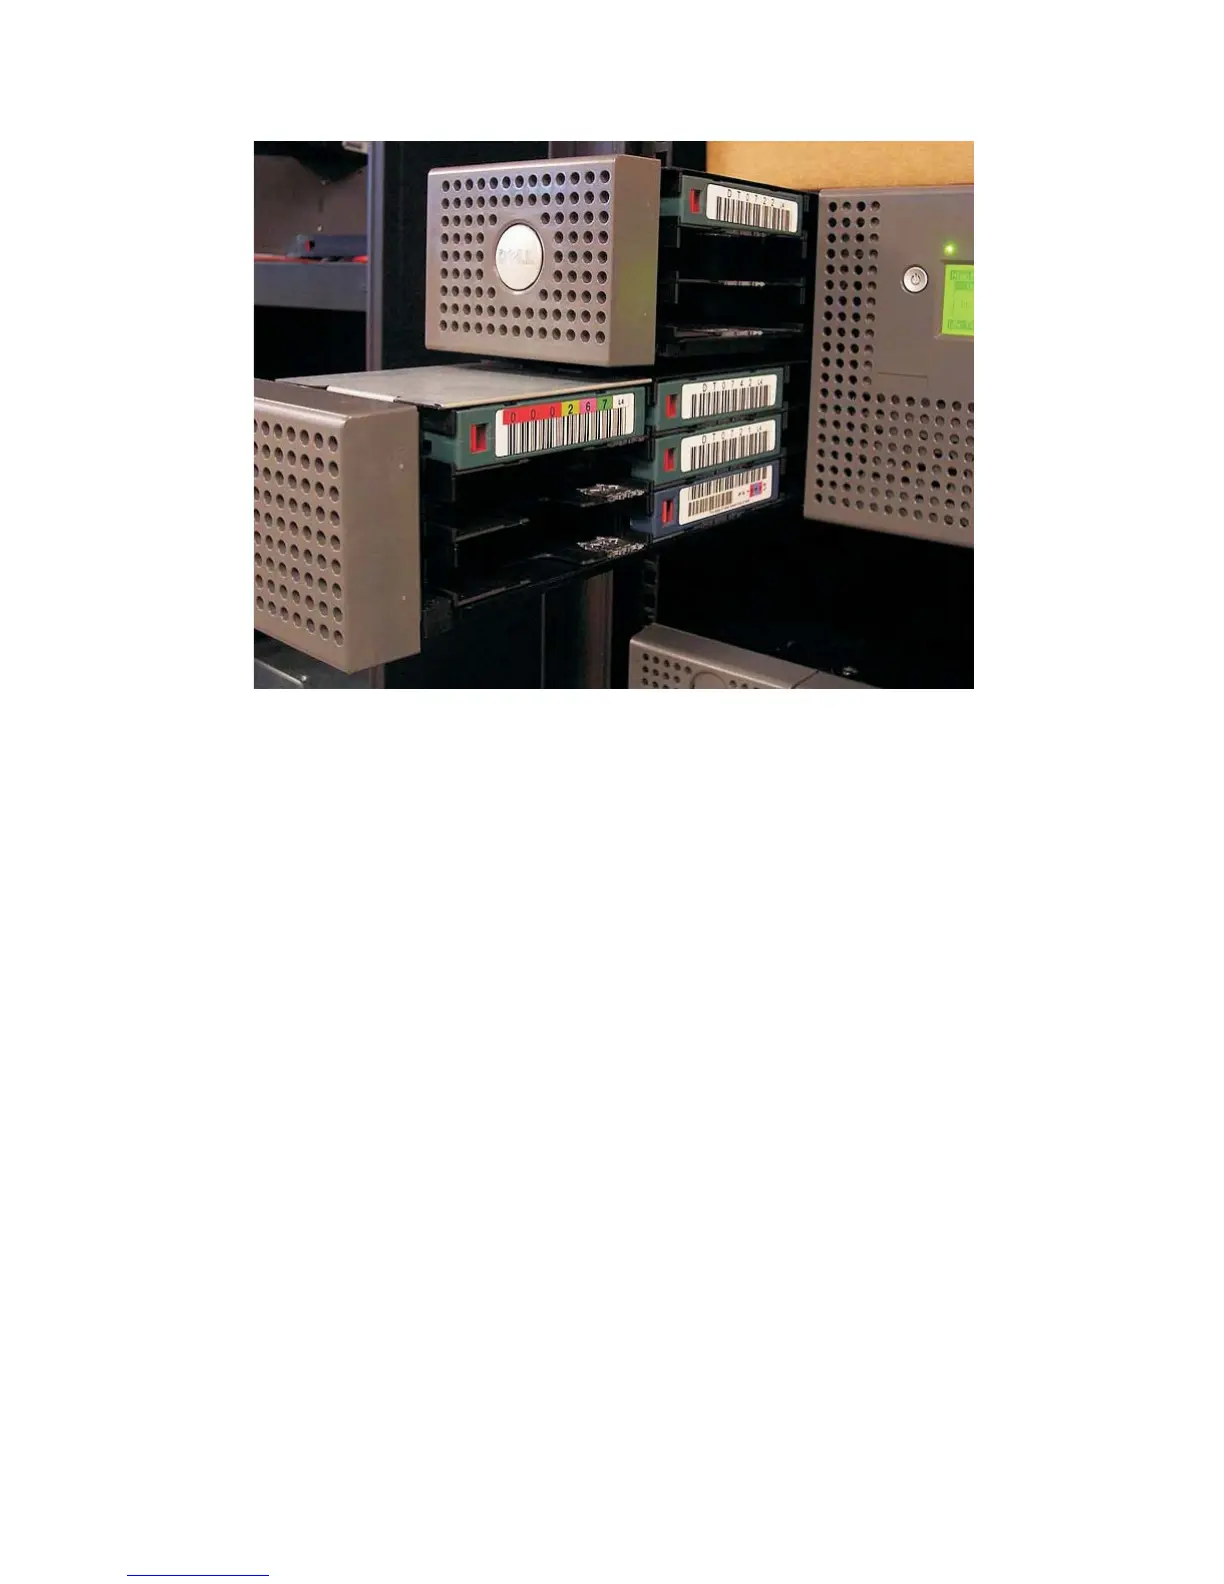
Figure 10-23. Left magazines pulled out of a 4U library (facing front of library)
Chapter 10. Check, Adjust, Remove, and Replace 10-25
 Loading...