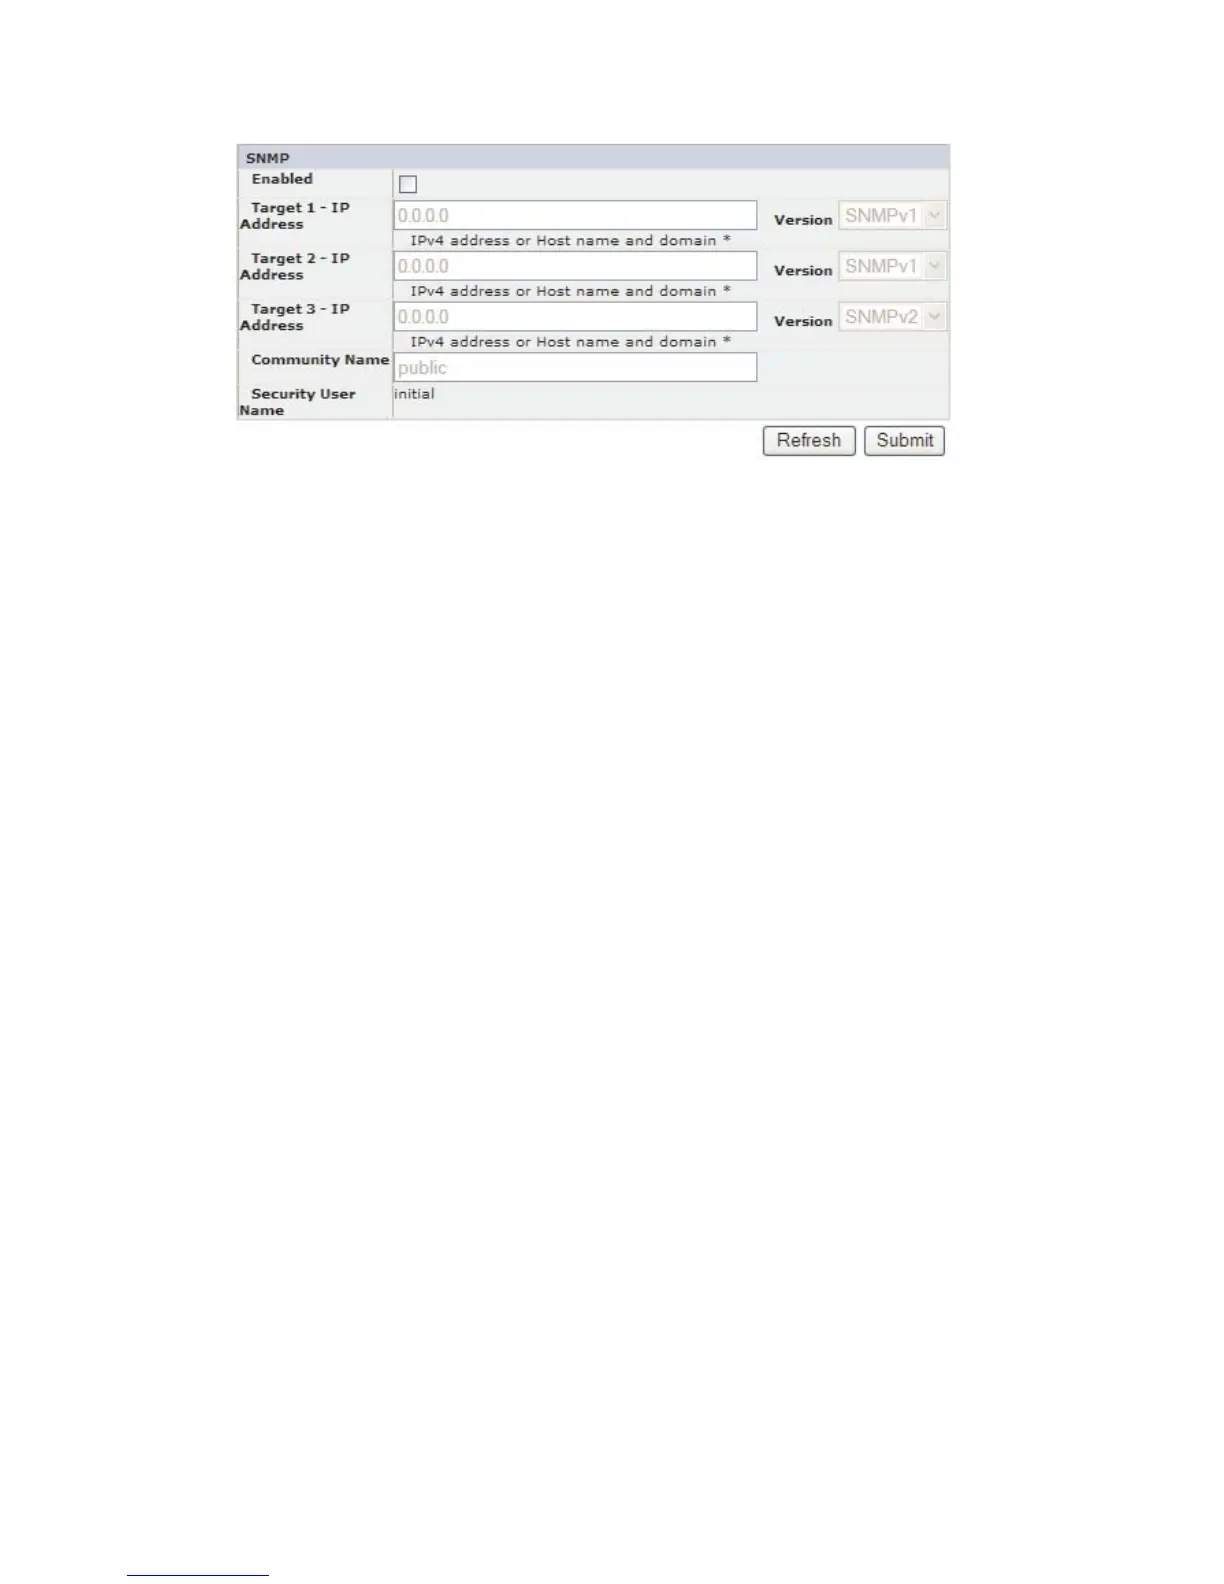
2. Enter SNMP settings.
Note: For more information on SNMP, refer to “SNMP Messaging” on page 1-7
and Appendix F, “SNMP Status MIB Variables and Traps,” on page F-1.
a. Enabled - Check this box to have SNMP traps sent to a SNMP Management
console(s).
b. Target 1-IP Address - If SNMP traps are enabled, enter an IP address where
SNMP traps are to be sent.
c. Target 2-IP Address - Enter an optional 2nd IP address where SNMP traps
are to be sent, or leave as 0.0.0.0.
d. Target 3-IP Address - Enter an optional 3rd IP address where SNMP traps
are to be sent, or leave as 0.0.0.0.
e. Version - The library offers three versions of the SNMP protocol; v1, v2 and
v3. Select a version for each Target IP Address.
f. Community Name - An SNMP community name is a text string that acts as
a password to authenticate messages sent between the SNMP remote
management application and the library. Enter your preferred name, or leave
as “public”. The Community Name is limited to 33 alpha-numeric characters
(A-Z, a-z, 0-9).
3. Click one of the following:
v Refresh - to cancel the changes made to the screen.
v Submit - to apply the changes made to the screen.
Testing Encryption Configuration for Library Managed
Encryption
Please refer to http://support.dell.com to determine the availability of this feature.
If you have purchased an encryption activation key and any LTO 4 Fibre Channel
or SAS drives in your library are configured for library managed encryption, run
the Key Path Diagnostic to ensure that your encryption configuration is correct.
Important: Ensure that library firmware and drive firmware are up to date before
running the Key Path Diagnostic. Library firmware level must be
greater than 6.xx. See “Verifying/Updating Firmware” on page 4-18.
a77ug257
Figure 4-32. Configure Library: SNMP Page
4-30 Dell PowerVault TL2000 Tape Library and TL4000 Tape Library User's Guide