DCM00044 REV. 14 69
7.1.3.1 Ultrasonic Stack Disassembly
1. Disconnect the cable at the rear of the Converter (Item 8).
2. Remove the Tip Nut and Tip (applicable to replaceable tip horns only). Check the Tip and Nut to
be sure that the clamp surfaces are clean and smooth. Follow the instructions in 7.1.3.3
Reconditioning Tip and Nut Clamping Surfaces (Replaceable Tip Horns Only).
3. Using the torque wrench and the Torque Wrench Adapter, remove the Horn (Item 6) from the
Stack Assembly.
4. Remove the twelve M5 SHCS’s (Item 9), the Clamp Ring (Item 1) and the Front Diaphragm
Spring (Item 2).
5. Remove the twelve M5 SHCS’s (Item 9) from the back end of the Polar Shell (Item 4).
6. The Converter (Item 8), Clamp Ring (Item 1), Rear Diaphragm Spring (Item 3) and Booster
(Item 7) can now be slipped out of the Polar Shell (Item 4) towards the rear of the actuator.
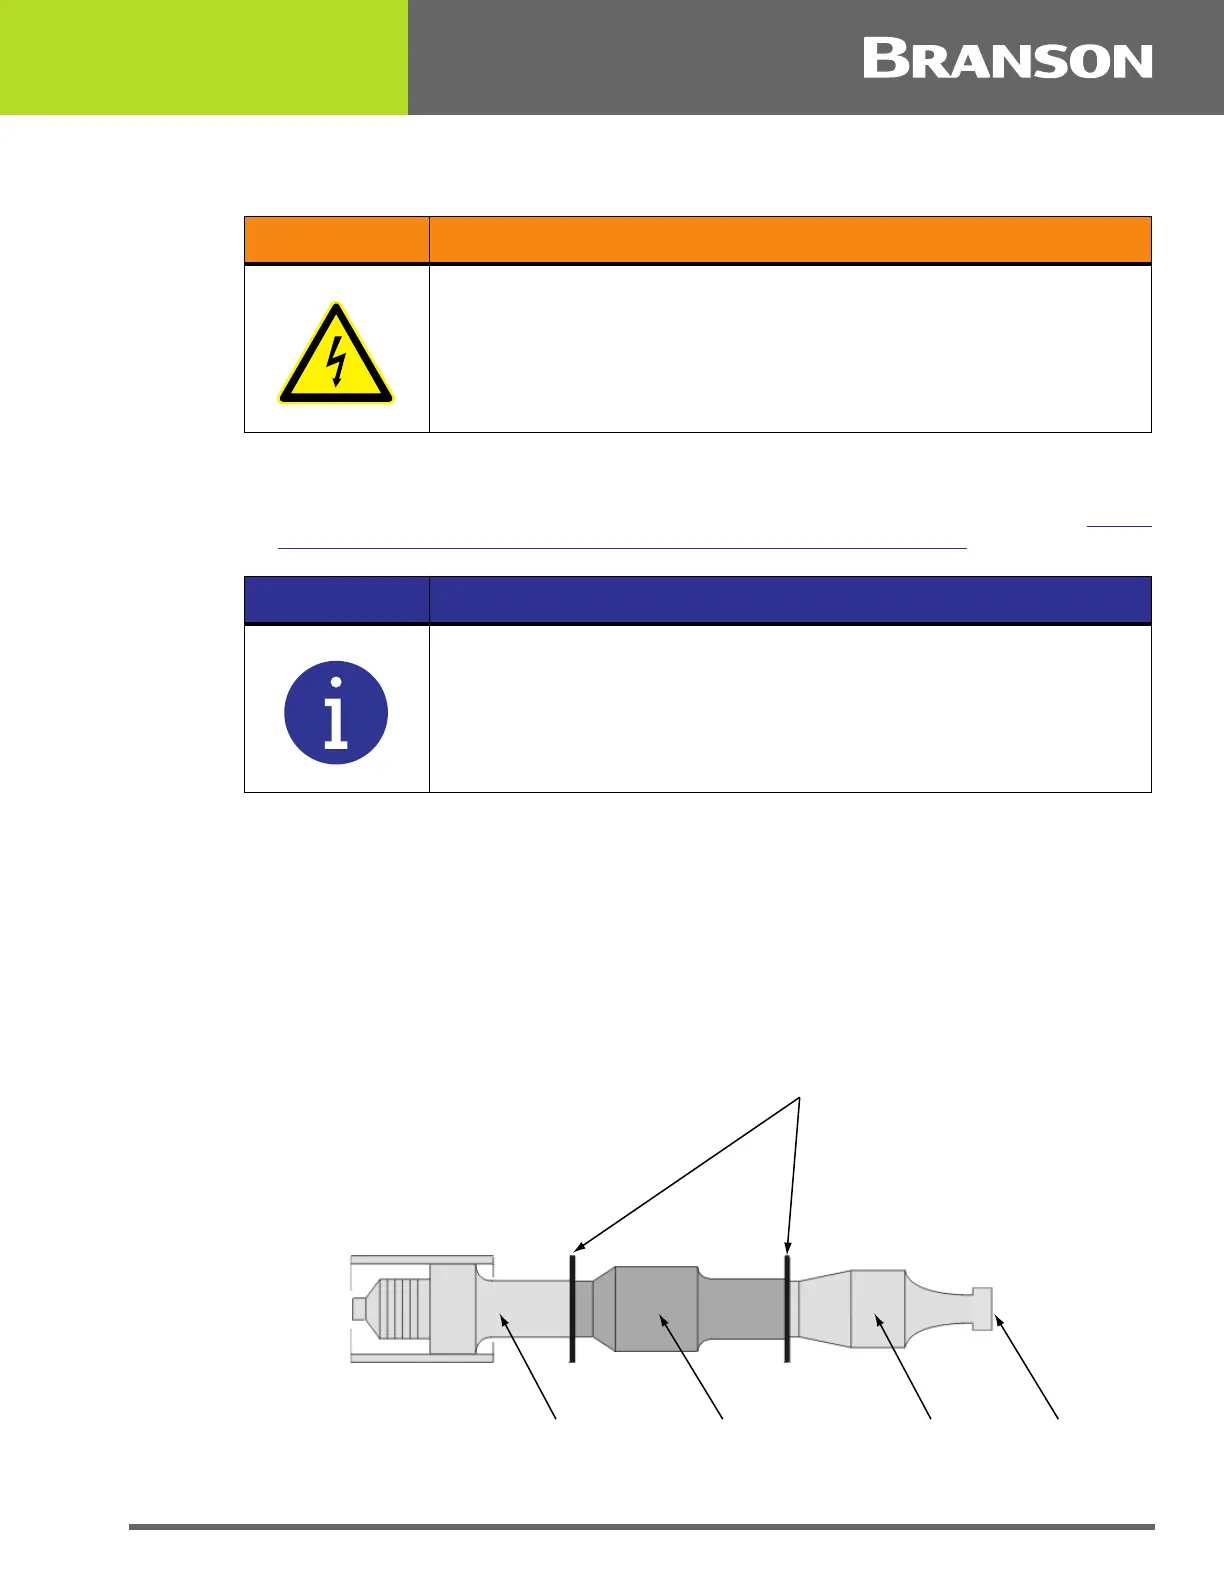
Figure 7.1 Ultrasonic Stack Assembly.
WARNING High Voltage Hazard
Be sure that the power supply is off to prevent any possible electrical
shock from the high voltage contact on the converter.
NOTICE
Clean only the clamp surface, not the knurl area.
Diaphragm
Springs
Converter Booster Horn Tip
 Loading...