74 DCM00044 REV. 14
7.2 Calibration
This product does not require scheduled calibration. However, if you are operating under
requirements that mandate periodic calibration, for example, the FDA’s Good
Manufacturing Practices, contact your Branson representative for additional information.
7.2.1 Encoder Board Calibration
Encoder board calibration is factory set and generally does not need to be changed. Any
calibration required due to tool wear or adjustment is built into the controller software and
may be accomplished using touchscreen commands (refer to your power supply manual).
If a new encoder board is installed it will be necessary to calibrate Height as follows.
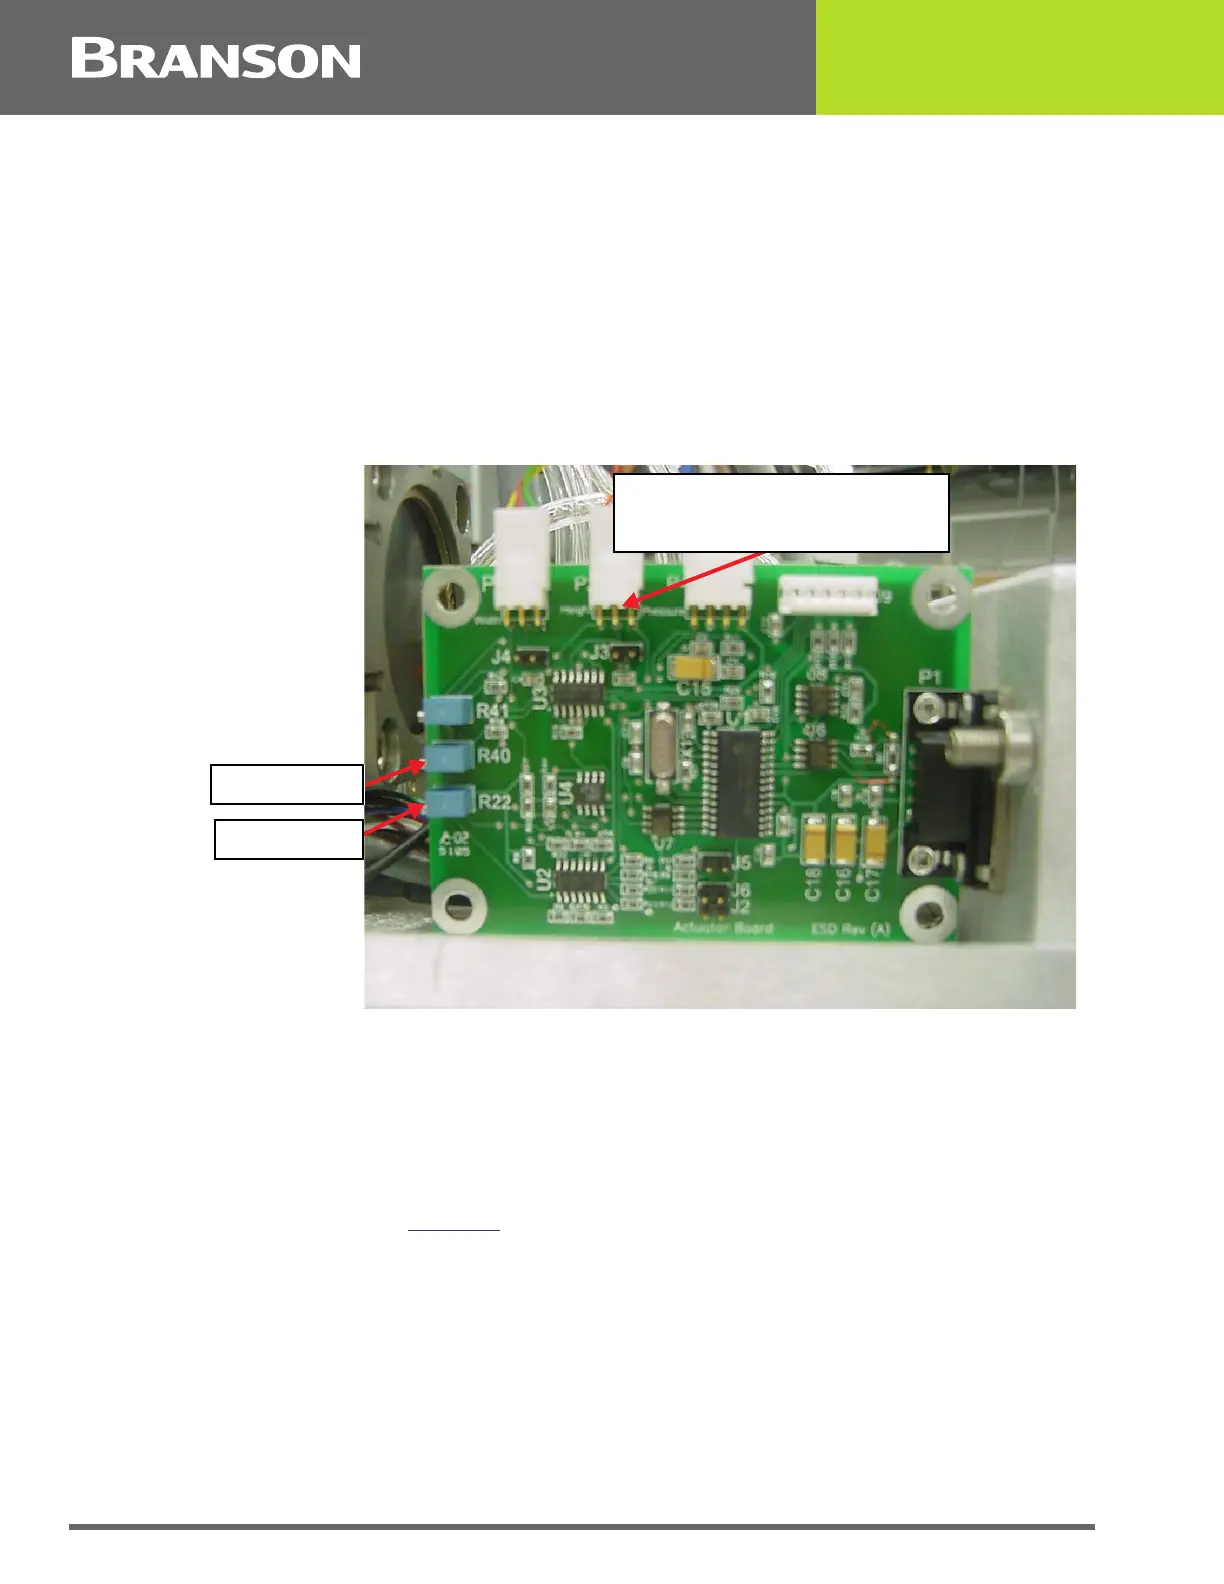
Figure 7.5 Encoder Board Calibration
7.2.1.1 Height Zero and Span Adjustment
1. From the Controller Maintenance Screen, enter the Height Calibration Screen.
2. Press HORN button to lower the horn.
3. Remove the top cover from the actuator and locate the actuator board.
4. Read voltage that is displayed on controller screen.
5. Voltage should read between +2 to +50 millivolts DC. If not, adjust the HGT ZERO (R22)
potentiometer (see Figure 7.5
) until the voltmeter reads between +2 to +50 millivolts DC
(voltage must be positive).
6. From the Controller Maintenance Screen, raise the horn (press HORN button).
7. Adjust R40 until the displayed Calibrated Height reaches approximately 2300 mV and stop
turning R40 to set the maximum value.
Center pin on connector for
Height voltage calibration
HGT SPAN
HGT ZERO