EPSON Stylus
COLOR
1520
Rev. A
4-1
4.1.8 Head GAP Adjustment
This operation is required when the black/color head or the both heads are removed or replaced. It is
performed to align the vertical lines between black and color heads.
1. Connect the printer and the host computer with a parallel interface cable.
2. Run the adjustment program in the host computer.
3. Input the customer data. (Refer to Section 4.1.2.)
4. Move the cursor using
or
key to select “ADJUST” in the 1st menu. Then press the Enter key, and
the main menu appears on the monitor.
5. Move the cursor using
or
key to select “HEAD GAP ADJUSTMENT”. Then press the Enter key, and
the printer prints out the head gap adjustment patterns in the both LQ and SLQ modes.
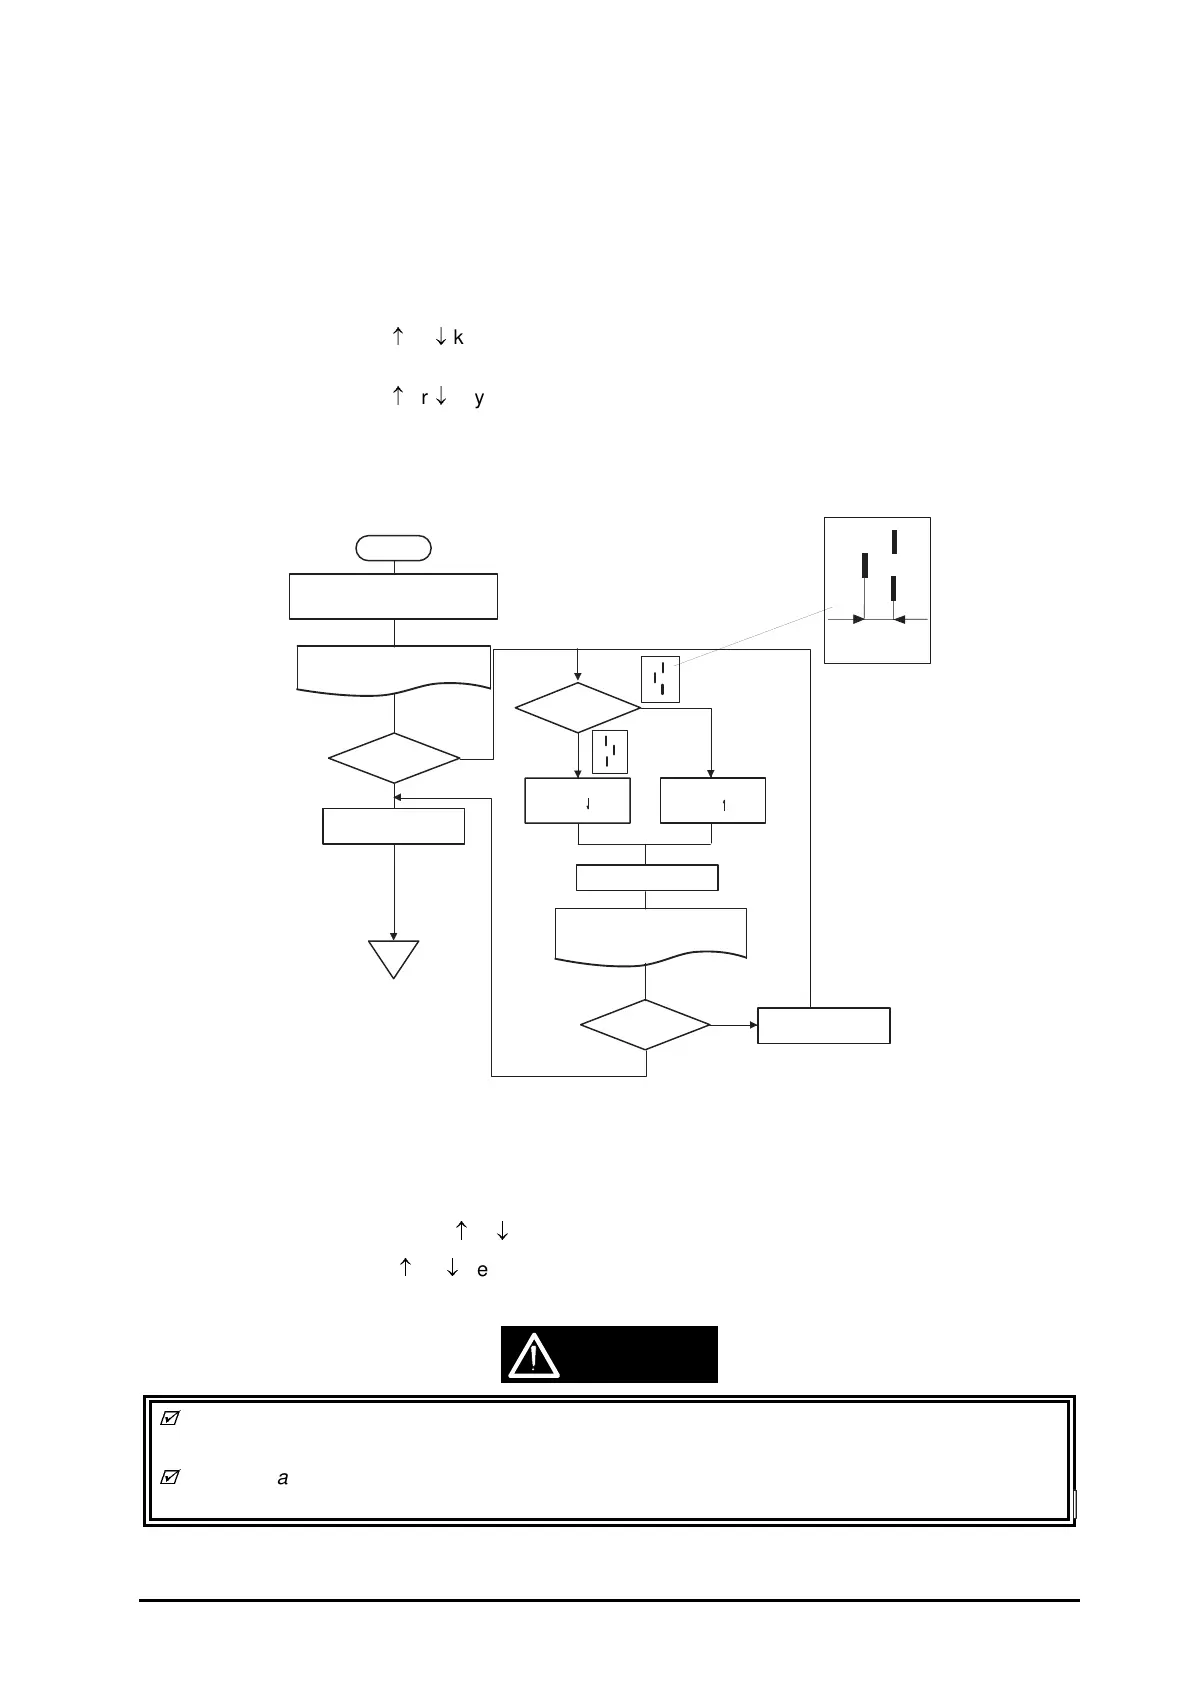
6. Adjust the deviation referring to the flowchart below to make the deviation (D) less than 2/1 of the
line width in the LQ mode and 1/4 of the line width in the SLQ mode. (Refer to Figure 4-9.)
7. Press Space key to repeat the operation. Press the Enter key to exit “HEAD GAP ADJUSTMENT”, and
the main menu appears.
8. Select other adjustment using
or
key, or select “RETURN TO 1st MENU” to exit the main menu.
9. Move the cursor using
or
key to select “END” and press the Enter key to exit the adjustment
program.
Adjusted values are not stored in the EEPROM until the printer is turned off. Therefore be sure to
turn off the printer once after the adjustment program is executed.
The set values are transferred to the printer when exiting this operation. Therefore do not turn off
the printer before executing “
HEAD GAP ADJUSTMENT”
.
(D)
" "
" "
Select "HEAD GAP ADJUSTMENT "
in the main menu.
Print out the head gap adjustment
pattern in the LQ and SLQ mode.
How is the
head gap?
Press the Enter key.
In whch direction?
Enter the value
using the key.
Enter the value
using the key.
Enter "0".
Return to the main menu.
OK
Press the Space key.
NG
Print out the head gap adjustment
pattern in the LQ and SLQ mode.
How is the
head gap?
OK
NG
Start
Figure 4-9. Head Gap Adjustment Flow
CAUTION

 Loading...


