EPSON Stylus CX4900/CX4905/CX5000/DX5000/DX5050/CX5900/CX6000/DX6000/DX6050 Revision A
DISASSEMBLY/ASSEMBLY Overview 125
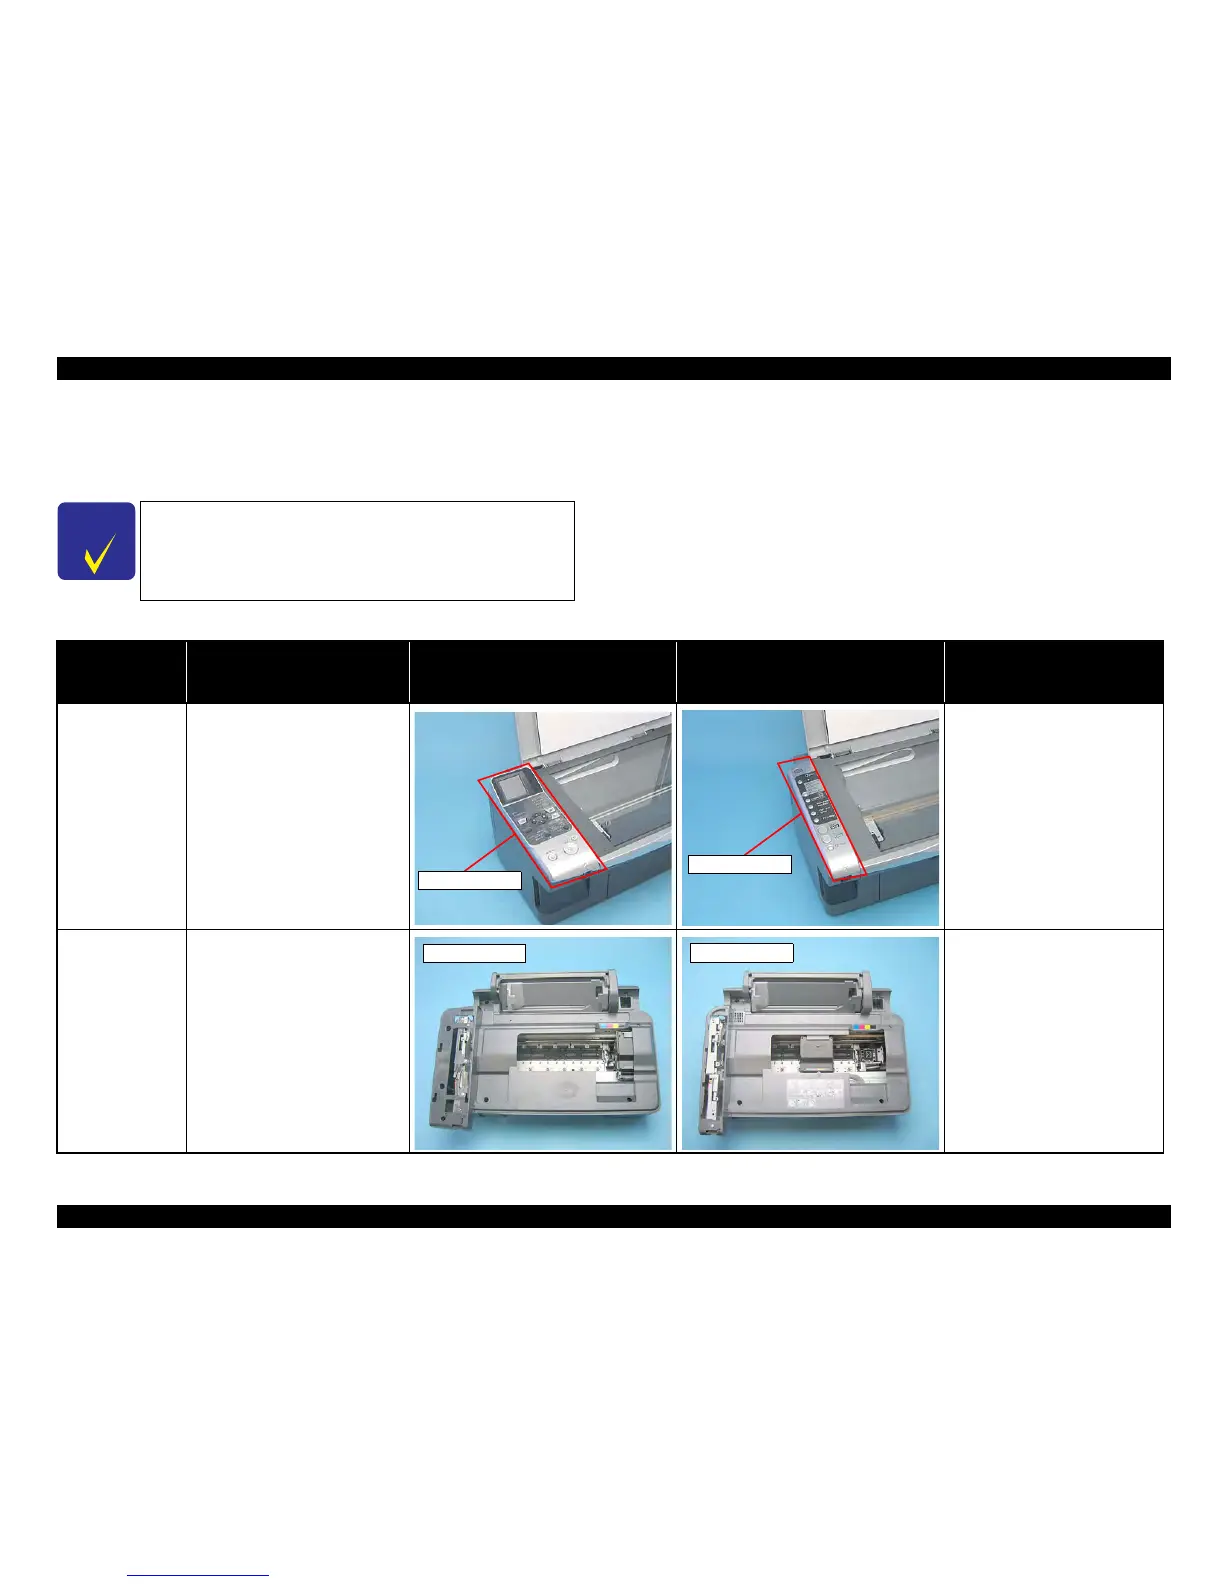
4.1.4 Procedual Differences between the Models
Some parts that are installed to Stylus CX4900/CX4905/CX5000/DX5000/DX5050 and Stylus CX5900/CX6000/DX6000/DX6050 differ from each other because of the difference
in the Panel Unit.
C H E C K
P O I N T
Since Stylus CX5900/CX6000/DX6000/DX6050 model is used to
create this manual, the appearance of some parts may differ
from those on Stylus CX4900/CX4905/CX5000/DX5000/DX5050
model. The procedures themselves, however, are the same for
both models except for the one described in the table below.
Table 4-3. Differences between Models
Item Description
Stylus CX5900/CX6000/DX6000/DX6050
(LCD model)
Stylus CX4900/CX4905/CX5000/DX5000/
DX5050
(LED model)
Reference
Panel Unit
You need to follow different steps to
re
move the Panel Unit.
For Stylus CX5900/CX6000/
DX6000/DX6050, see
"4.4.4 Panel Unit (p130)"
For Stylus CX4900/CX4905/
CX5000/DX5000/DX5050, see
"4.6.1 Panel Unit (p169)"
Housing, Upper
Stylus CX5900/CX6000/
DX6000/DX6050
You need to remove 10 screws
to take out the Housing, Upper.
Stylus CX4900/CX4905/CX5000/
DX5000/DX5050
You need to remove 6 screws
to take out the Housing, Upper.
For Stylus CX5900/CX6000/
DX6000/DX6050, see
"4.4.6 Housing, Upper (p132)"
For Stylus CX4900/CX4905/
CX5000/DX5000/DX5050, see
"4.6.2 Housing, Upper (p170)"
Panel Unit
Panel Unit
Housing Upper
Housing, Upper

 Loading...


