289
• In Single View, select the thumbnail image of the photo you want to print, then press the left or
right arrow buttons to scroll through and select additional photos, or select Tile View to return to
the thumbnail image view and select additional photos.
• To select all photos, select the menu icon and select Select All Images.
5. To change the print settings, select Basic Settings and select the necessary settings.
6. To modify the photos, select Advanced and make the necessary adjustments. The adjustments
modify only your printed copies, not the original files.
7. To select the number of copies (up to 99), use the numeric keypad on the control panel or select
Copies on the LCD screen and use the on-screen keypad.
8. When you are ready to print, select the Print icon.
Note: To cancel printing, select Cancel on the LCD screen, then select Cancel again to confirm.
Print Setting Options - JPEG Mode
Parent topic: Viewing and Printing from the LCD Screen
Print Setting Options - JPEG Mode
Select the print settings you want to use when printing a JPEG from a USB device.
Note: Not all options or settings may be available, depending on the file format.
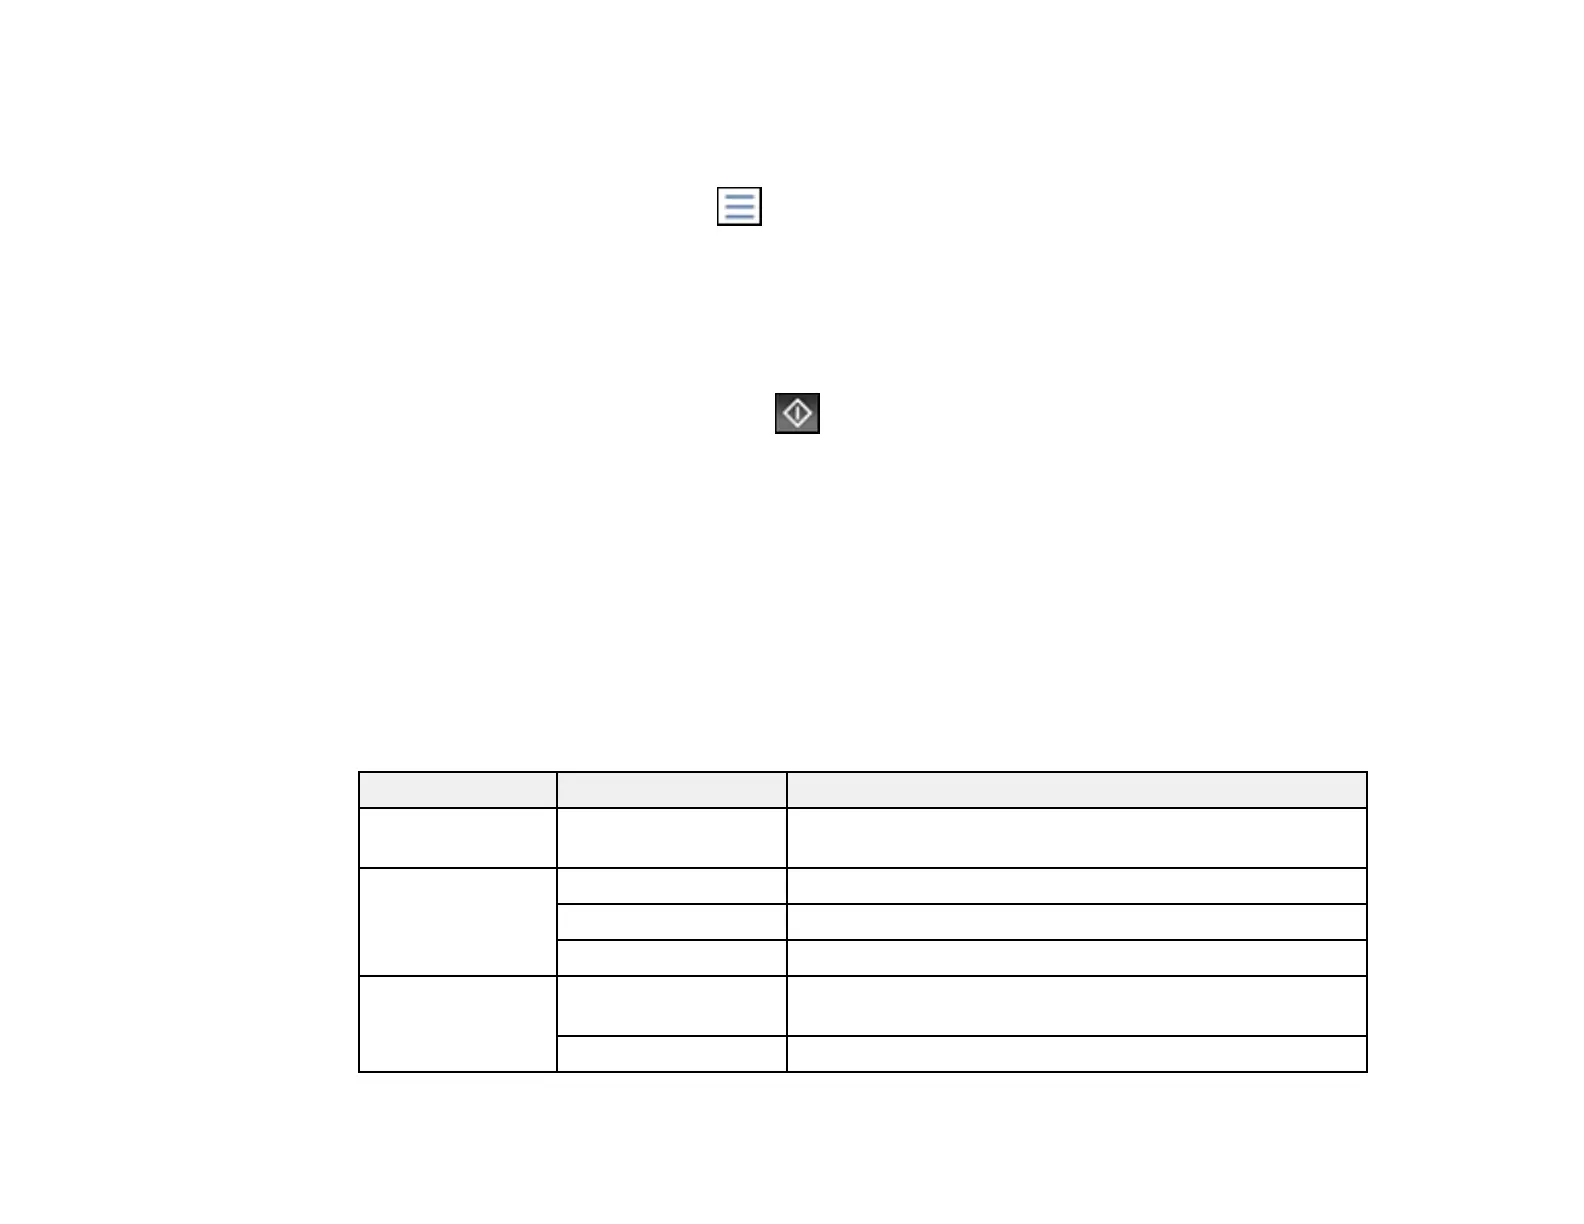
Basic Settings
Print settings Available options Description
Paper Setting Various paper size
and type settings
Select the paper source that you want to use.
Layout 1-up Print one photo per page.
20-up Print 20 photos per page.
Index Print numbered photo thumbnails with date information.
Fit Frame On Automatically crops the photo to fit into the selected photo
layout.
Off Turns off automatic cropping.

 Loading...


