Mount Options
You can mount or install the device in the following ways:
• All 5320 Series support mounting as a standalone unit on a at surface, such as a
table top. Use the rubber feet included with the device to secure the device on the
surface. No other equipment is required for table installation.
• All 5320 Series support mounting in a standard two-post rack. Rack mounting ears
are included with the device.
• Additionally, both the 5320-16P-4XE and 5320-16P-4XE-DC support wall-mounting
and under-the-table mounting. Anchors and wood screws are included with the
device.
Mount the Device on a Table
5320 Series switches provide four self-adhesive rubber pads for mounting on tables or
other at surfaces. The pads keep the switch from scratching the supporting surface
and help ensure adequate airow around the switches when they are mounted on top
of one another. You can safely place up to four switches on top of one another.
Caution
Do not place other equipment on top of table-mounted switches.
To mount a switch on a table - or any rm, at surface - follow these steps.
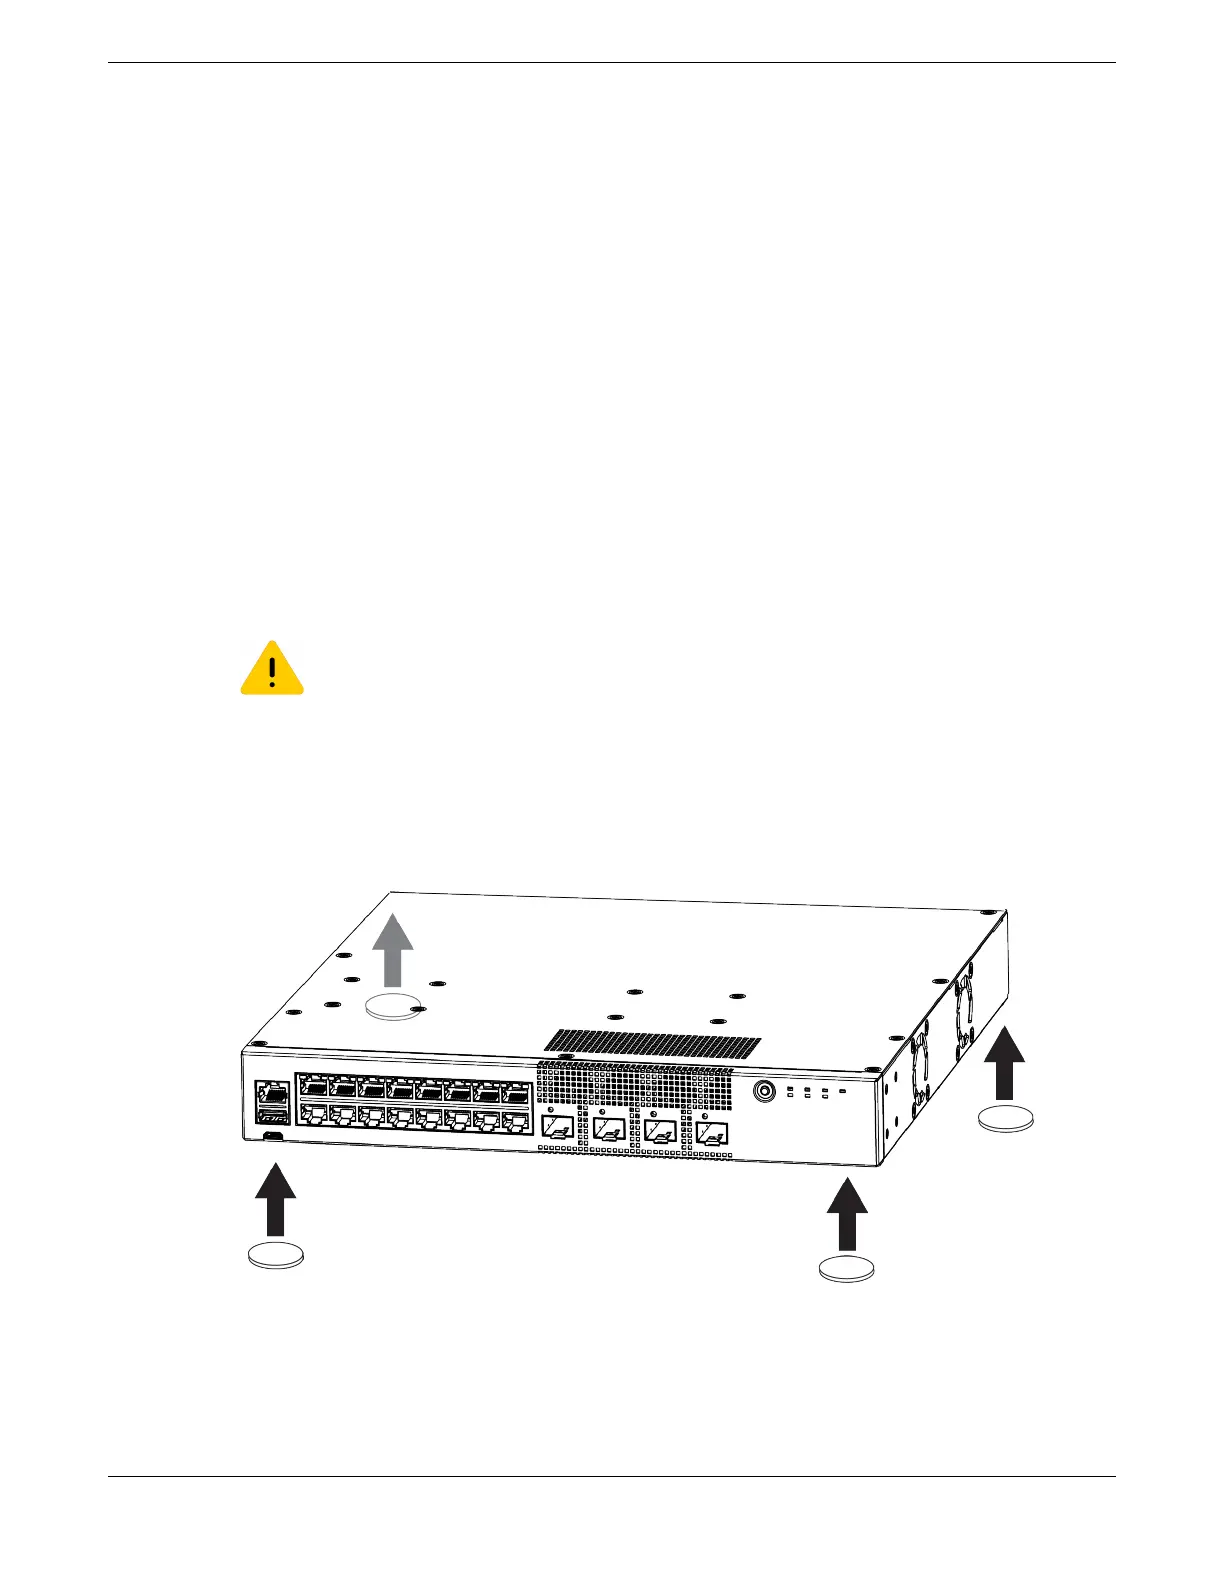
1. Carefully separate the four rubber pads that are provided
2. Apply the pads to the underside of the switch by placing a pad at each corner,
ensuring that all corners are aligned. Figure 32 shows the locations for attaching the
rubber mounting feet on the switch.
Figure 32: Table Mount: 5320 Series
Install Your Switch Mount Options
ExtremeSwitching 5320 Series Hardware Installation Guide 61

 Loading...

