Install the Device in a Rack
This procedure uses a two-post mounting kit, which accommodates rack posts 3 inches
or 6 inches wide.
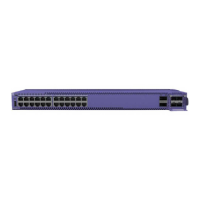
The two-post rack mount kit XN-2P-RMKIT-006 is required for models 5320- 48T-8XE,
5320-48P-8XE, 5320-24T-8XE, and 5320-24P-8XE. The two-post rack mount kit XN-2P-
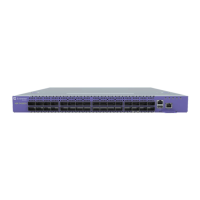
RMKIT-007 is available for models 5320-16P-4XE and 5320-16P-4XE-DC. The 1U two-
post rack mount kit XN-2P-RMKIT-011 is also available for models 5320-16P-4XE and
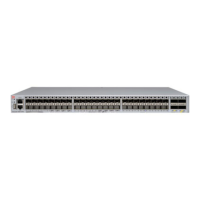
5320-16P-4XE-DC. The two-post rack mount kit XN-2P-RMKIT-008 is required for
models 5320-24T-24S-4XE-XT and 5320-24T-4X-XT. The two-post rack mount kits can
also be installed in a four-post rack, using just the two front posts or the two back posts.
The rack mount kit contains an instruction sheet, along with the following
components:
• Mounting ears (2 count)
• Mounting ear screws (8 count)
Rack mounting ears can support two congurations: ush- and mid-mount.
Take care to load the rack so that it is not top-heavy. Start installing equipment at the
bottom and work up.
To attach a switch to a two-post rack, follow these steps.
1. Attach a mounting bracket to each side of the switch, using the screws provided.
Align each mounting bracket so that the ange (ear) faces the front of the switch to
ush-mount, or faces the rear of the switch to mid-mount.
The following gures illustrate how to attach the mounting ears for two common
mounting options.
Note
Do not block the air vent on the top of the unit. Leaving a space between
units ensures adequate airow.
Note
Do not overlap rack mounting ears when using the longer mounting ears.
Leaving a space between units ensures adequate airow.
Install the Device in a Rack Install Your Switch
62 ExtremeSwitching 5320 Series Hardware Installation Guide

 Loading...


