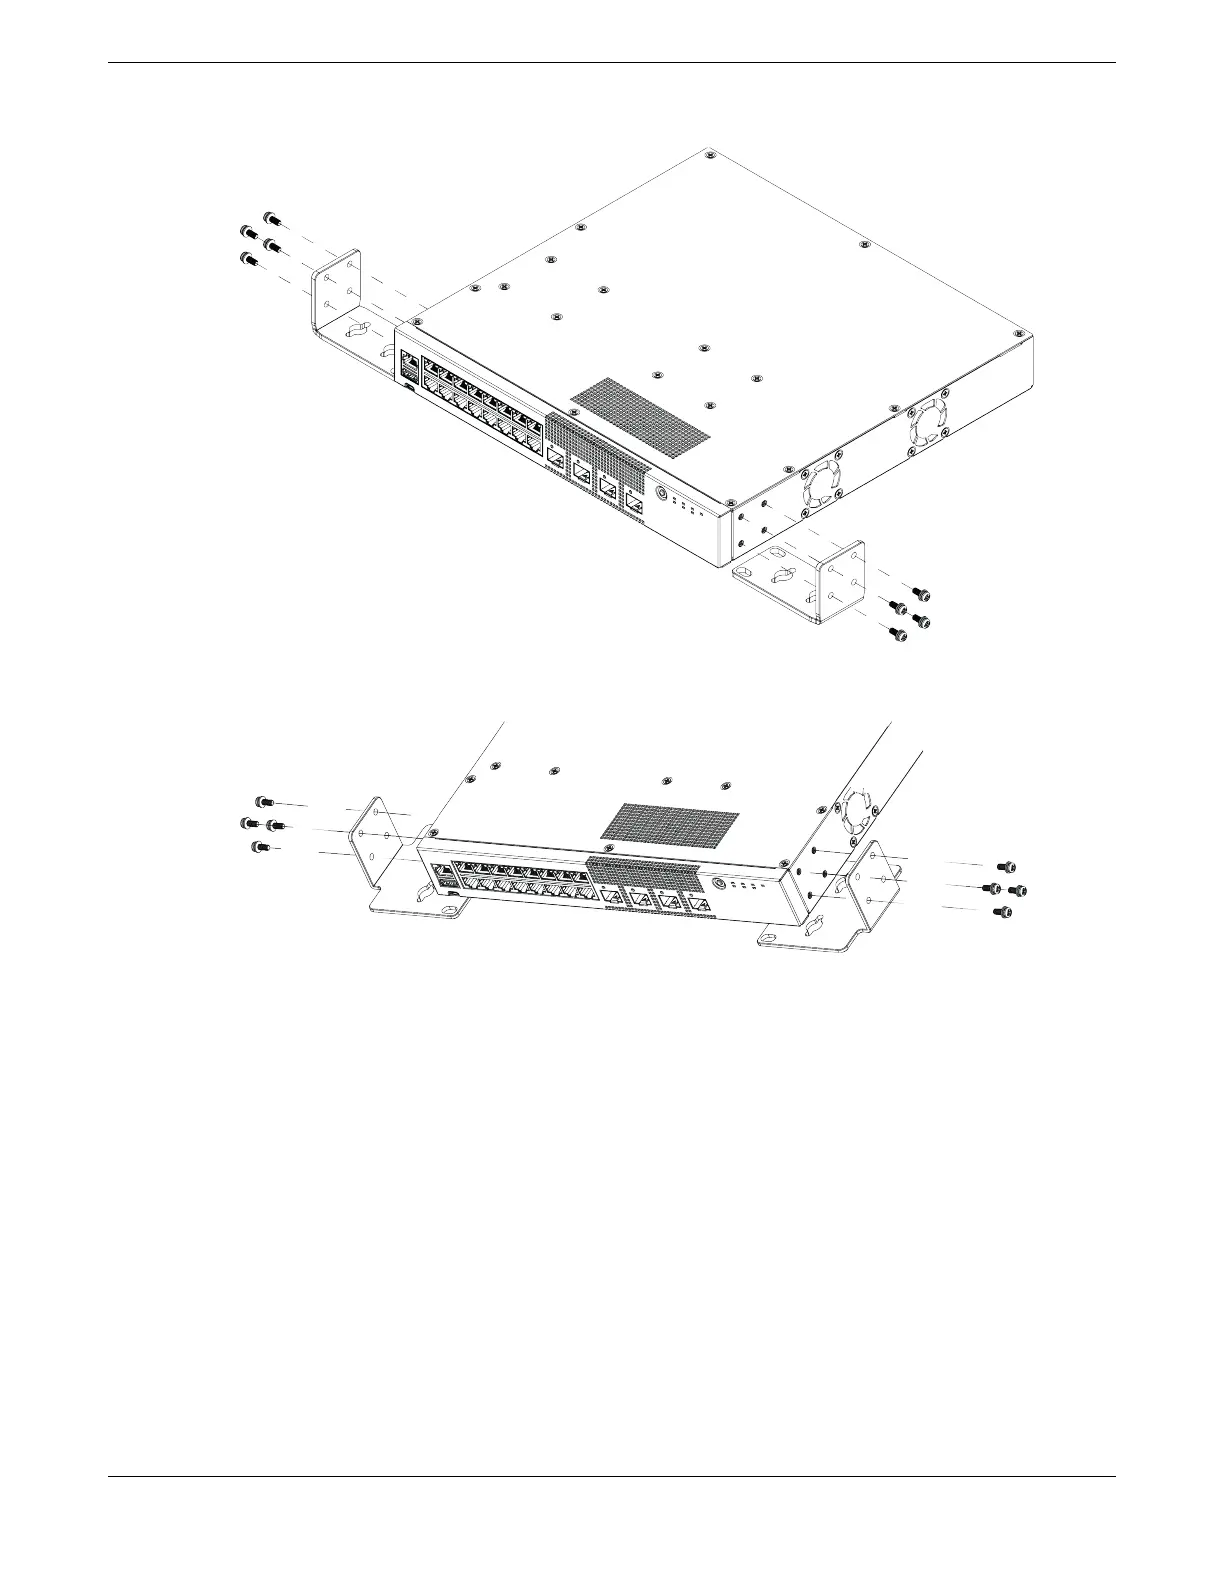
Figure 48: Alternate method of attaching 1U mounting ears
Figure 49: Alternate method of attaching larger mounting ears
Mount the 5320-16P models Under a Table
The 5320-16P switch models are constructed so that they can be mounted under a
table. Ensure that the table is strong enough to support the weight of the switch and
the attached cables.
To mount a switch under the table, follow these steps.
1. Using the two holes in each short mounting ear, mark the places under the table to
mount the switch. Each mounting ear has two mounting holes, so be sure to make
four marks.
2. Drill a hole at each mark.
3. Insert a provided anchor into each hole, if an anchor is needed. Gently tap each
anchor with a hammer, if necessary, to ensure that it is inserted tightly.
4. Using rack mount screws, attach a mounting ear to the left side of the switch, at the
front end. Figure 51 on page 71 shows the attachment of the screws.
Mount the 5320-16P models Under a Table Install Your Switch
70 ExtremeSwitching 5320 Series Hardware Installation Guide

 Loading...

