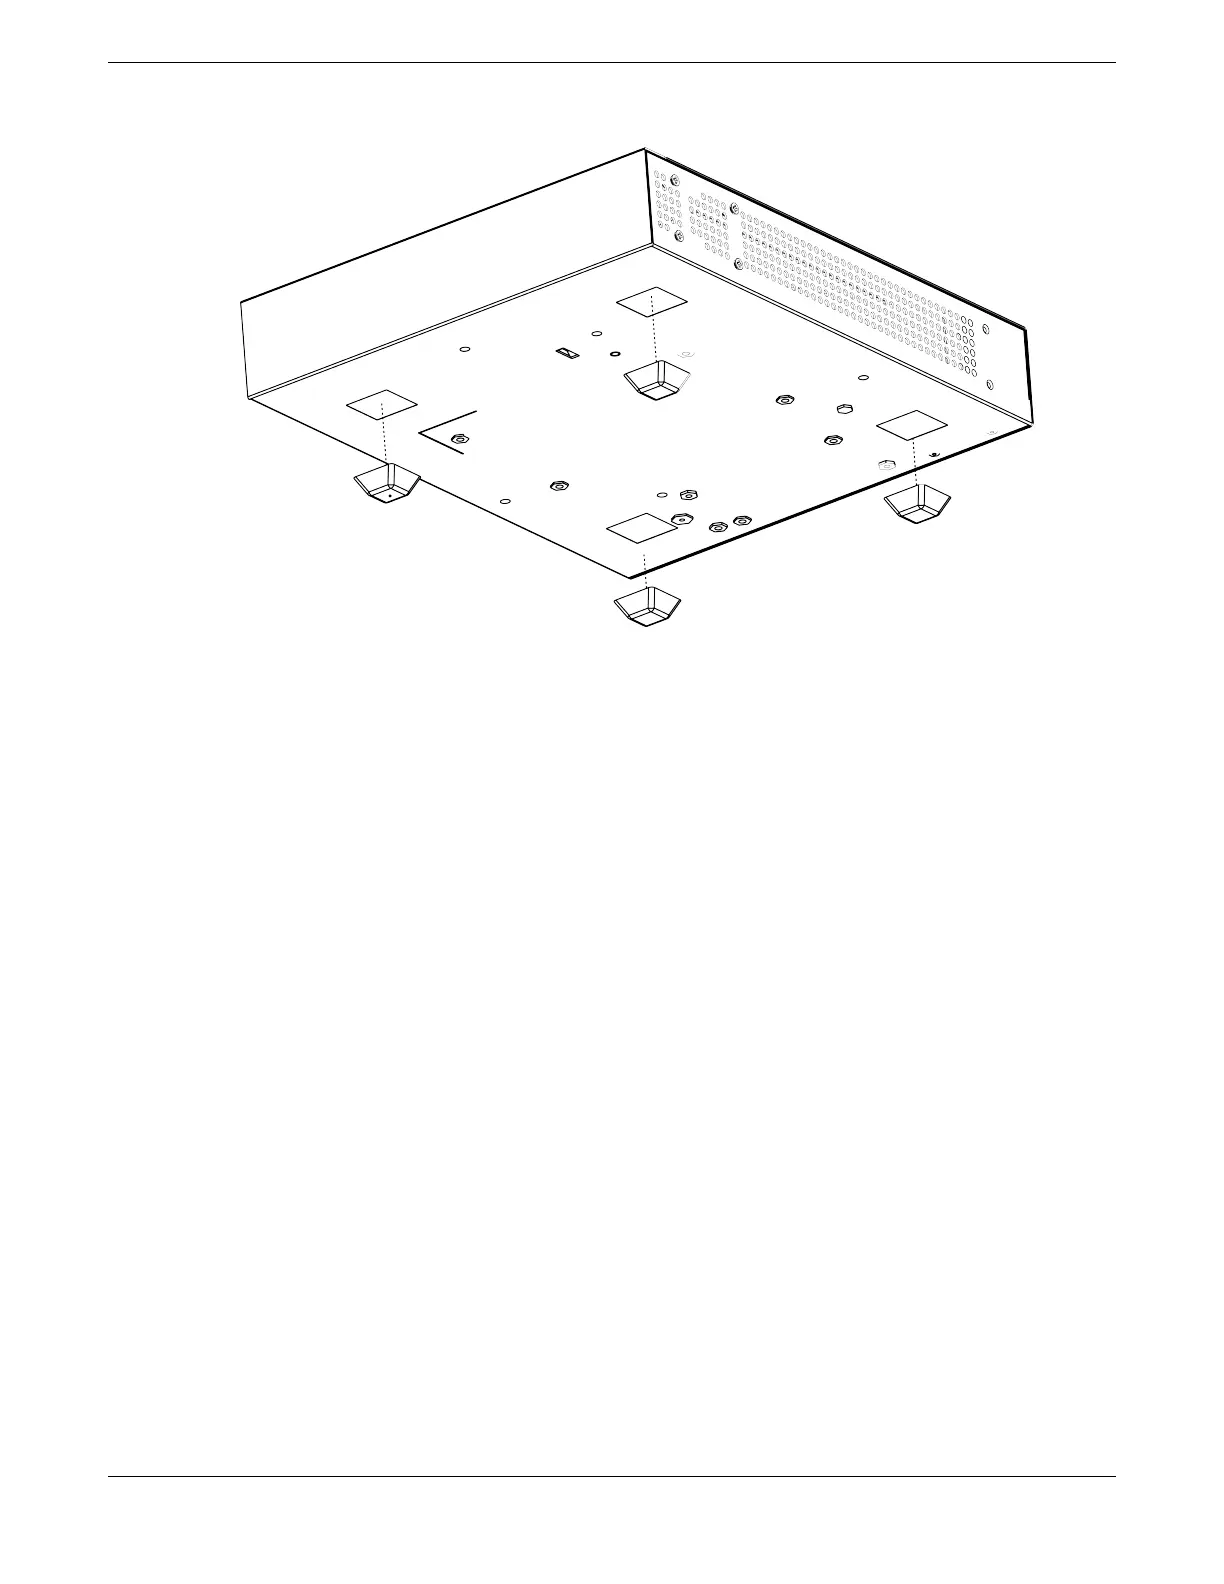
Figure 52: Table Mount: Attaching Rubber Feet
Install the RPS in a Rack
The RPS can be installed in a four-post rack, using just the two front posts or two
back posts, or a two-post rack. This procedure uses a two-post mounting kit, which
accommodates rack posts 3 inches or 6 inches wide. Rack ears can support both ush-
and mid-mounting. To install the RPS you need:
• Two rack mount brackets and mounting screws (rack mount kit) shipped with the
RPS.
• Four customer-supplied screws to attach the RPS to a standard 19-inch rack.
To install the RPS in a rack:
1. Attach a mounting bracket to each side of the RPS, using the screws provided.
Align each mounting bracket so that the ange (ear) faces the front of the RPS to
ush-mount, or faces the rear of the RPS to mid-mount.
Install the RPS in a Rack Install Your Switch
72 ExtremeSwitching 5320 Series Hardware Installation Guide

 Loading...

