5 Conversion and maintenance
126 Festo – P.BE-MPA-EN – 1309f – English
Note
Damage to components and malfunctions!
Please note, ...
– that with valve terminals of type MPA-S with mo re than 8 sub-bases, an elec tric
supply plate is required for supplemental supply of load voltage.
– that to the right of the electric supply plate, only electronics modules with separated
circuits of type VM PA..-FB-EMG-... are permitted ( also chapter 5.3.6). If your
MPA-S valve terminal is only equipped with electronics modules with a common
circuit (type VMPA...-FB-EMS-...), you can supply the pneumatics as follows:
– for v alve terminals with CPX terminal: exclusively via an interlinking block with
4-pin system supply, type CPX-GE-EV-S or CPX-GE-EV-S-7/8-4POL of the CPX
terminal.
– forvalveterminalswithCPIinterface:throughtheCPIinterfaceoftypeVMPA-CPI.
– that the electric supply plate must not be installed dire ctly to the left of a pneumatic
air supply plate (type VMPA1-FB-SP…).
– that you do not touch the electrostatically sensitive contact surfaces of the plug
connect ors on the side of the electric supply plate.
For expansion you will need:
Components
Type
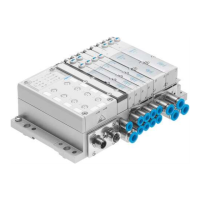
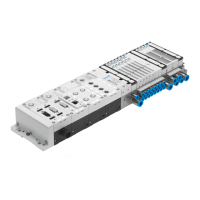
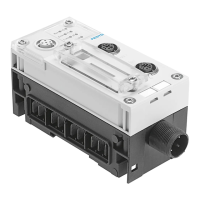
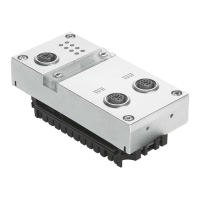
One of the following MPA electric supply plates
– With plug M18, (3-pin) VMPA-FB-S P-V
– With plug 7/8” (4-pin) VMPA-FB-SP-7/8-V-4POL
– With plug 7/8” (5-pin) VMPA-FB-SP-7/8-V-5POL
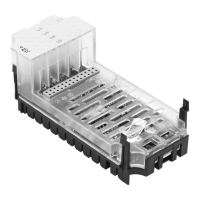
Also, a seal without channel separation or a separating seal with
channel separation
chapter 2, Tab. 2.9
Tab. 5.11 Electric supply plates
Mounting
Proceed as follows:
1. Loosen the electric and pneumatic c onnections and then remove the M PA-S valve terminal from its
mounting surface ( chapter 3).
2. Mount the electric supply plate as desc ribed in the VMPA-FB-SP-...-V-... assembly instructions.
3. Mount the MPA-S valve terminal onto the mounting surface ( chapter 3, “Wall mounting” or
“H-rail mounting”).
4. Then install the pneumatic and electrical connections ( chapter 3).