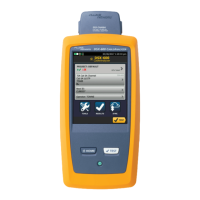
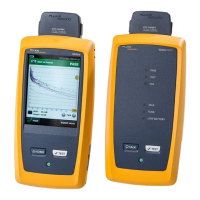
DSX-600 CableAnalyzer
Technical Reference Handbook
162
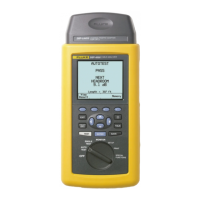
Step 3: Do an Autotest
3-1 Attach the correct adapters to the main and remote testers.
3-2. Connect the testers to the cabling.
To do an Autotest without connections to installed cabling,
connect the main and remote testers together with two
channel adapters and twisted pair cable.
3-3. Tap TEST or press . When the test is completed and if it
passed, the tester automatically saves the results with the first
ID in the set (B-00 in this example).
Step 4: Monitor the Status of Your Project
The home screen shows % Tested, which is the percentage
completed of the total number of tests you must do for the
project.
For example, in this tutorial you set up IDs with 12 tests.
If you did one Autotest on twisted pair for ID “B-00” as instructed
by this tutorial, the % Tested shows 8% (1 test completed out of
12 total for the project).
How to Change Settings as You Use a Project
To Change the ID
Sometimes you must use an ID that is not the next ID in the set, an
ID that is not in the ID set, or an ID you used before. You can
change the ID on the CHANGE ID screen before you do a test or
enter the ID on the SAVE RESULT screen after you do a test.
To use a different, unused ID from an ID set that has a first and
last ID
If Auto Save is on or off:
1 On the home screen, tap the Next ID panel.