-60-
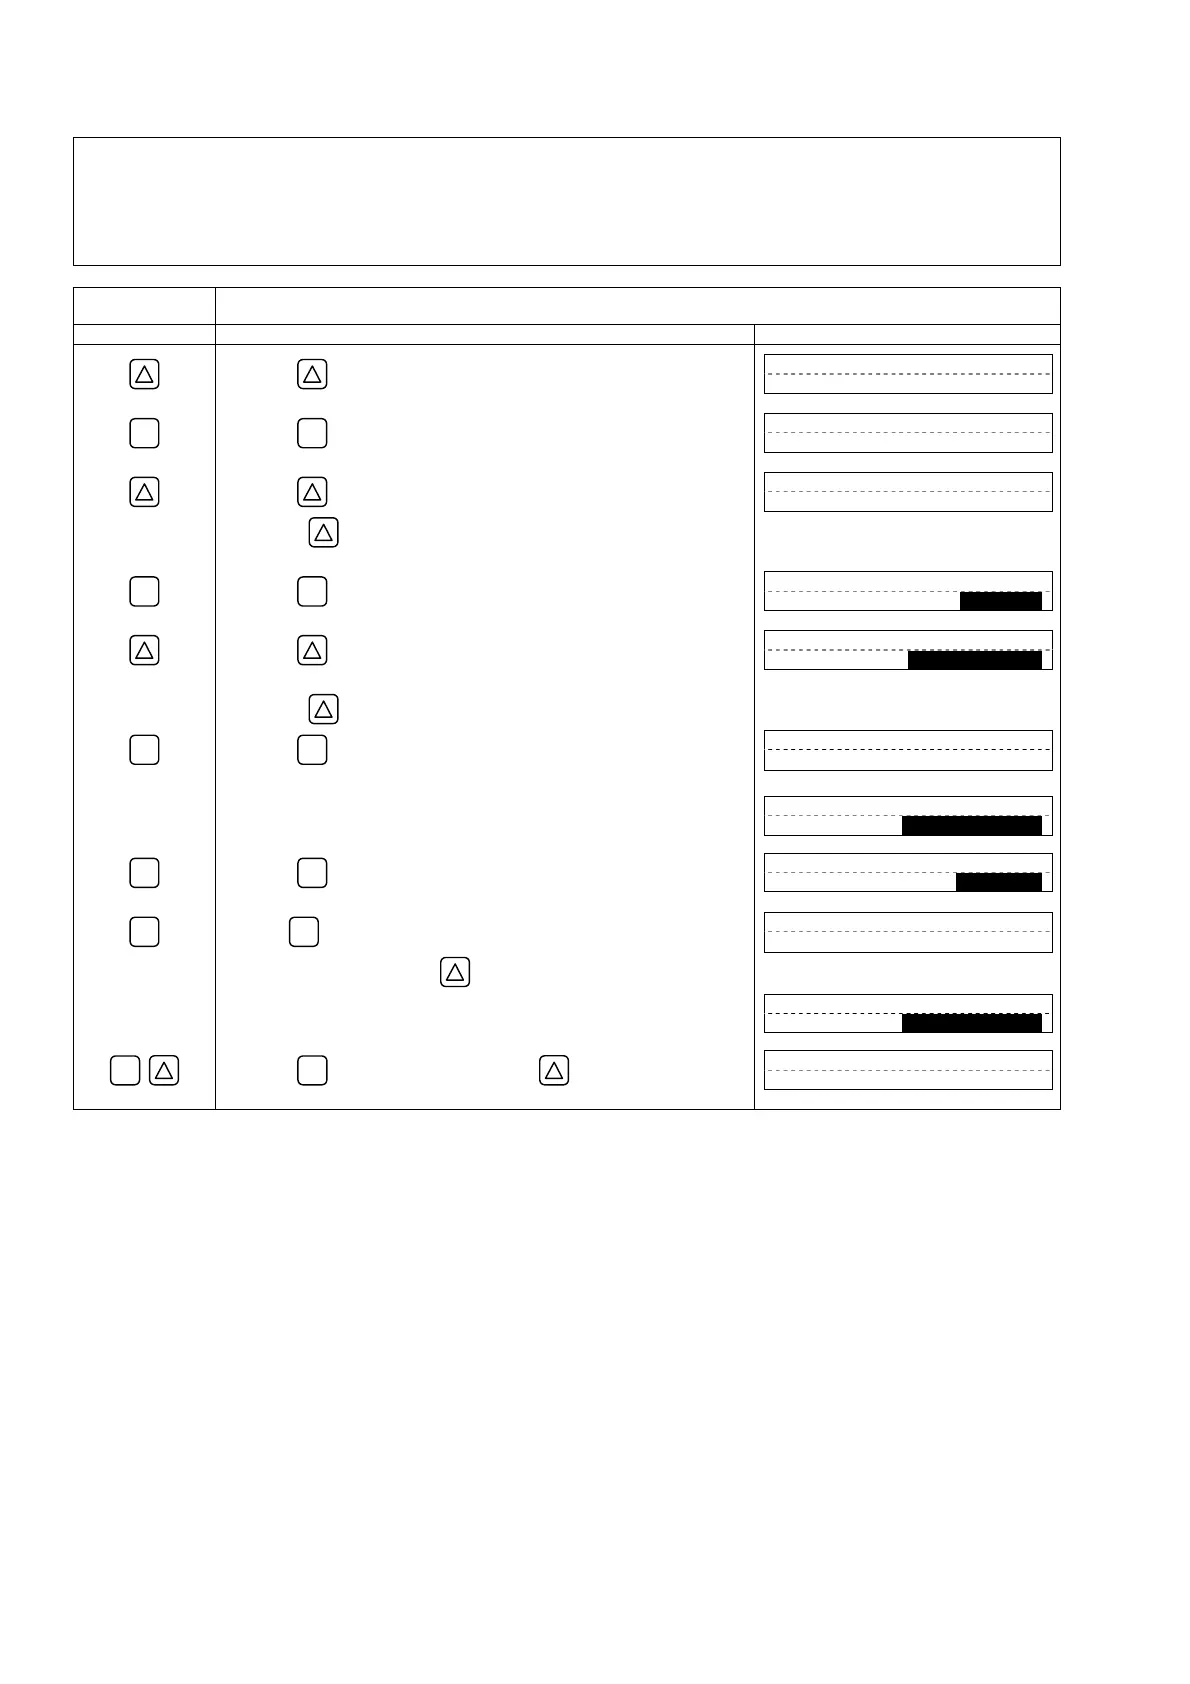
4.10.5.5. How to validate the range over output and pulse range over output
Description
AO RANGE OVER : Select a contact output as DO1 and/or DO2when the upper limit and lower limit output are above the setting.
PULSE RANGE OVER : Select a contact output as DO1 and/or DO2 when the total pulse output exceeds the maximum output
frequency value.
For actual keying, refer to the typical operation indicated below. Set the protection to OFF beforehand. (See Section 4.4.1.)
Operation
(example)
Set the DO1 output to “AO RANGE OVER”.
Also, set the contact to “ACTIVE ON”.
Key operation Description Display
▼
Press the key twice to display “OUTPUT SETUP”.
OUTPUT SETUP
ENT
▼
Press the
ENT
key once to display “ZERO ADJUSTMENT”.
ZERO ADJUSTMENT
SET ZERO
▼
Press the key for 6 times to display “DO1 OUT”.
* Press the
key again to display “DO2 OUT”.
DO1 OUT
NOT USED
ENT
▼
Press the
ENT
key once to blink the cursor.
DO1 OUT
NOT USED
▼
Press the key for 7 times to display “AO RANGE OVER” on the 2nd
line.
* Press the
key again to display “PULSE RANGE OVER”.
DO1 OUT
AO RANGE OVER
ENT
▼
▼
▼
▼
Press the
ENT
key once to register “RANGE OVER”.
DO1 OUT
COMPLETE
↓
――― “RANGE OVER” has been registered. ―――
STATUS OUT
CONTACT ACTION
ENT
▼
Press the
ENT
key once to display “CONTACT ACTION”.
CONTACT ACTION
ACTIVE ON
ENT
▼
▼
▼
▼
Press the
ENT
key once to register “ACTIVE ON”(normally off).
* To select normally
on
, press the key.
CONTACT ACTION
COMPLETE
↓
――― “ACTIVE ON” has been registered. ―――
STATUS OUT
CONTACT ACTION
ESC
Press the
ESC
key twice and then press the key for 3 times to enter
the measurement mode.
0.000 %
0.000 m3
 Loading...