[EN] English - K0460 Calibration procedures 10-3
Issue 1
When the calibration is complete, set the next calibration date;
see Section 2.10.1 (Advanced: Calibration options).
10.4 Procedures
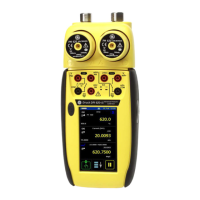
(CH1/CH2): Current
(measure)
1. Connect the applicable calibration equipment specified in
Table 10-1; for example: see Section 3.2.2 (Example
procedure: Measure or source current).
2. Let the equipment get to a stable temperature
(minimum: 5 minutes since the last power on).
3. Use the calibration menu (Section 10.3) to do a three-point
calibration (-FS, Zero and +FS) for each range: 20 mA and
55 mA.
4. To make sure the calibration is correct, select the applicable
Current (measure) function; see Section 3.2.2 and apply
these values:
• mA: -55, -25, -10, -5, 0 (open circuit)
Then mA: 0, 5, 10, 20, 25, 55.
5. Make sure the error is in the specified limits (Table 10-2).
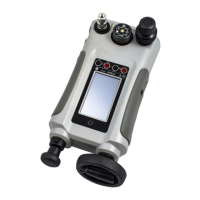
10.5 Procedures
(CH1/CH2): Current
(source)
1. Connect the applicable calibration equipment in Table 10-1;
for example:
• CH1/CH2 (24 mA range): see Section 3.2.2 (Example
procedure: Measure or source current), example B.
• CH2 (-24 mA range only): see Section 3.2.6 (Example
procedure: Measure or source current (24V loop power)),
example B.
2. Let the equipment get to a stable temperature
(minimum: 5 minutes since the last power on).
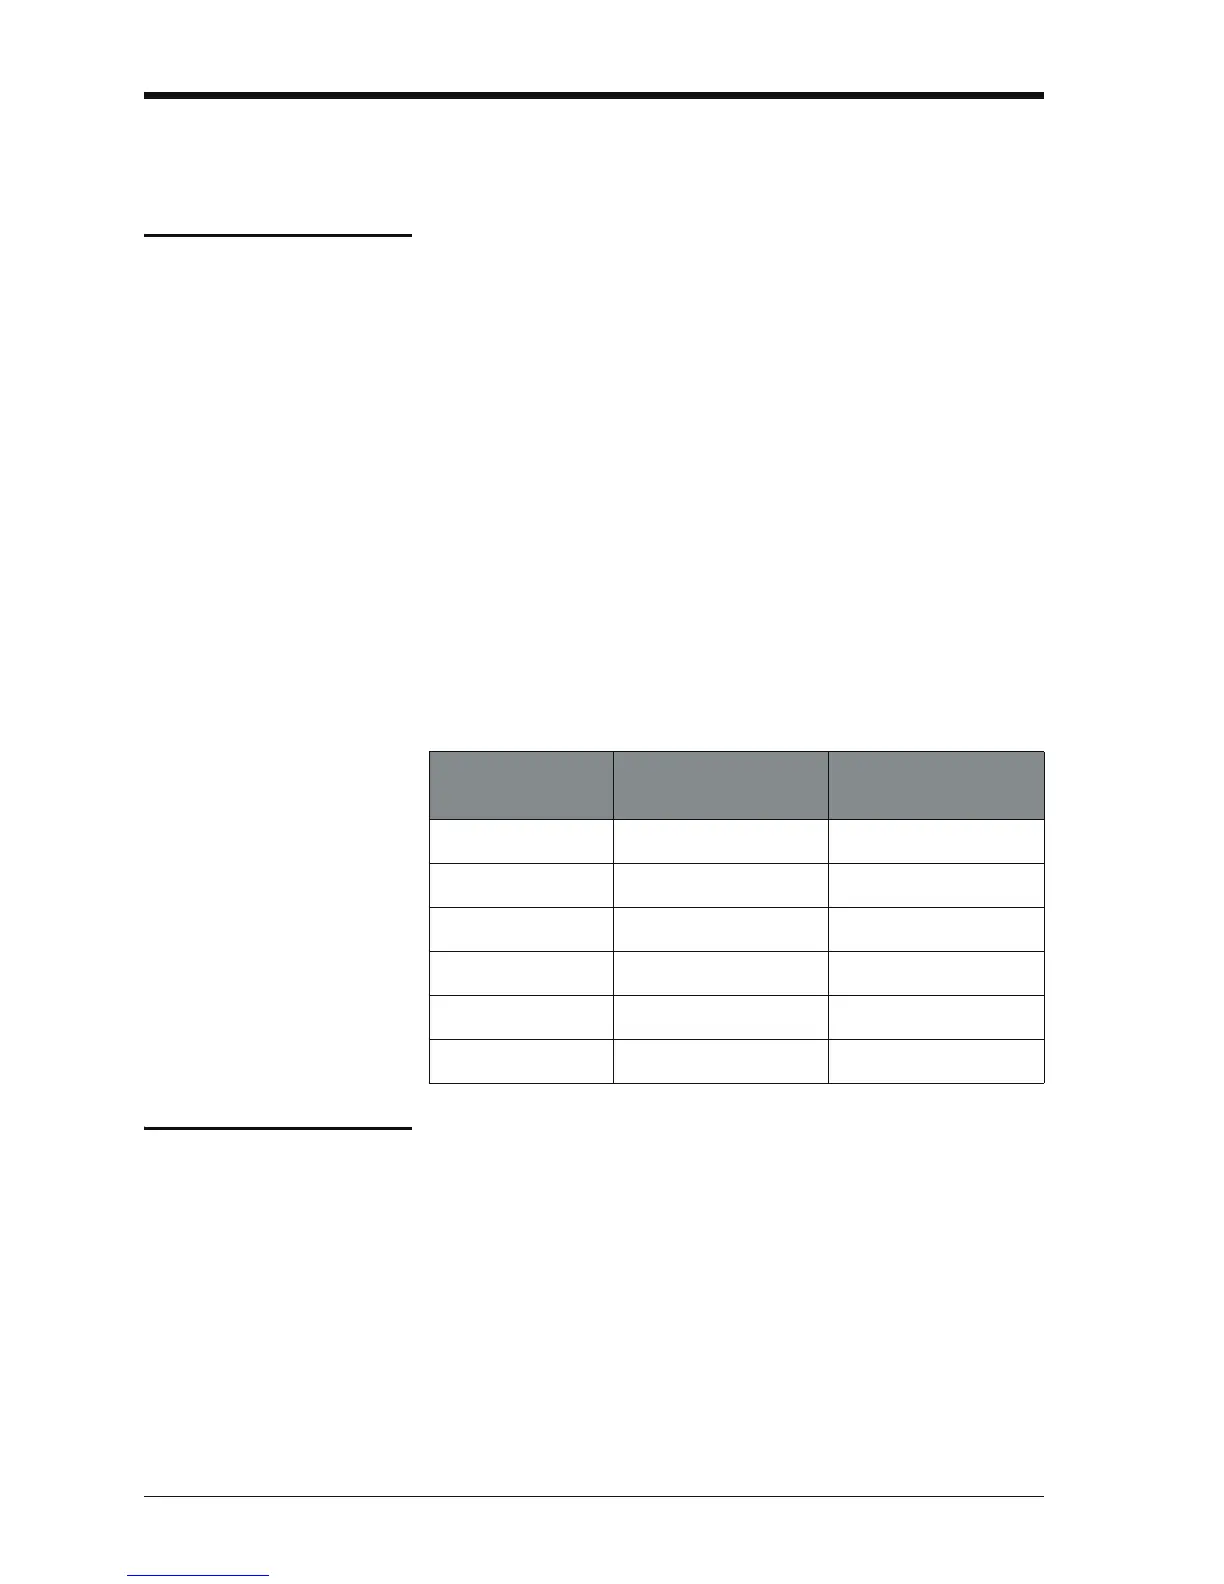
Table 10-2: Current (measure) error limits
Applied
mA
Calibrator
uncertainty (mA)
Permitted
DPI 620-IS error (mA)
±55 0.003 0.0055
±25 0.0025 0.0040
±20 0.00063 0.0022
±10 0.00036 0.0016
±5 0.00025 0.0013
0 (open circuit) 0.0002 0.0010
 Loading...