GE MEDICAL SYSTEMS
D
IRECTION 2380207, REVISION 7 LOGIQ™ 5 PRO SERVICE MANUAL
Chapter 8 Replacement Procedures 8 - 3
8-3-1-4 Removal procedure (cont’d)
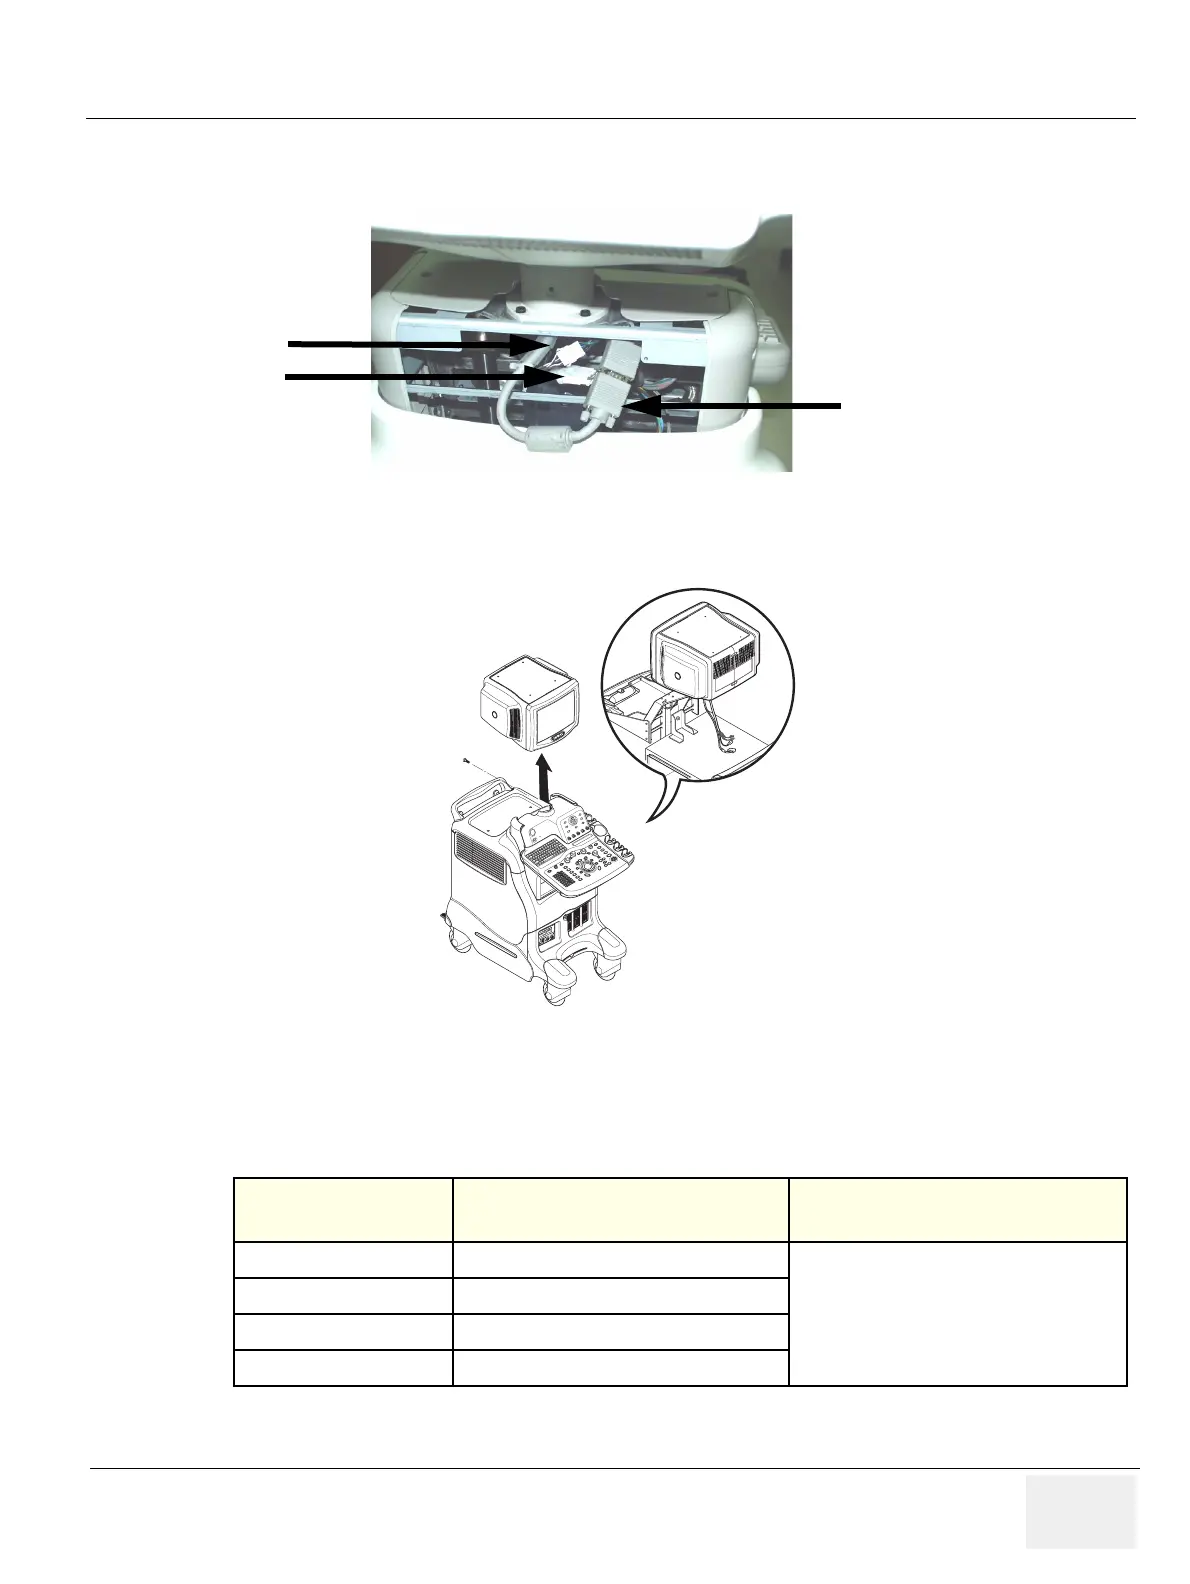
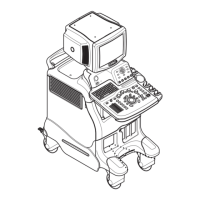
3.) Remove 3Connectors (CN1 - CN3) from the Monitor. Refer to Figure 8-2.
4.) Lift the Monitor Assy upward. Refer to Figure 8-3
.
5.) Remove the Monitor Cover set. Refer to section 8-3-3 on page 8.
6.) Perform the following functional tests. If all are successful, include the debrief script provided below.
8-3-1-5 Mounting procedure
Install the new parts in the reverse order of removal.
Figure 8-2 Disconnect three(3) connectors
Figure 8-3 Lifting the Monitor Assy Upward
Table 8-2 Functional Tests
Service Manual
Section Functional Test / Diagnostic Test Debrief Script
Section 4-3-1
Power On/Boot Up
“Service Manual, Direction
2380207, Rev 7+, Section 8-3-1. Equipment
passed all required tests and is ready for use. “
Section 4-3-2
Power Off / Shutdown
Section 4-10-1
CRT Assy function check procedure
Section 10-5-2
Functional Checks (See Also Chapter 4)
Three Connectors
CN1
CN2
CN3
1
CN1
CN2
CN3


 To Next Page