86 Creating Custom Wavetables
Groove Synthesis
17. In the screen that appears, use soft knob 3 and 4 to name the wavetable.
18. Use soft knob 2 to select a numbered location in the User set for the
new wavetable.
19. Press soft button 4 (ok) to save the wavetable. The wavetable will now
appear at the end of the “U” set along with the name you have given
it. You can now use the Wave Envelope and other controls to sweep
through the wavetable as you like.
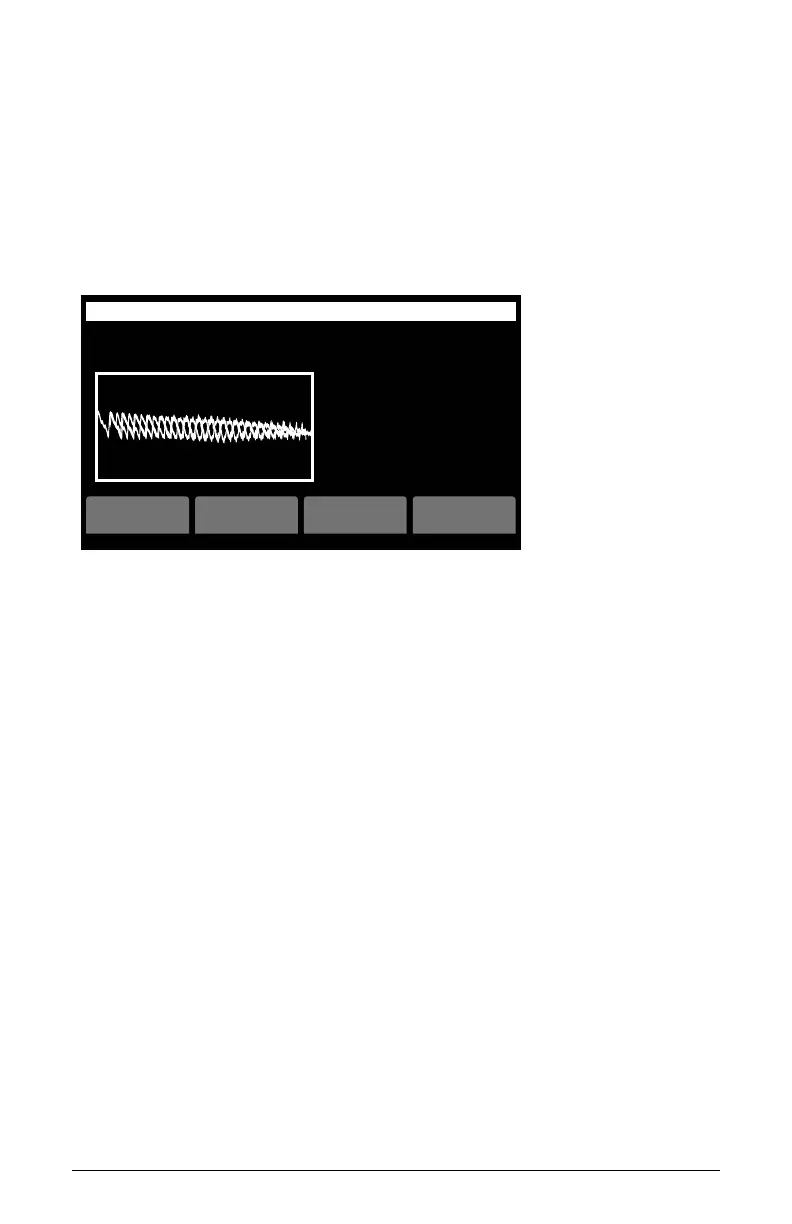
start
Make Waves
end pitch sensitivity
arm steps 1-2 steps 3-4 misc
WAVE
SENSITIVITY
0.125
PITCH
o
B1-P041 Movement OS v1.0
play
Make Wave controls
Creating a Wavetable via USB
A second way to create a wavetable is to record a .wav le externally in
advance and import it into the 3rd Wave over USB.
To import audio via USB:
1. For simplicity, create a Basic Program by pressing the init prog button
from the home screen. (The Basic Init Program conveniently lets you
turn the Mod Wheel on your MIDI controller to sweep through the
waveshapes in the active wavetable, which you will do to audition the
user wavetable you create.)
2. With your computer and an audio recording application, create a mono-
phonic, 96 kHz, 16-bit or 24-bit .wav le.
3. With a USB 2.0 cable, connect the 3rd Wave to your computer. The
3rd Wave will appear on your computer desktop. Double-slick the 3rd
Wave icon to open it. You will see several folders.
4. Drag the .wav le from your computer into the 3rd Wave folder called
“Audio.”