Chapter 5
Power Supplies
76
Copyright © 2008-2011, Harris Corporation
1 Toggle the Power switch to the “Off” position (toggle right) on the front of the power
supply that you wish to remove.
2 Unplug the power supply from its grounded electrical source.
3 Remove the rear panel screw that secures the power supply to the frame chassis. See
Figure 5-1.
Figure 5-1 Removing the Rear Panel PSU Screw
4 Pull out the finger-release screws on the right and left sides of the front panel, and then
open it.
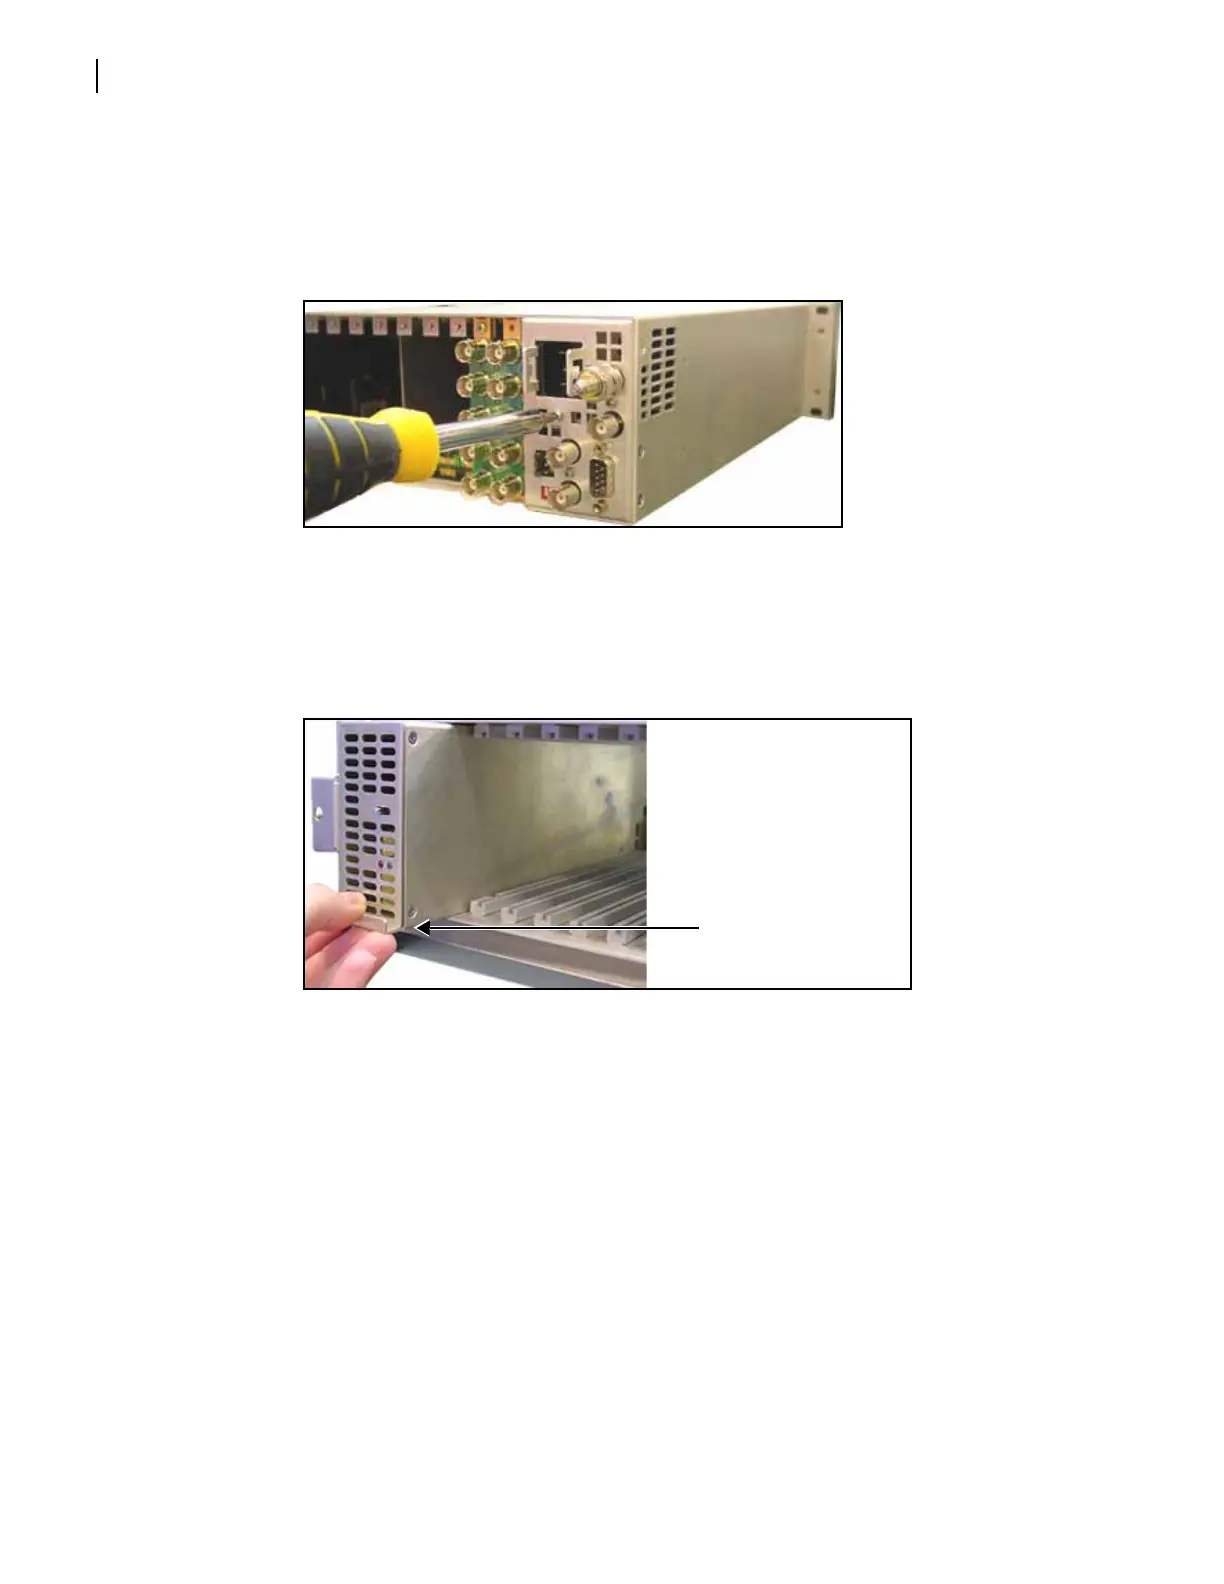
5 Grasp the handle on the front of the power supply, and then pull it out of the frame. See
Figure 5-2 on page 76.
Figure 5-2 Removing a Power Supply
Installing a New Power Supply
1 Pull out the finger-release screws on the right and left sides of the front panel, and then
open it.
2 Slide the new power supply into position in the frame, and then close the front panel.
3 Secure the power supply to the frame with the provided 4-40 rear panel screw. See
Figure 5-1 on page 76 for the screw location.
4 Connect the new power supply to a grounded electrical source, and then toggle the Power
switch to the “On” position (toggle left) at the front of the supply.
Grasp handle on
bottom of power
supply, and pull to
remove