28
Galaxy 2 Series Installation Manual
Link LK1 on the RIO, if altered when the module is powered down, modifies the RIO operation:
• LK1 - short circuit this to by-pass the RIO lid tamper switch SW2
Zones
The Galaxy RIO has eight programmable zones. These default to INTRUDER. Each zone is Double
Balance monitored with a 1 kΩ resistor in series with the zone detector and a 1 kΩ (1%) resistor in parallel
across the detector switch. The change to 2 kΩ (1%) resistance registers the zone as open/alarm.
Outputs
The RIO has four transistorised outputs. Each output is connected to +12 V via a 3k3Ω pull-up resistor
(refer to Table 10). When an output is activated, the load is switched to the negative supply voltage (ground
or 0 V) of the RIO. The current available through each output is 400 mA.
The default functions and pull-up resistors of each RIO output, when connected to a Galaxy 2 Series are
shown in the following Table:
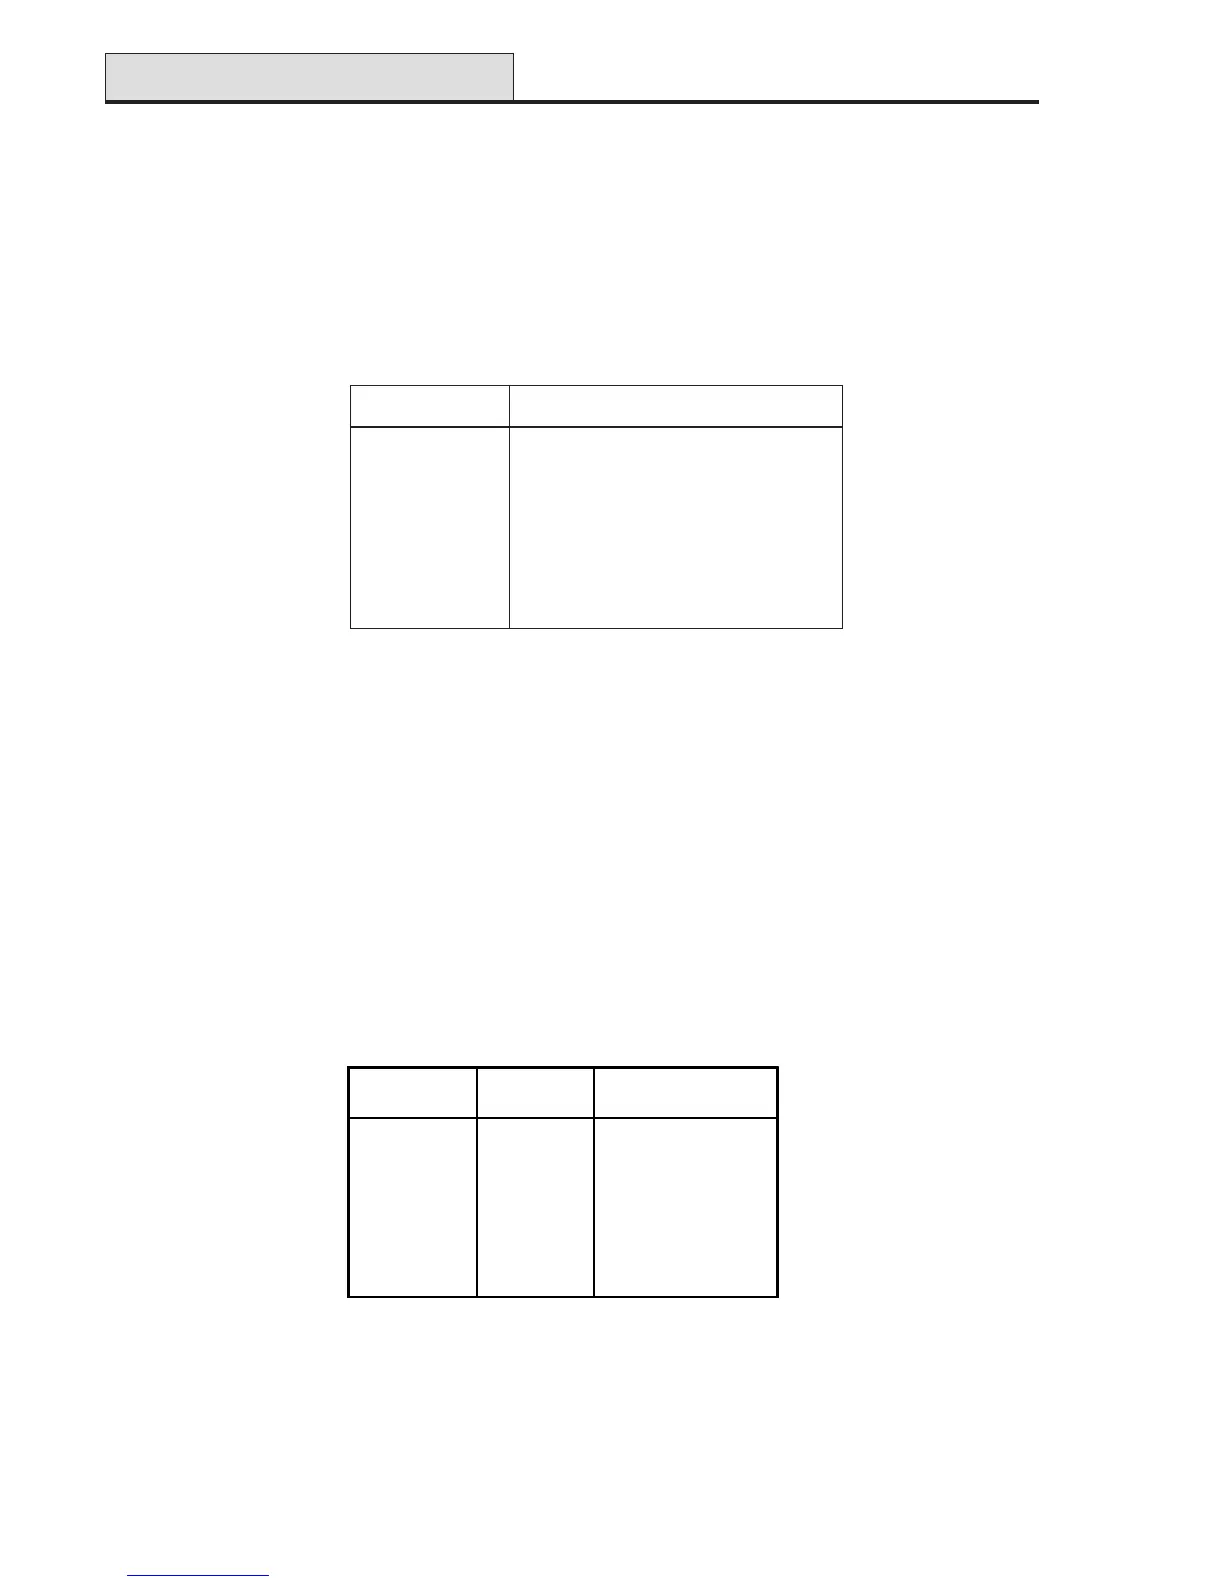
Table 10. RIO Output Default Functions
RIO (cont’d)
Configuring the RIO
The added RIO is configured into the system on exiting from engineer mode. If the message XX Mod Added
[<],[>] To View is displayed, the system has recognised that a new module is present. Press the A or B keys
to confirm that the RIO has been added. If this message is not displayed or the RIO is not on the list of added
modules, then the RIO is not communicating with the control panel or has been set to the same address as the
RIO already connected to the system.
The flash rate of the red LED (LED1) on the RIO indicates the status of the communication with the control
panel - refer to the following Table:
etaRhsalFgninaeM
FFO9.0/NO1.0snoitacinummoclamroN
FFOylppus.c.doN
FFO5.1/NO5.1metsysotniderugifnocneebtonsah
OIR
FFO2.0/NO2.0metsyshtiwnoitacinummoctsolsahOIR
FFO1.0/NO9.0snoitacinummocroopyreV
Table 9. RIO LED Flash Rates
Output No. Function Pull-up Resistor
1 Not Used R1
2 Not Used R3
3 Not Used R5
4 Not Used R7

 Loading...