B_configure.doc 118 Tue Jul 2 15:27:17 1996
118
Changing Your Workstation’s Hardware Configuration
Removing the Main Tray Assembly
Removing the Main Tray Assembly
Perform the following steps to remove the main tray assembly:
1 Power off the system, the monitor, and any peripheral devices. Unplug the system
unit power cord and the power cord of any peripheral devices from ac wall out-
lets. Disconnect the power cord from the system unit.
NOTICE: There is no need to manually shut down the HP-UX operating system on
your workstation before powering it off. When you turn off the power
switch, your workstation automatically shuts down the operating system
before terminating the power.
2 Disconnect cables from any peripheral devices.
3 Attach a static-grounding wrist strap to bare metal on the back panel of the system
unit.
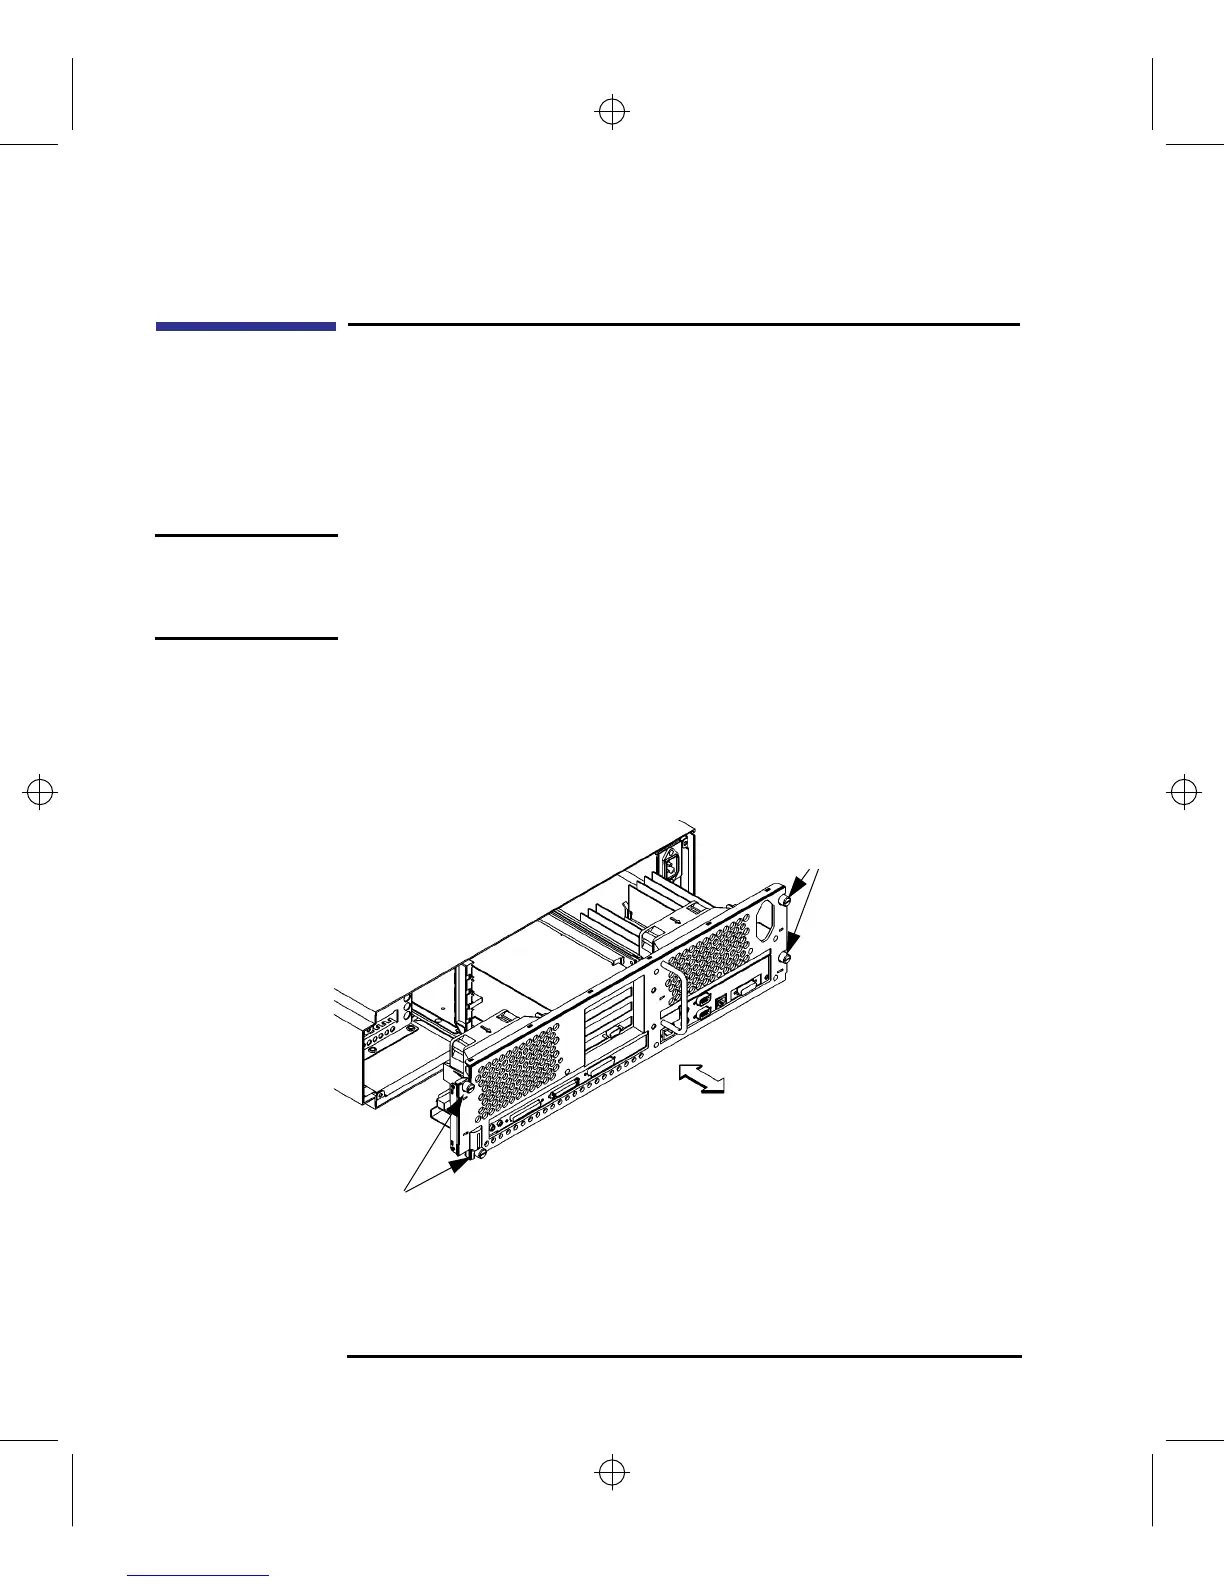
4 Completely loosen the four thumb screws on the rear of the system unit, as shown
in Figure 38.
Figure 38 Removing Main Tray Assembly
Thumb Screws
Thumb
Screws