B_configure.doc 129 Tue Jul 2 15:27:17 1996
129
Changing Your Workstation’s Hardware Configuration
Installing Second Level Cache Boards
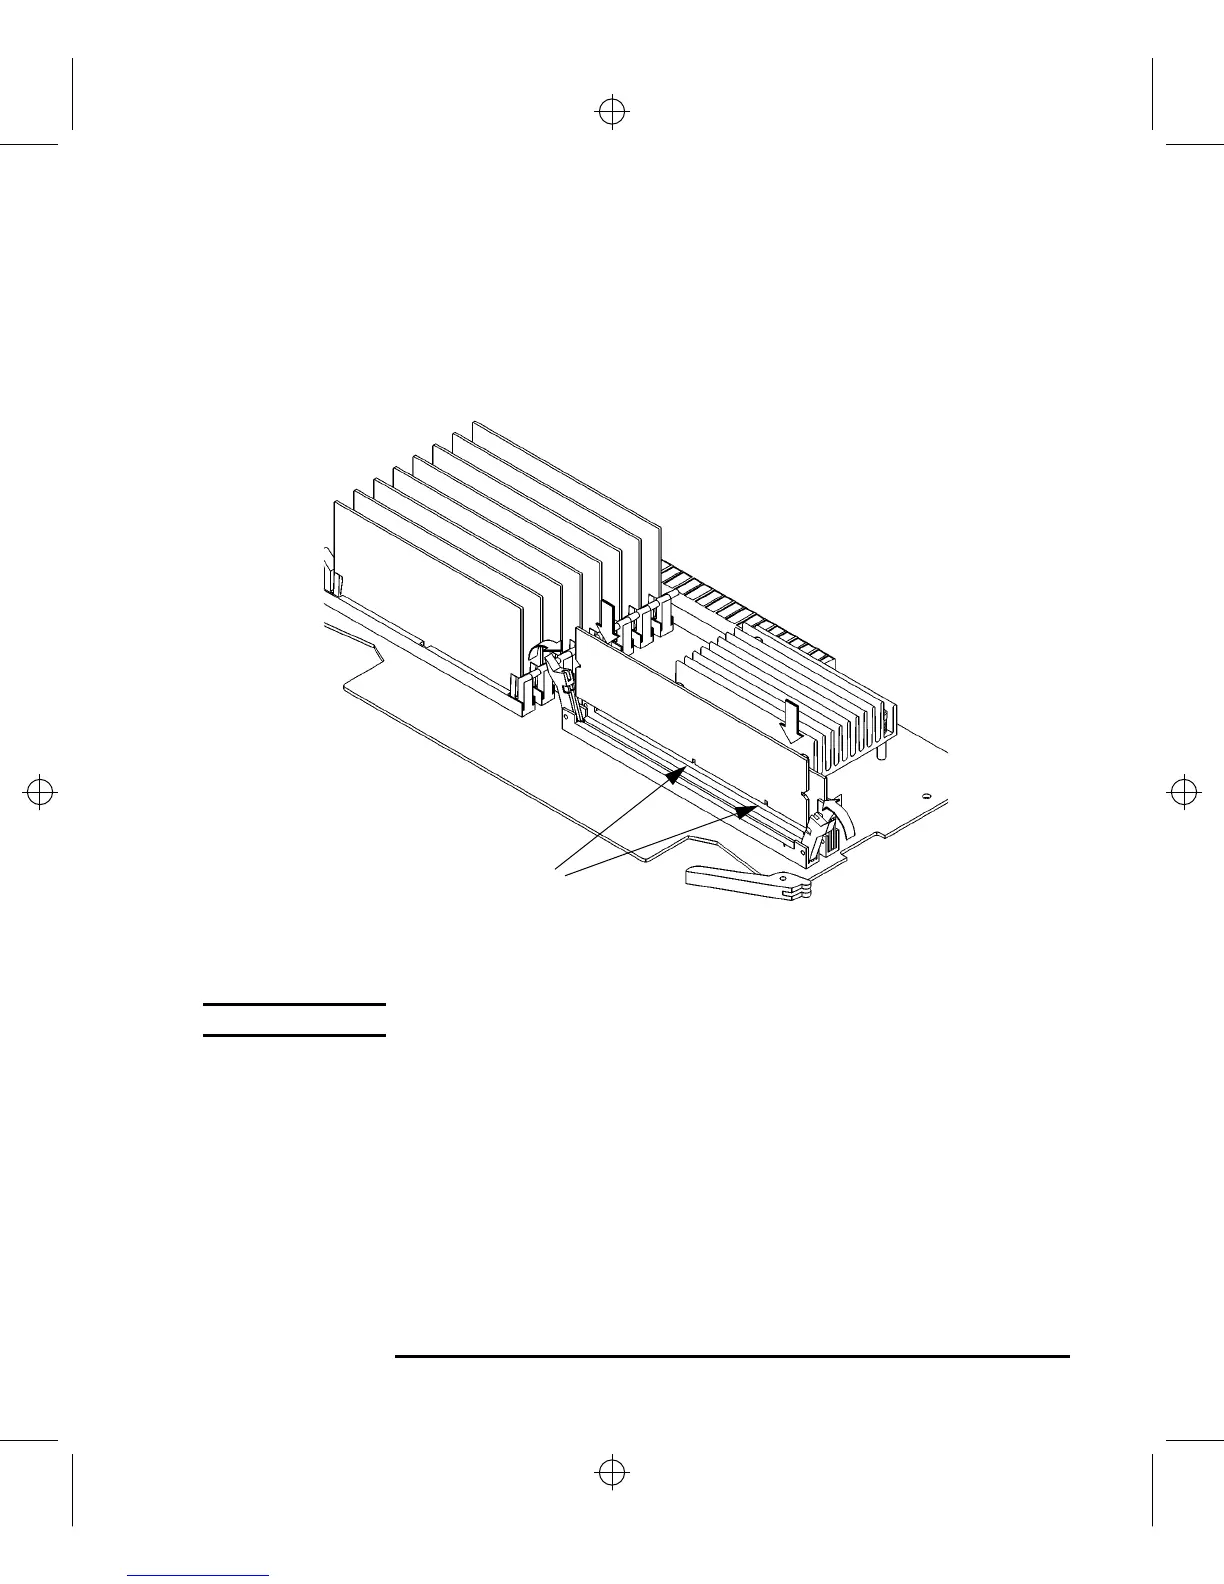
2 Open the ejector tabs on each side of the cache connector and line the cache board
up with the guides making sure that the keying notches along the connector edge
of the board are away from the memory modules, as shown in Figure 43.
Figure 43 Installing Cache Boards
NOTICE: You must install cache boards in pairs of equal size.
3 Press firmly and evenly on the cache board to ensure that it is fully seated. The
ejector tabs will close and engage the notches on the sides of the cache board as
you push down.
4 Perform the procedure in Replacing the Main Tray Assembly on page 120.
Keying Notches