B_configure.doc 120 Tue Jul 2 15:27:17 1996
120
Changing Your Workstation’s Hardware Configuration
Replacing the Main Tray Assembly
Replacing the Main Tray Assembly
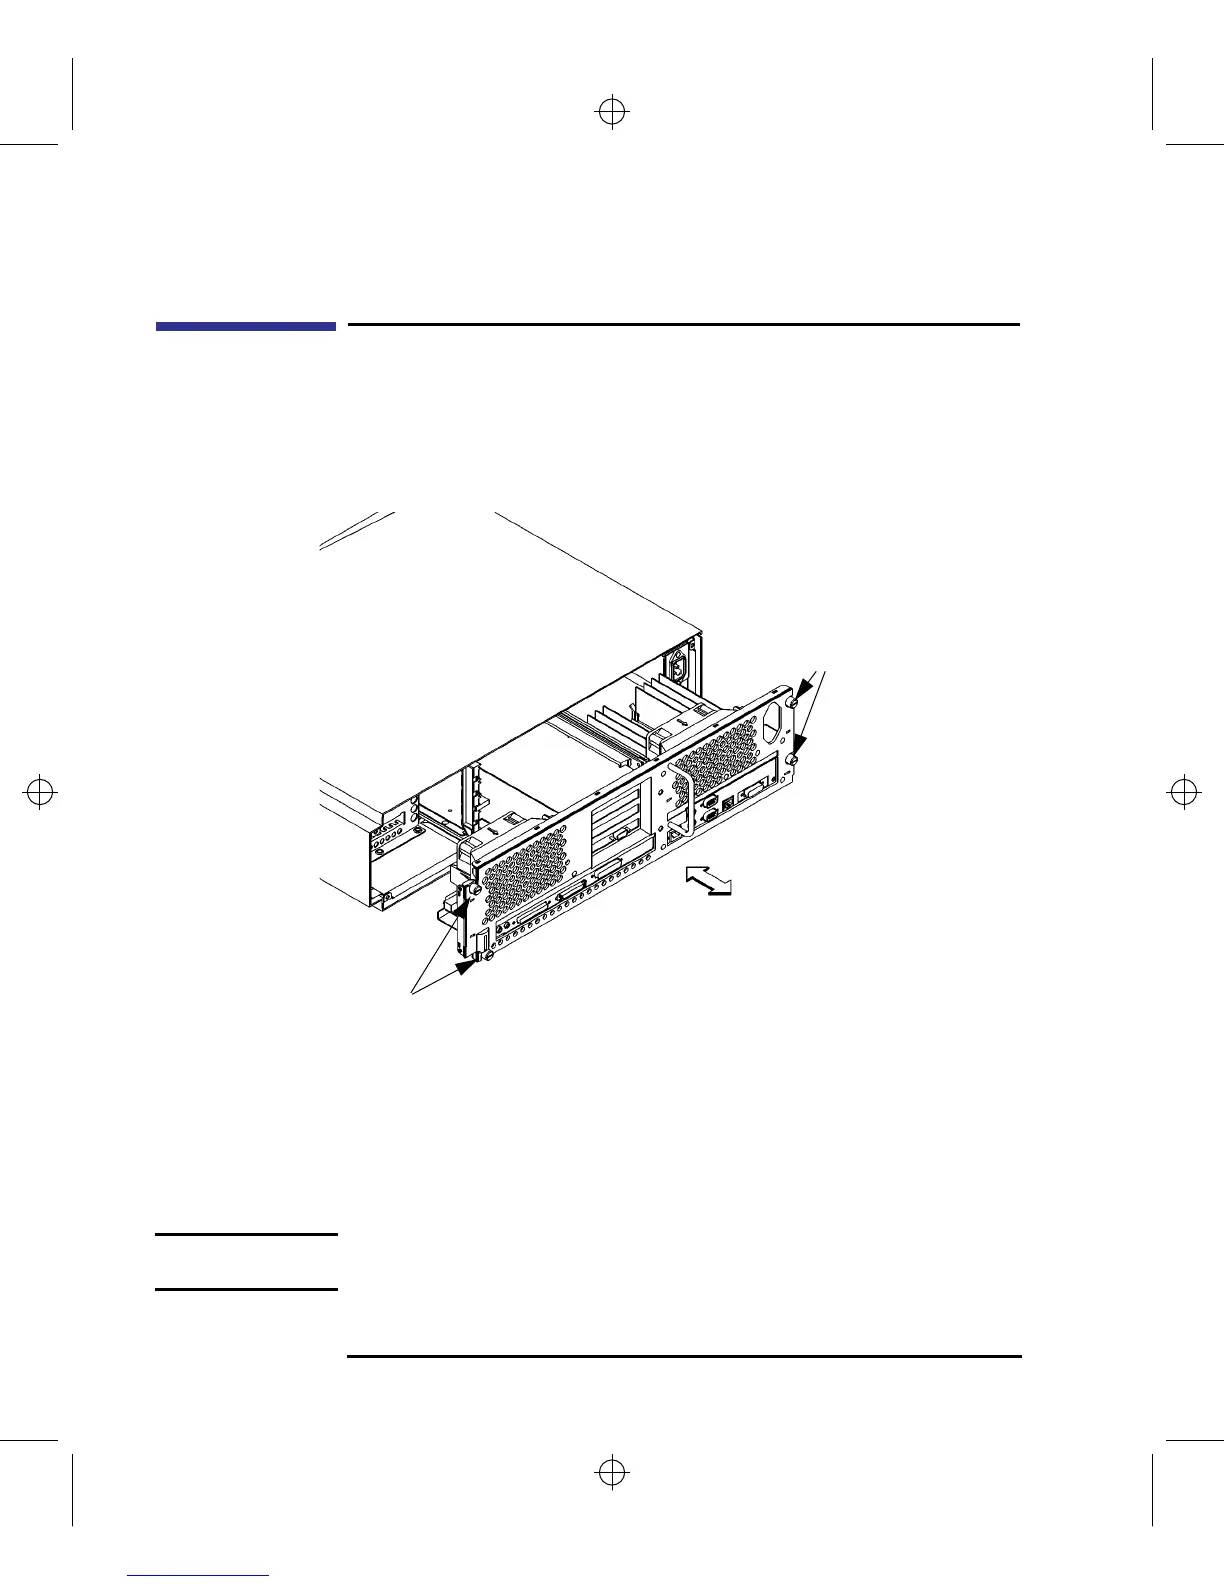
Perform the following steps to replace the main tray assembly:
1 Align the main tray assembly with the chassis and slide it into place, as shown in
Figure 39.
Figure 39 Replacing the Main Tray Assembly
2 Slide the main tray in until you feel it make contact with the internal connectors.
3 Push firmly and evenly on the main tray assembly to make sure that all connec-
tors are fully seated.
4 Start all four thumb screws loosely, then tighten them firmly See Figure 39.
NOTICE: To maintain FCC/EMI compliance, verify that the main tray is fully seated
and all four thumb screws are completely tightened.
Thumb Screws
Thumb
Screws