Solenoid hood lock (Smart cover lock) (optional)
To remove the hood lock:
1. Disconnect power from the system (
Predisassembly procedures on page 60) and remove the side
access panel (
Side access panel on page 66).
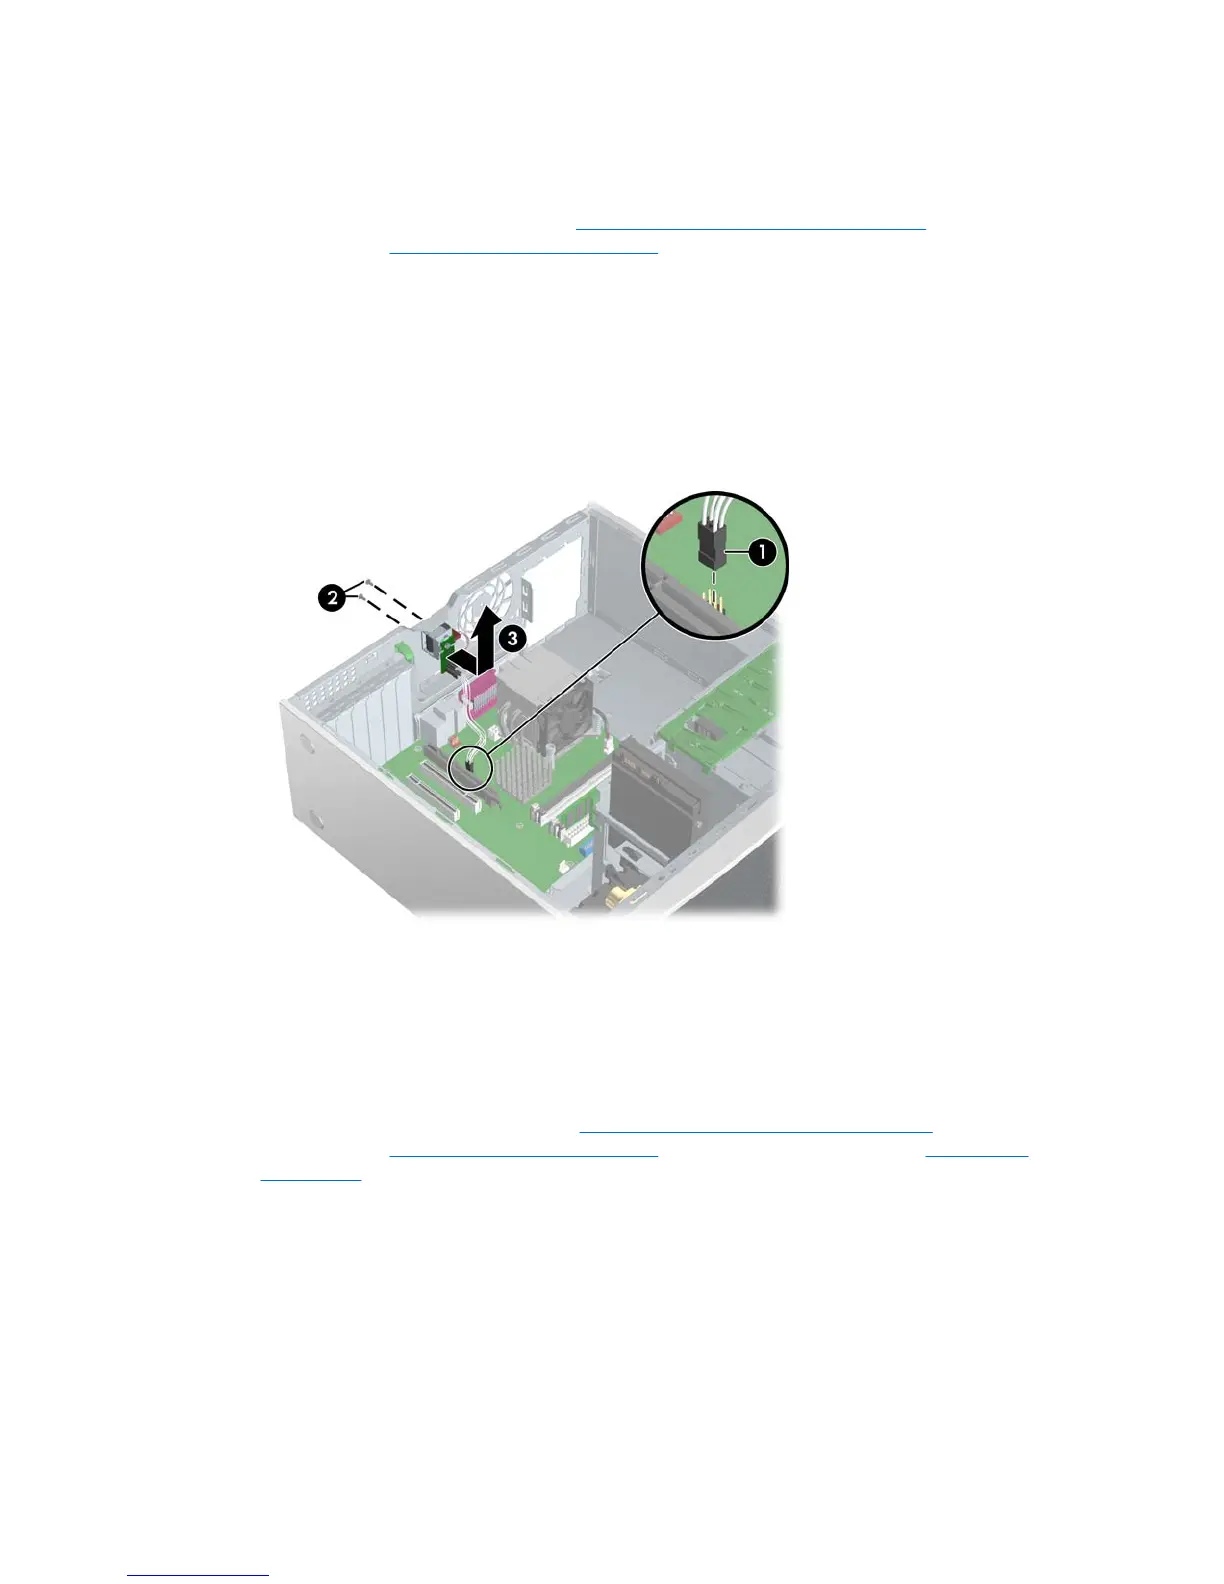
2. Disconnect the solenoid hood lock cable 1 from the system board.
3. Using the FailSafe key (T-15 wrench), unscrew the two screws 2 from the back of the chassis as
shown in the following illustration.
To purchase a FailSafe key, contact your authorized HP reseller or service provider or visit the HP
web site for ordering information.
4. Slide the solenoid hood lock assembly 3 away from the chassis and out of the unit.
Figure 4-10 Removing the hood lock
To install the hood lock, reverse the previous steps.
Front panel I/O device assembly
To remove the front panel I/O device assembly:
1. Disconnect power from the system (
Predisassembly procedures on page 60), remove the side
access panel (
Side access panel on page 66), and remove the front bezel (Front Bezel
on page 67).
2. Unlatch the plastic snap that secures the cables inside the chassis and disconnect the front panel
I/O device assembly cables from the system board.
3. Remove the two smaller Torx screws 1 that hold the front panel I/O device assembly 3 and bracket
to the chassis.
4. Remove the two larger Torx screws 2 that hold the front panel I/O device assembly 3 to the bracket.
5. Separate the bracket away from the front panel I/O device assembly.
ENWW Steps for removal and replacement of components 69

 Loading...


