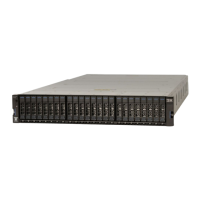
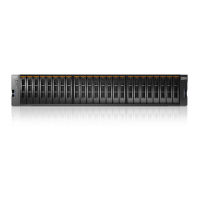
6. Fold the sides and back of the carton down to uncover the front of the expansion enclosure.
If necessary, carefully cut along the lower fold lines and remove each of the sides.
7. Carefully cut the foam packing away from the front of the enclosure.
8. Carefully cut open the bag that covers the front of the enclosure.
9. Remove the leftmost drive or drive ller. Note it's location (and it's serial number, if it is a drive) and
set it aside.
10. Repeat until all drives or drive llers are removed from the enclosure.
11. Lift the enclosure from the shipping carton. Note that the rear half of the enclosure is heavier than the
front half.
Note: With the drives removed, the enclosure weighs approximately 17 kg (37 lb).
Installing support rails for 2U expansion enclosures
Before you install 2U expansion enclosures, you must rst install support rails.
Procedure
To install the support rails, complete the following steps.
1. Locate the expansion enclosure rails (Figure 16 on page 18
).
The rail assembly consists of two rails that must be installed in the rack cabinet.
Figure 16. Expansion enclosure support rails
2. Locate the hardware that is used to install the rails, including two rail springs, two sets of eight
bracket pins, and two M5 screws.
Set the hardware aside for use later in the installation process.
3. Install a spring on each rail.
a) Extend the rail to its full length.
b) Push one looped end of a spring over one stud on the inside of the rail. (See Figure 17 on page
19.)
Note: Some models of rail have the studs on the outside of the rail.
18
Storwize V7000 : Gen3 Quick Installation Guide for MTM 2076-724, 2076-U7B, 2076-12F, 2076-24F, and
2076-92F
 Loading...


