6. Replace the air baffle (see “Installing the air baffle” on page 150), making sure
all cables are out of the way.
7. If you have the optional hot-swap rear hard disk drive cage installed, rotate it
down (see “Rotating the optional hot-swap rear hard disk drive cage down” on
page 148).
8. Install the cover (see “Installing the cover” on page 146).
9. Reconnect the external cables; then, reconnect the power cords and turn on
the peripheral devices and the server.
10. Go to the Setup utility and make sure all the installed DIMMs are present and
enabled.
Removing an IBM virtual media key
To remove a virtual media key, complete the following steps:
1. Read the safety information that begins on page vii and “Installation guidelines”
on page 133.
2. Turn off the server and peripheral devices and disconnect all power cords and
external cables.
3. Remove the cover (see “Removing the cover” on page 145).
4. Remove the PCI riser-card assembly (see “Removing the PCI riser-card
assembly” on page 150).
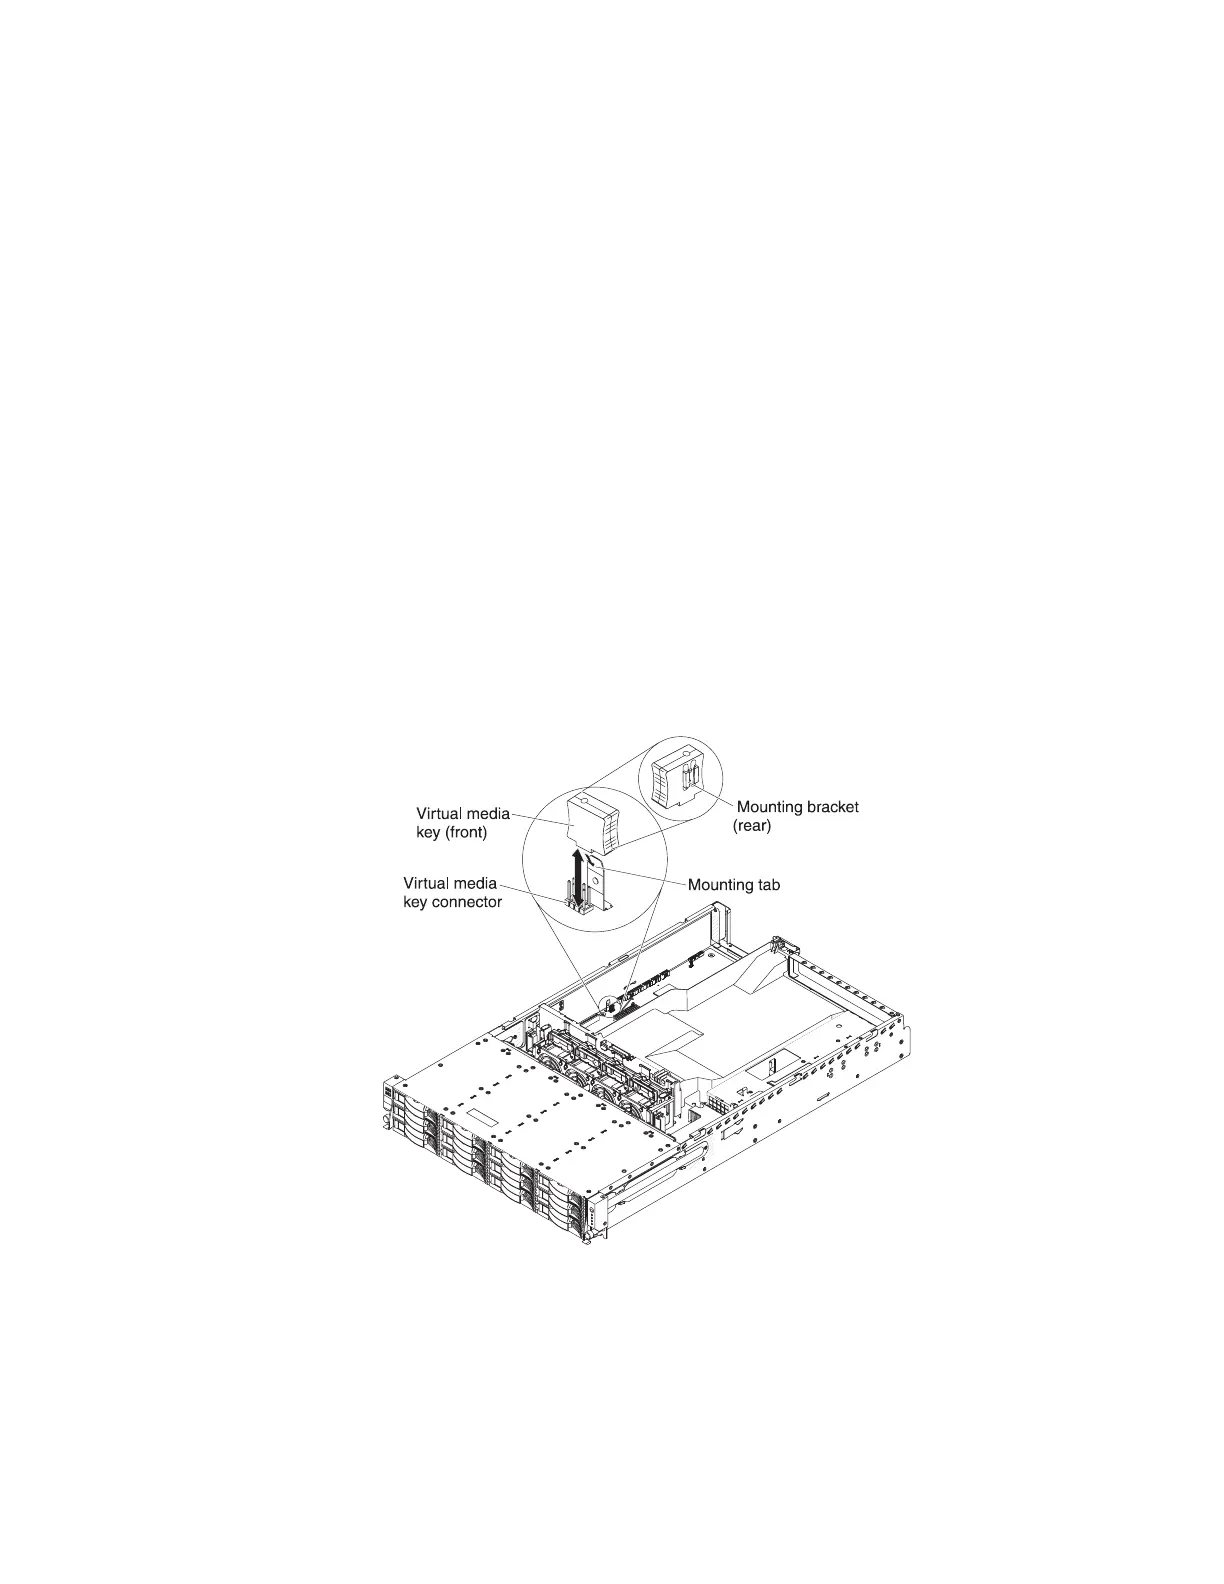
5. Locate the virtual media key on the system board. Grasp it and carefully pull it
off the virtual media key connector pins.
Installing an IBM virtual media key
To install a virtual media key, complete the following steps:
1. Align the virtual media key with the virtual media key connector pins on the
system board as shown in the illustration.
Chapter 5. Removing and replacing server components 167
 Loading...


