5 - 17
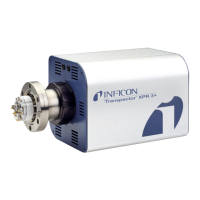
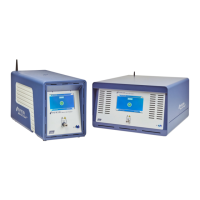
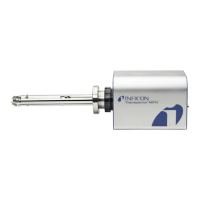
Transpector MPH Operating Manual
5.5.2.2.2 Using the Leak Check Mode
To leak check with Transpector MPH using Transpector Web UI:
1 Click LEAKCHECK to display the LEAKCHECK window.
2 Determine the gas that will be used for leak checking.
3 Enter the MASS of the leak check gas.
HINT: Typically the leak check gas is helium, whose mass is 4 AMU.
4 Select the desired DWELL time. A longer dwell will decrease the random noise
of the signal.
5 Click SET.
NOTE: If audio alarms are desired, make sure that the computer audio output
is at an appropriate level and Google Chrome is used as the browser.
6 If the signal starts exceeding the alarm levels while not spraying the leak check
gas, click AUTO SET to automatically reset the alarm levels to reduce the
signal below the current alarm. AUTO SET implies that the signals generated
by Transpector MPH are normal and displays green for alarm status.
7 Spray leak check gas around the area of interest and monitor for changes in
the Mass Trend Graph.
8 Continue spraying the leak check gas until the Thermometer Bar indicates an
alarm status with a change in color.
NOTE: An audible alarm will be heard if Google Chrome is the browser and
sound is enabled.
9 When finished with leak checking, leave the LEAKCHECK window.
5.5.2.3 Tune Mode
Transpector Web UI allows for mass-scale tuning of Transpector MPH. Since
tuning can alter the quality of data recorded by Transpector MPH, the TUNE
window is password locked. To enter the TUNE window, click TUNE and type the
password: Admin.
Tuning of Transpector MPH should only be done by
qualified operators. Changes to the tune file can affect
the ability to accurately collect data.
Do not enter Tune Mode without being well versed in how
to tune Transpector MPH.