Intermec EasyCoder 501 E – Installation & Operation Ed. 1116
Chapter 12 Maintenance
Printhead
Replacement
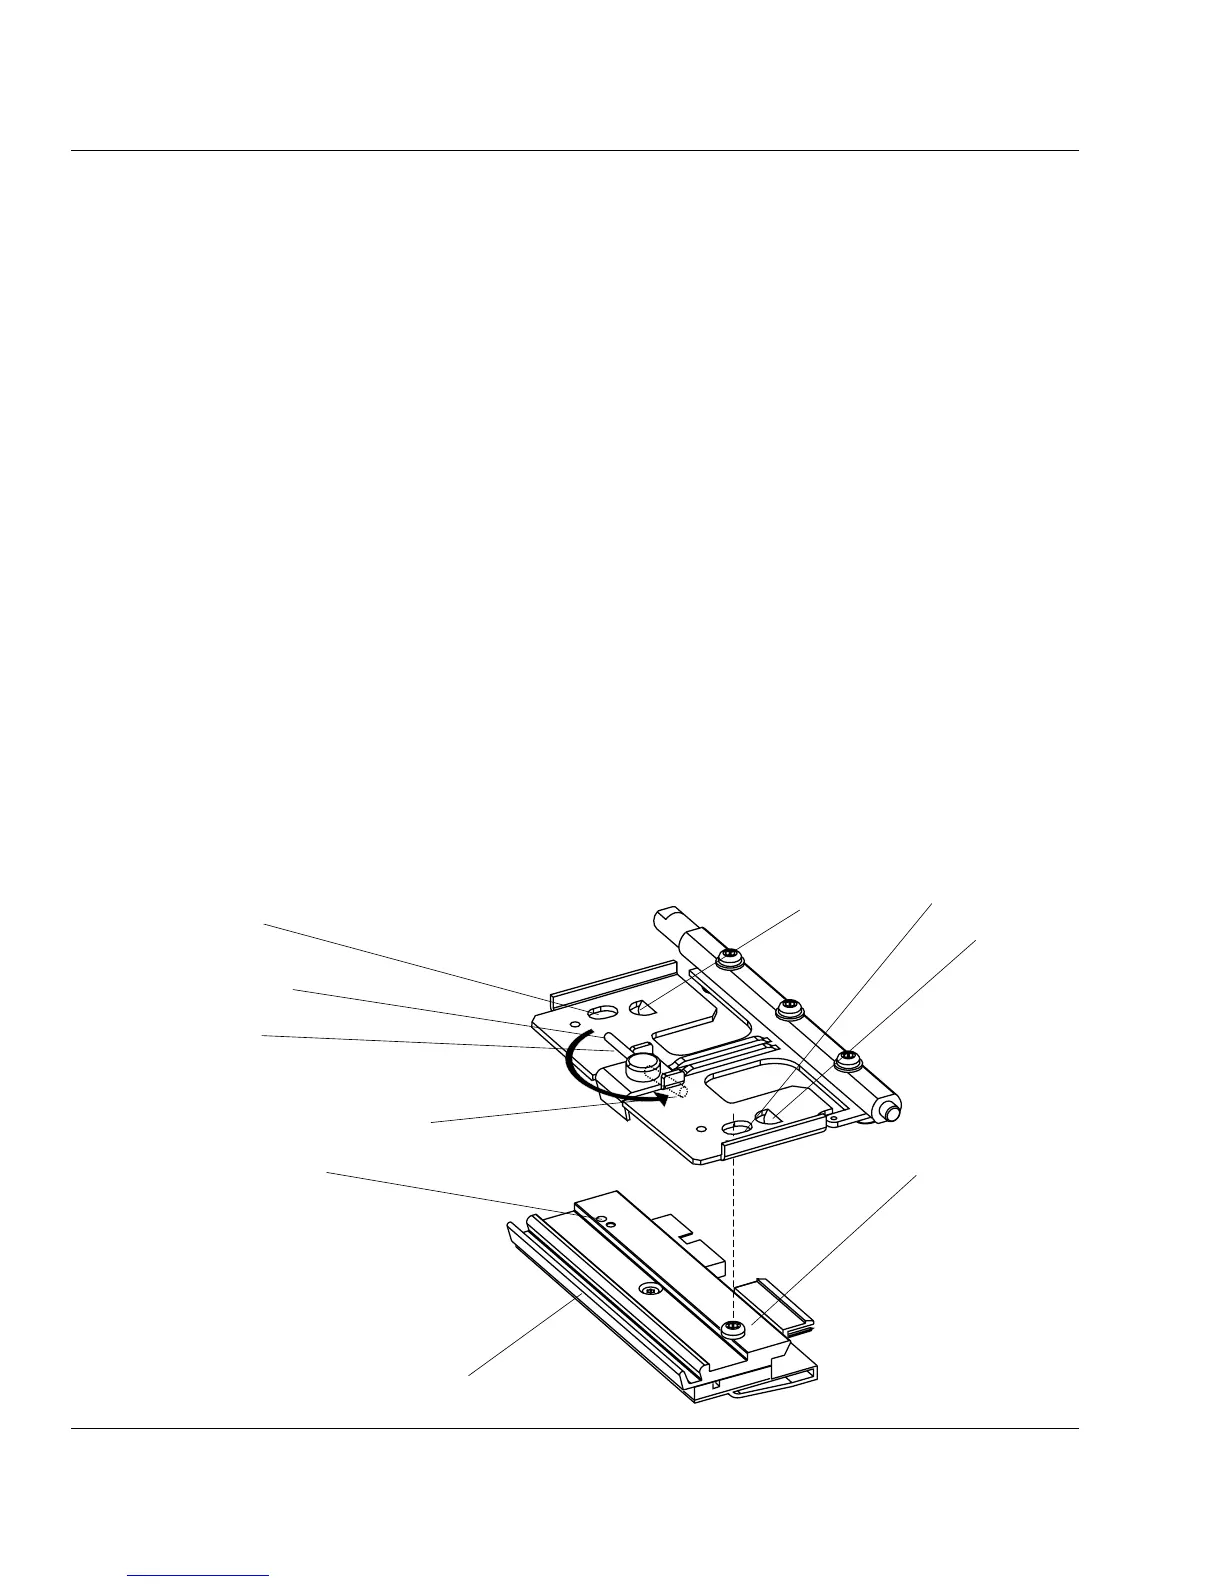
The quick-mount thermal printhead is easy to replace:
• Switch off the printer.
• Open the front and right-hand doors.
• Lift the printhead and remove the media and ribbon.
• Rotate the printhead lock handle counterclockwise to open
position, see illustration.
• Remove the printhead assembly carefully as far as the cables
allow.
• Remove the two printhead cables by pulling at the connectors.
• If you want to change the lateral position of the printhead, move
the #T20 Torx screw to its alternative position.
• Connect the two cables to the printhead.
• Fit the replacement printhead assy back into the bracket so
the guide screw fi ts into its slot and the rear end of the assy
is held by the two lugs.
• Rotate the locking handle clockwise to locked position.
• Load media and ribbon. Then engage the printhead.
• Switch on the power. At power-up, the printer will automatically
reset itself to the characteristics of the printhead in regard
of head resistance.
Lug
Guide Screw
Slot
Lug
Open Position
Lock Handle
Locked Position
Alternative position
for guide screw
Printhead assy
Slot (for alternative
position of guide screw)