© 2006 Japan Cash Machine Co., Ltd.. All rights reserved.
The LED pattern can be changed according to your perference. Select between pattern 1 and
pattern 2. The default setting is pattern 1.
.
.
LED Illumination Pattern Setting
1.•Make a note of the current DipSw setting.
2.•Power off.
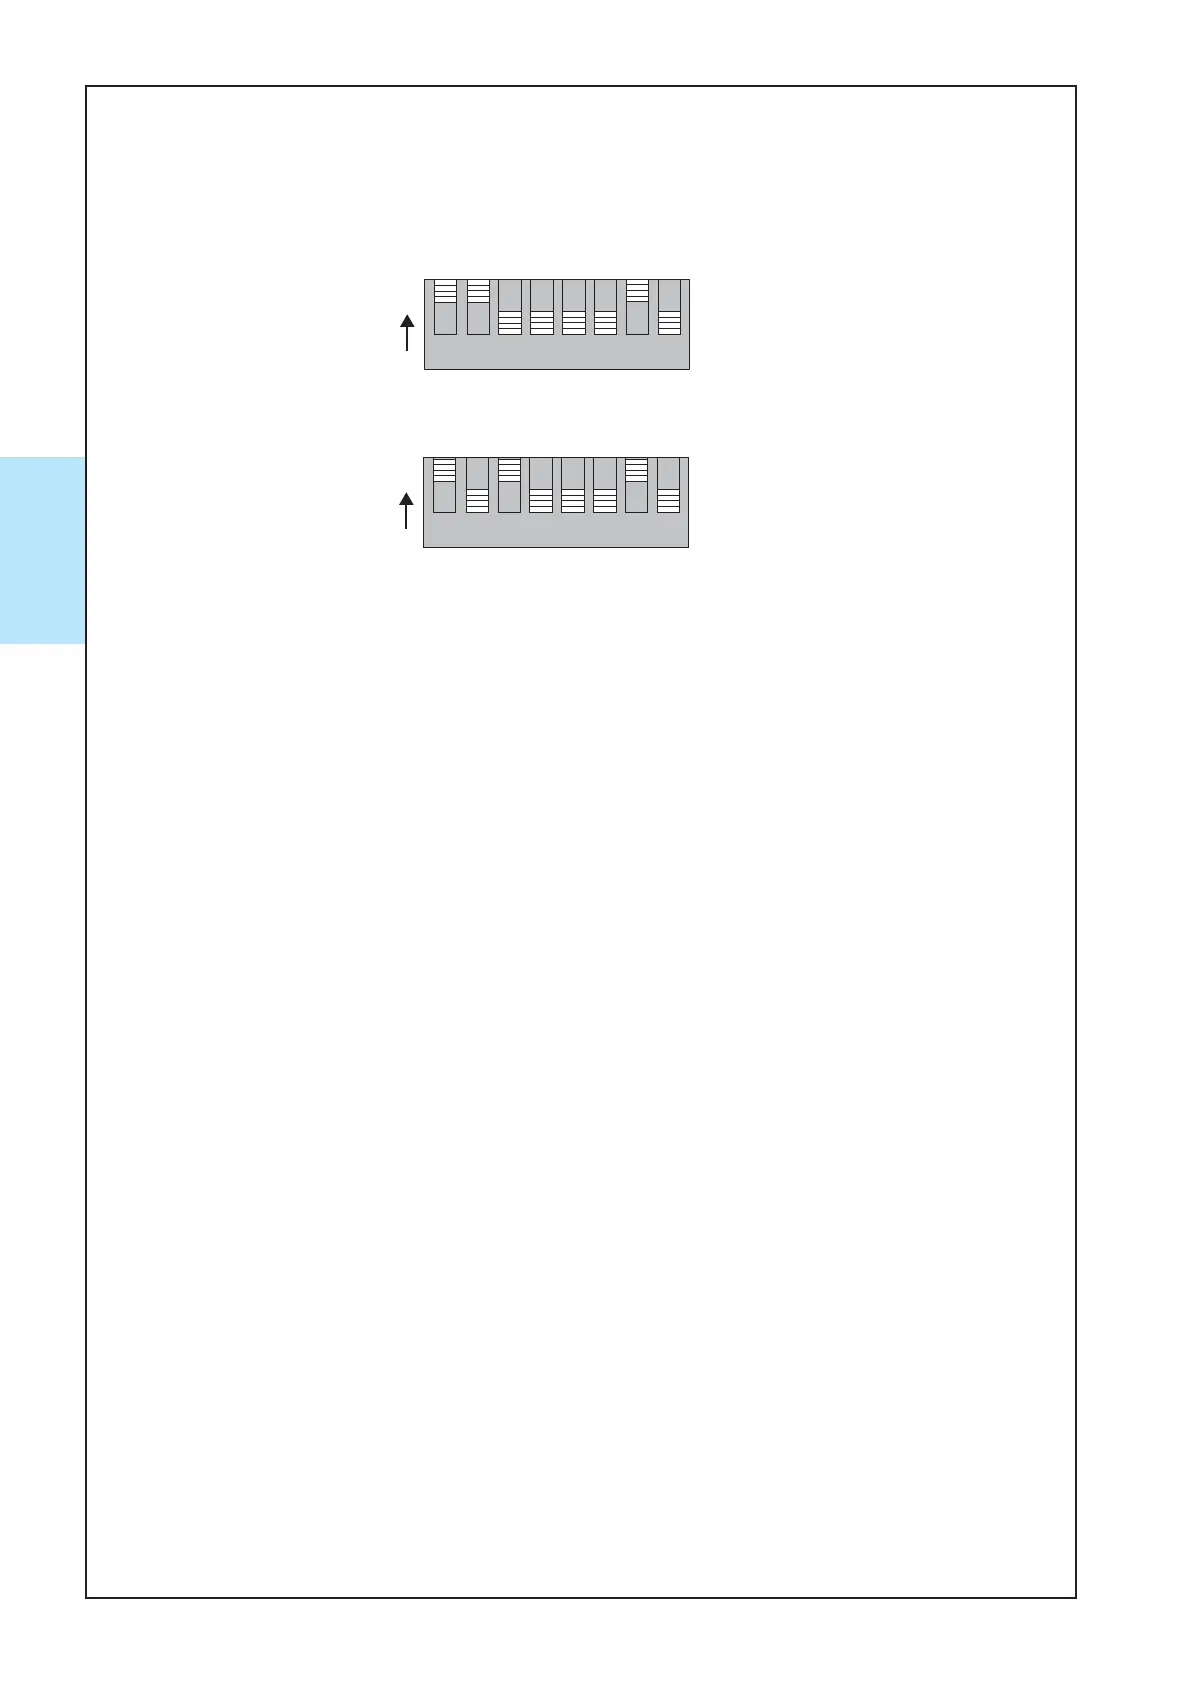
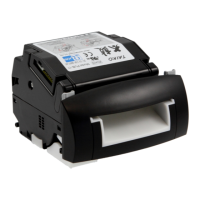
3.• [Pattern 1] Power up the acceptor with DipSw1,2,7 = ON. Other switches = OFF.
[Pattern 2] Power up the acceptor with DipSw1,3,7 = ON. Other switches = OFF.
[Pattern 3] Power up the acceptor with DipSw1,7 = ON. Other switches = OFF.
[Pattern 4] Power up the acceptor with DipSw1,2,3,7 = ON. Other switches = OFF.
[Pattern 5] Power up the acceptor with DipSw1,4,7 = ON. Other switches = OFF.
[Pattern 6] Power up the acceptor with DipSw1,2,3,4,7 = ON. Other switches = OFF.
4.•Power up.
5.•Set DipSw1 = OFF, then LED illumination pattern is selected.
6.•If Setting is completed, Power OFF.
7.•Restore the original DipSw setting.
8.•Power up.
9.•Acceptor returns to standby mode and the setup is completed.
-•#1: Change color one into another color with SOFT Crossing
-•#2: Change color one into another color with HARD Crossing
-•#3: Lit in solid blue.
-•#4: Lit in solid green.
-•#5: Blink slowly in blue.
-•#6: Blink slowly in green.