FX-3R Maintenance Guide
8-15
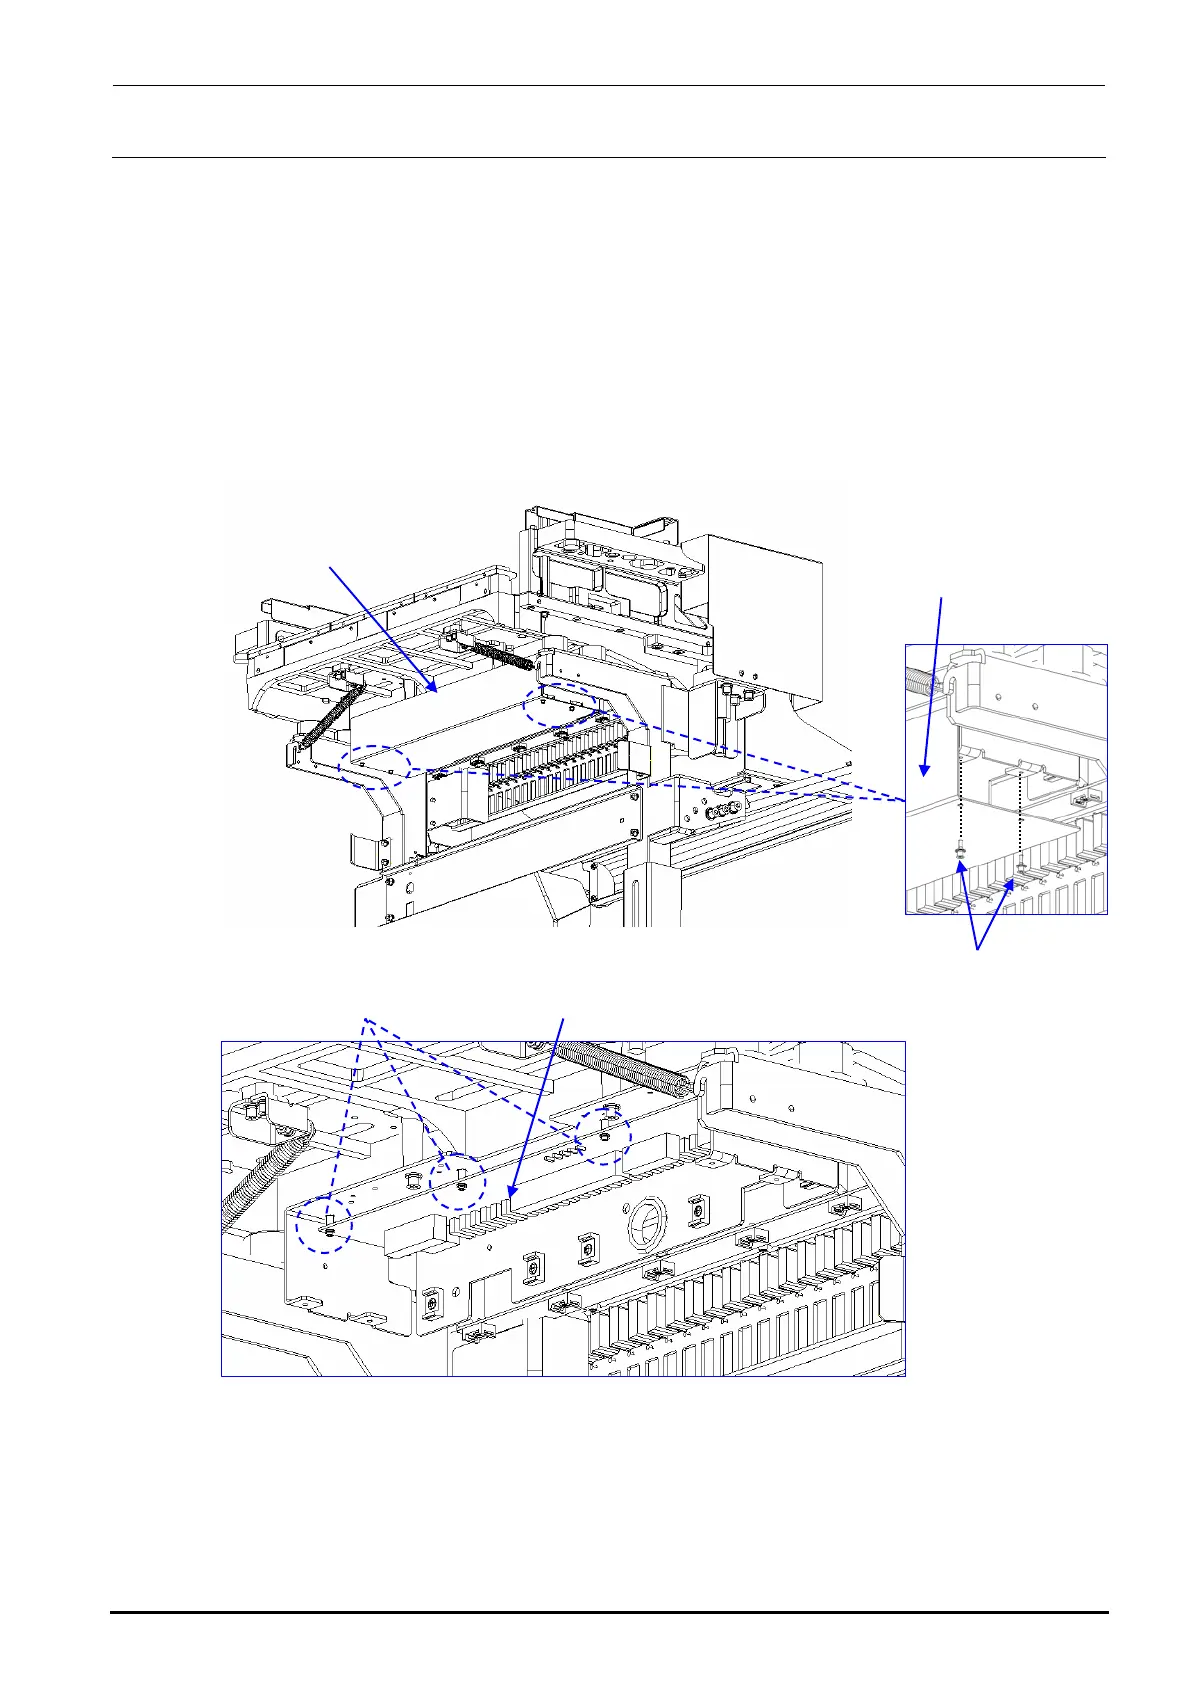
8-3-3. Replacing the Bank PCB
1) Remove the mounting bolts (hexagon socket head cap bolt with washer, M3 L=8) to detach the
front panel.
2) Disconnect the connectors (cables) from the electric bank PCB.
3) Remove the PCB mounting screws (round head screw with washer, M3 L=8) to replace the
PCB.
4) Reassemble the components in the reverse order of disassembly.
40084914
Bank PCB box assembly
SL6030892TN
Hexagon socket head
cap bolt with washer
M3 L=8
40047311
Front panel
SL4030881SC
Round head screw
with washer M3 L=8
40047552
Electric bank PCB
assembly
Figure 8-3-3-1 Bank PCB Box
Rev. 1.00