CHAPTER 11
Installation Overview
•
Installing and Connecting an ACX1000 or ACX1100 Router Overview on page 97
•
Unpacking an ACX1000 or ACX1100 Router on page 98
•
Parts Inventory (Packing List) for an ACX1000 and ACX1100 Router on page 99
•
Installing the ACX1000 or ACX1100 Mounting Brackets on page 100
•
Installing the ACX1000 or ACX1100 Router in the Rack on page 101
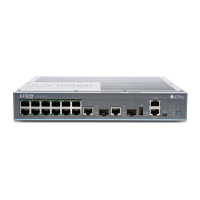
Installing and Connecting an ACX1000 or ACX1100 Router Overview
To install and connect an ACX1000 or ACX1100 router:
1. Unpack the router and verify the parts received. See “Unpacking an ACX1000 or
ACX1100 Router” on page 98.
2. Install the mounting hardware for your rack or cabinet. See “Installing the ACX1000
or ACX1100 Mounting Brackets” on page 100.
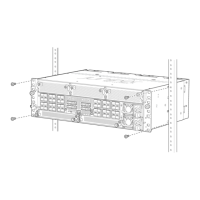
3. Install the router. See “Installing the ACX1000 or ACX1100 Router in the Rack” on
page 101.
4. Ground the router. See “Connecting the ACX1000 or ACX1100 Router to Earth Ground”
on page 103.
5. Connect power to the router.
•
AC-powered models—See “Connecting AC Power Cords to the ACX1100 Router”
on page 107.
•
DC-powered models—See “Connecting DC Power Cables to the ACX1000 or
ACX1100 Router” on page 105.
6. Connect the router to external devices. See:
•
Connecting ACX1000 or ACX1100 Routers to Management Devices on page 109
•
Connecting the ACX1000 or ACX1100 Router to an External Alarm-Reporting Device
on page 111
97Copyright © 2017, Juniper Networks, Inc.
 Loading...
