5. Slide the transceiver until the connector is seated in the component slot. If you are
unable to fully insert the transceiver, make sure the connector is facing the right way.
6. Close the ejector handle of the transceiver.
7. Remove the rubber safety cap from the transceiver and the end of the cable. Insert
the cable into the transceiver.
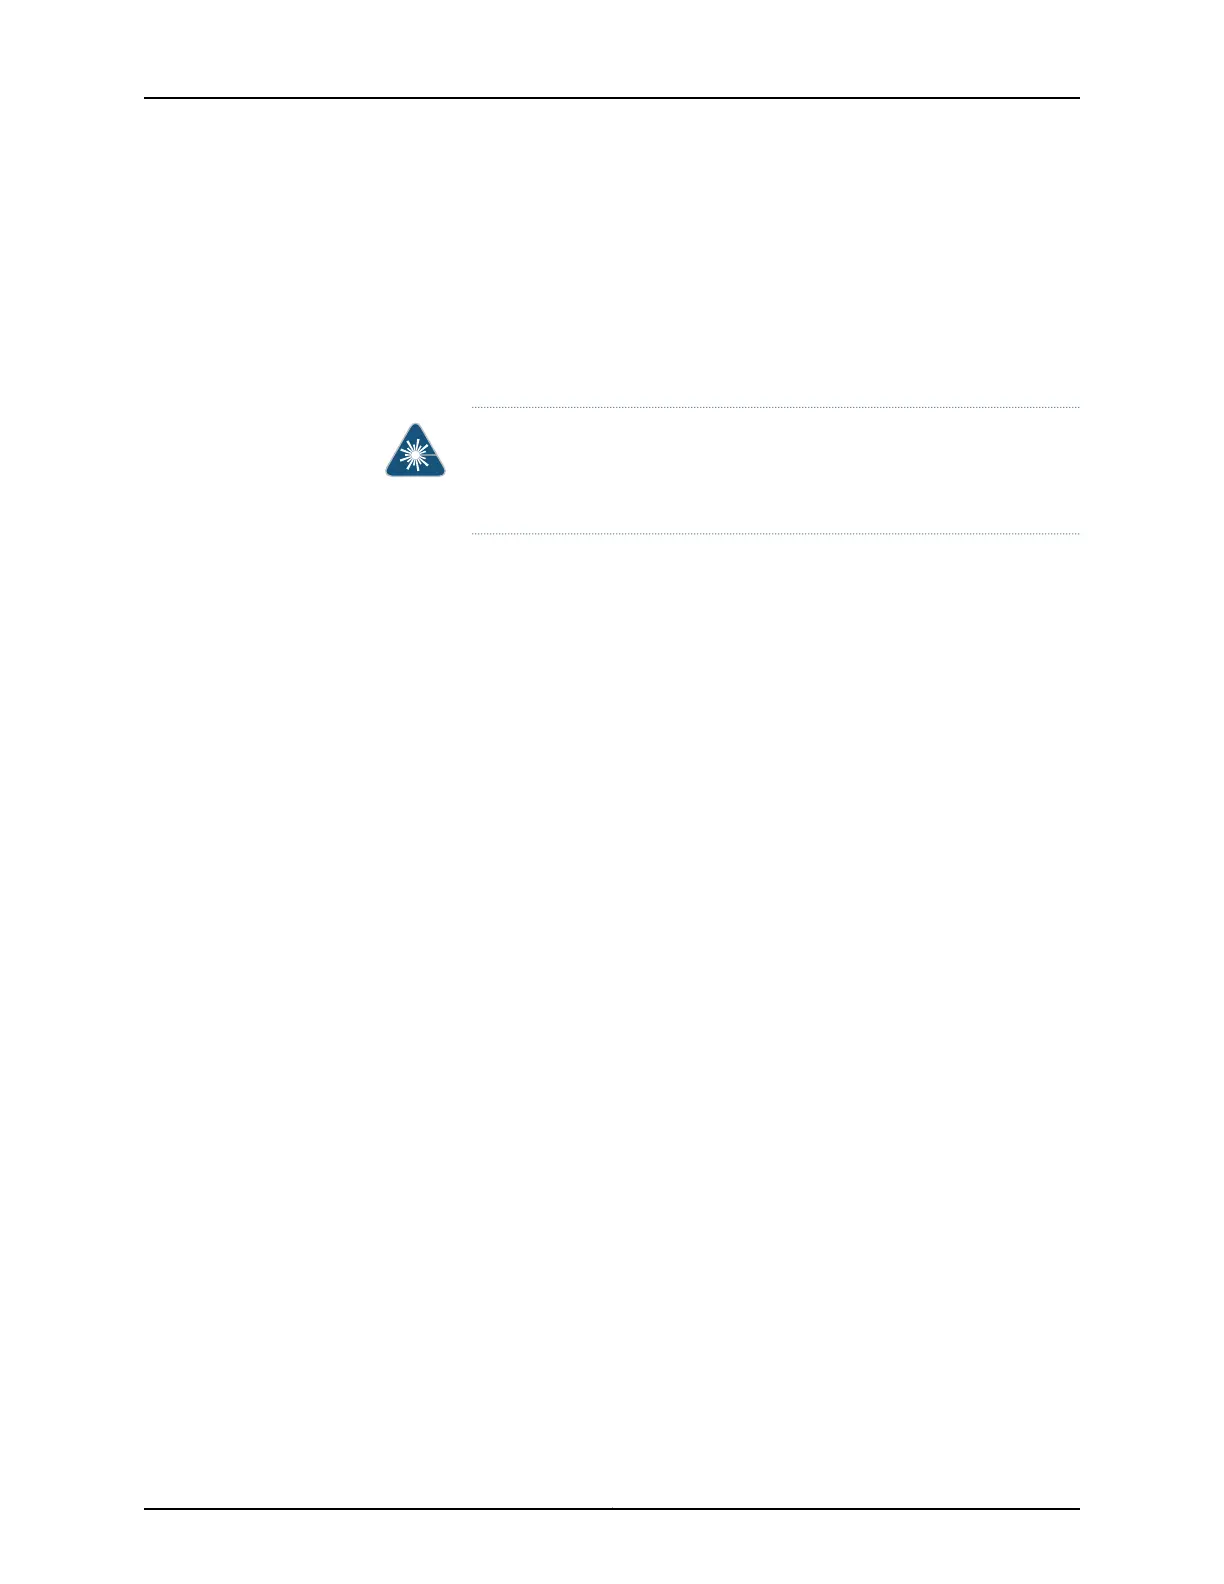
WARNING: Do not look directly into a fiber-optic transceiver or into the
ends of fiber-optic cables. Fiber-optic transceivers and fiber-optic cable
connected to a transceiver emit laser light that can damage your eyes.
8. Verify that the status LEDs on the front panel indicate that the transceiver is functioning
correctly. For more information about the component LEDs, see the “LEDs on ACX1000
and ACX1100 Routers” on page 35.
127Copyright © 2017, Juniper Networks, Inc.
Chapter 16: Installing and Replacing Components