NOTE:
•
If you are installing multiple devices in one rack, install the lowest one first
and proceed upward in the rack.
•
Ensure that the rubber feet from the base of the chassis are removed for
rack installation.
To install the device in a rack:
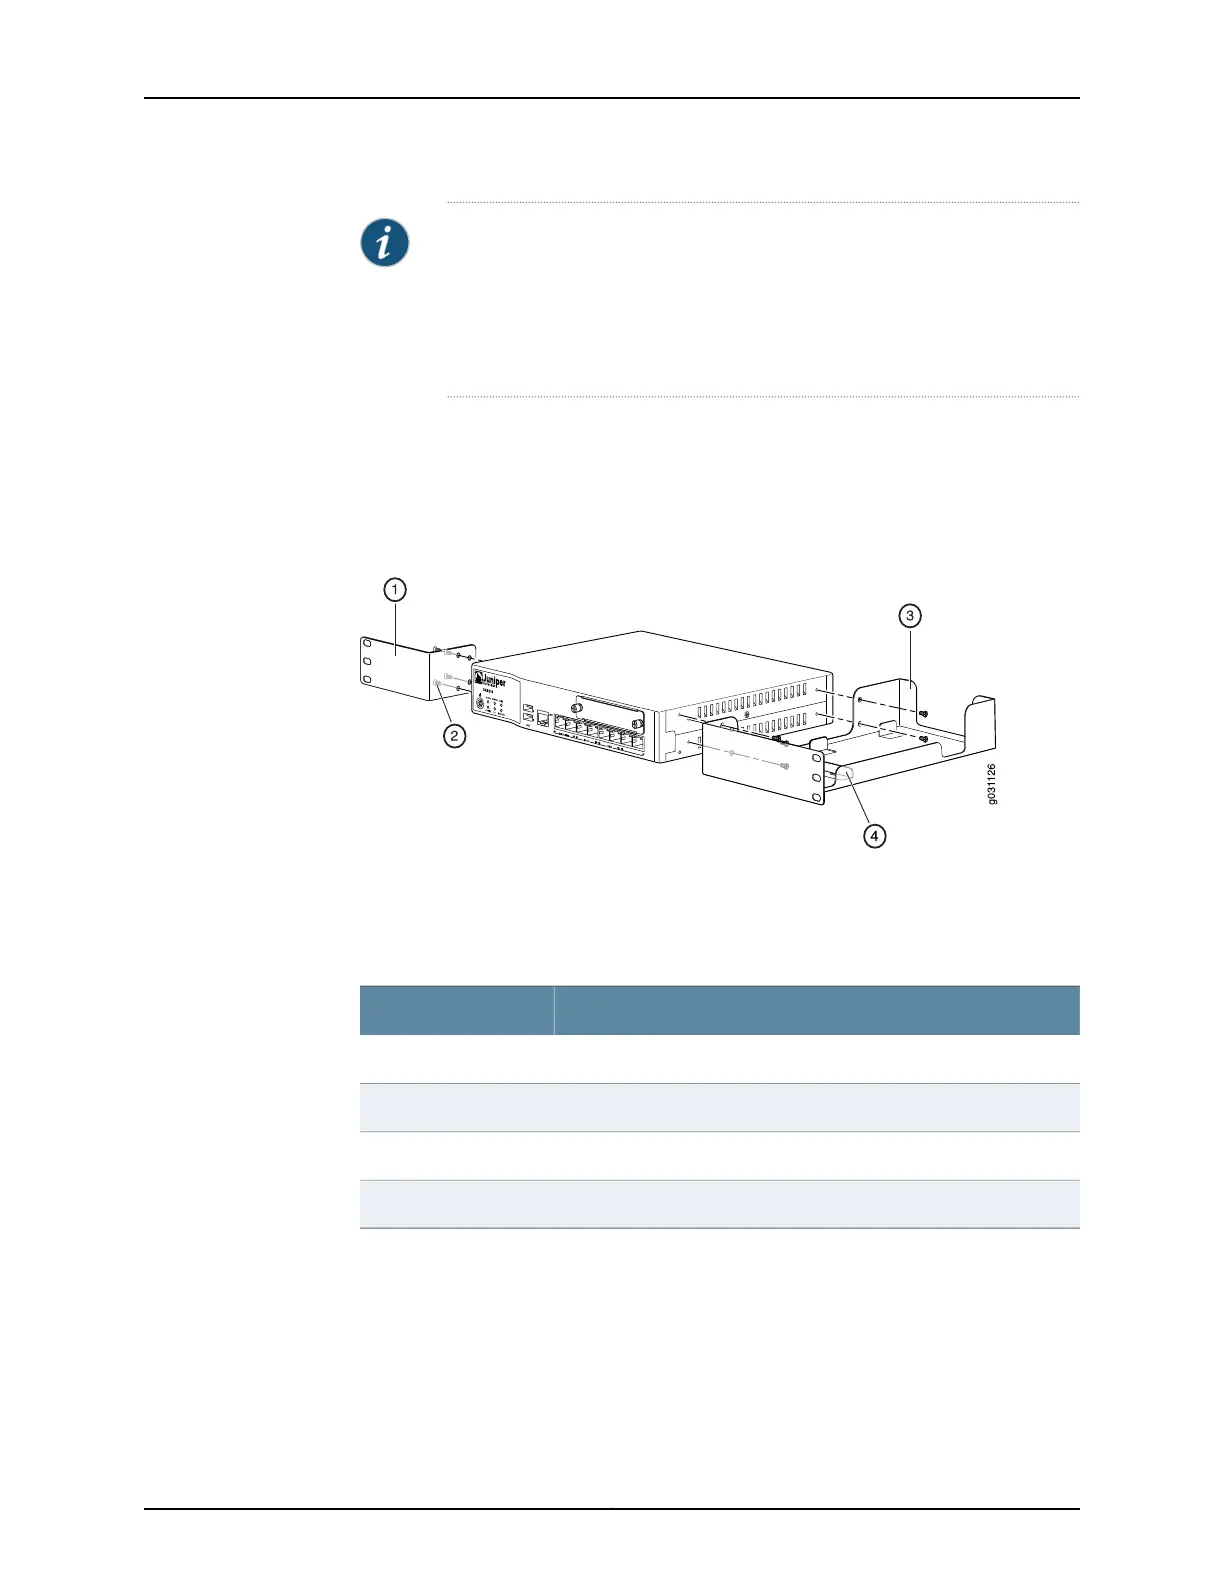
1. Position a mounting bracket on each side of the chassis as shown in Figure 16 on
page 96.
Figure 16: SRX210 Services Gateway Installation in a Rack — Positioning
Mounting Brackets
Table 34 on page 96 lists the parts used for installing the SRX210 Services Gateway
on the rack. The numbers in Figure 16 on page 96 correspond to the numbers in Table
34 on page 96.
Table 34: SRX210 Services Gateway Rack Installation Parts
PartNumber
Mounting brackets1
Screws (mounting bracket)2
Power supply adapter tray3
Adapter stopper bracket4
2. Use a number-1 Phillips screwdriver to install the screws that secure the mounting
brackets and power supply adapter tray to the chassis as shown in Figure 17 on page 97.
Copyright © 2012, Juniper Networks, Inc.96
SRX210 Services Gateway Hardware