General Maintenance 53
Reconnect cylinders to the packer. To do so, reverse the procedure entitled “Disconnecting the
Packer - Std. Units (Method B)” on page 35.
Then go to Step 19.
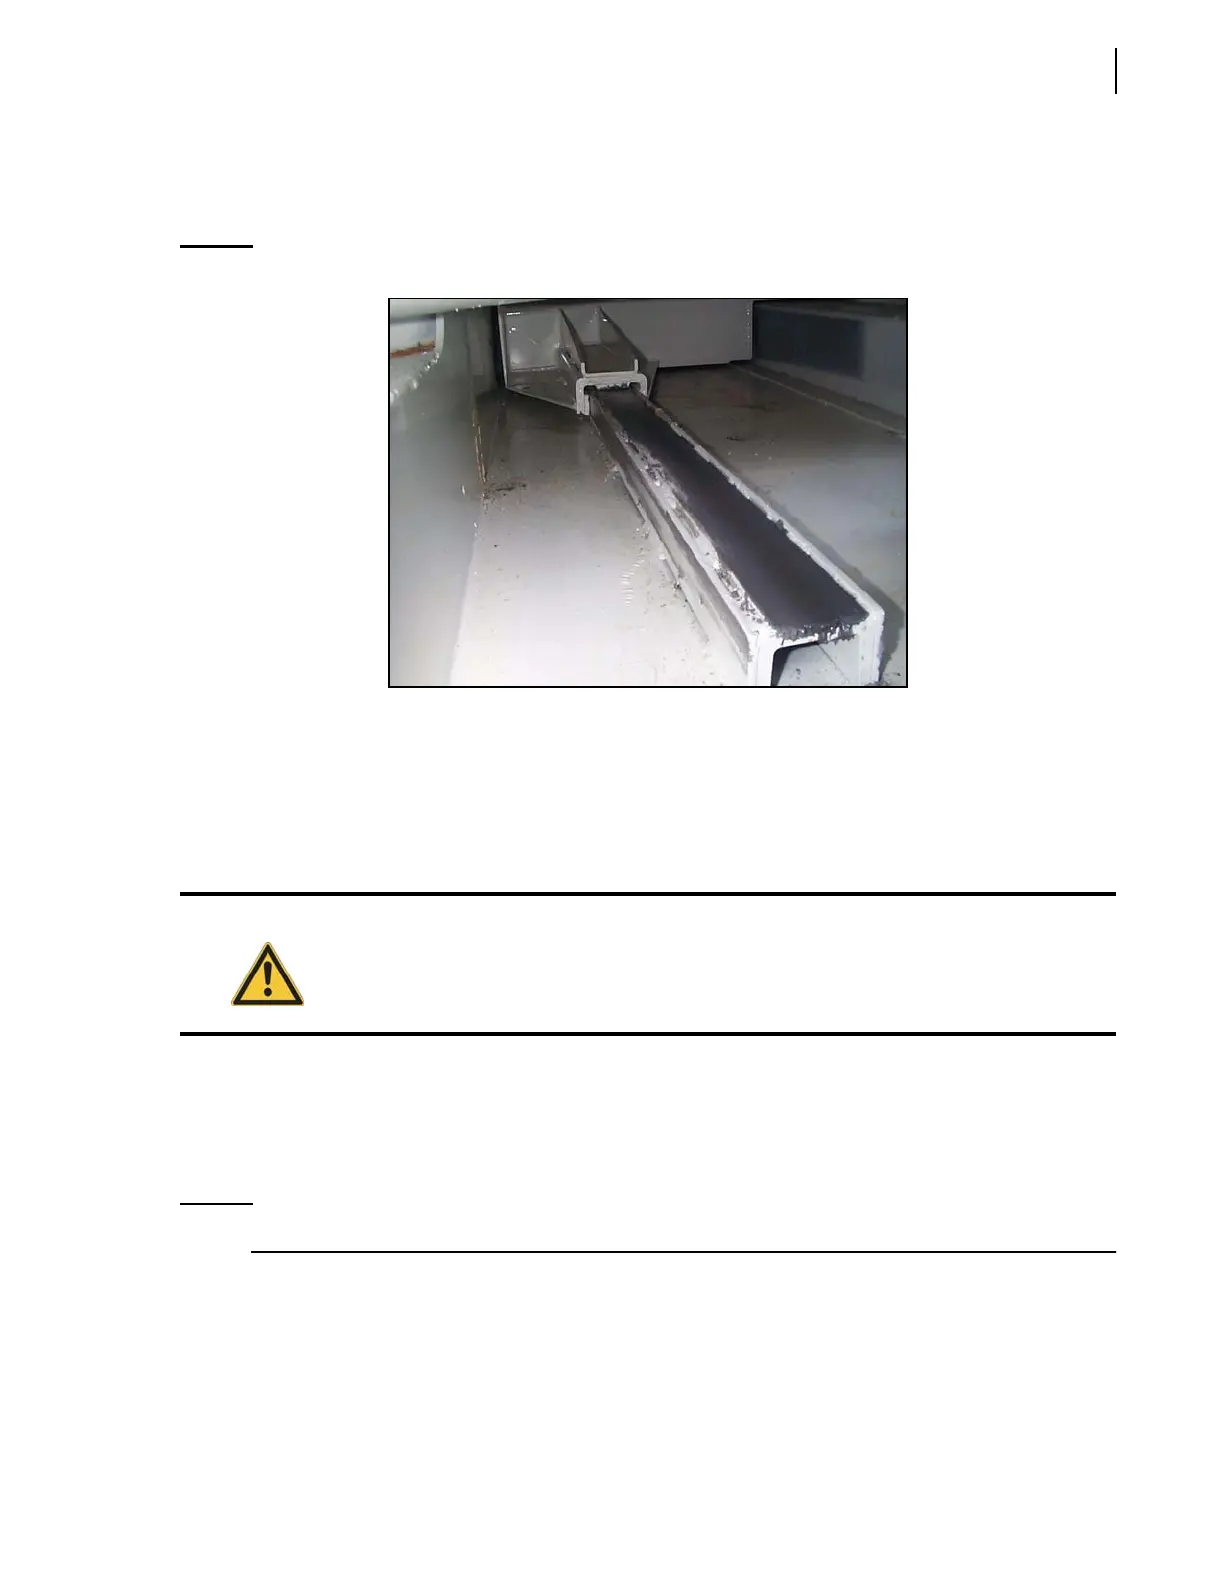
Figure 3-43
Packer sitting on floor guide
10. Install the new sliding shoes on the packer.
11. Weld a tube on both floor guides at the same position in relation to the packer.
12. Exit the hopper.
13. Start the truck and engage the hydraulic pump.
14. Slowly extend the packer to make the sliding shoe go under the packer.
15. When the sliding shoes are back in place, turn OFF the hydraulic pump and the engine.
16. Lock out and tag out the vehicle (see Locking Out and Tagging Out the Vehicle on page 12).
17. Put back and tighten all retaining bolts.
18. Remove the tubes that were installed in Step 11, then grind down to a smooth surface.
NOTE: If the wear pads at the top of the packer need to be replaced, see Upper Wear Pads on page 56.
19. Start the truck and engage the hydraulic pump.
20. Extend the packer.
21. Turn OFF the hydraulic pump and the engine.
22. Lock out and tag out the vehicle (see Locking Out and Tagging Out the Vehicle on page 12).
23. Align the packer with the hopper walls.
Danger!
Never enter the hopper while the packer is moving.