327
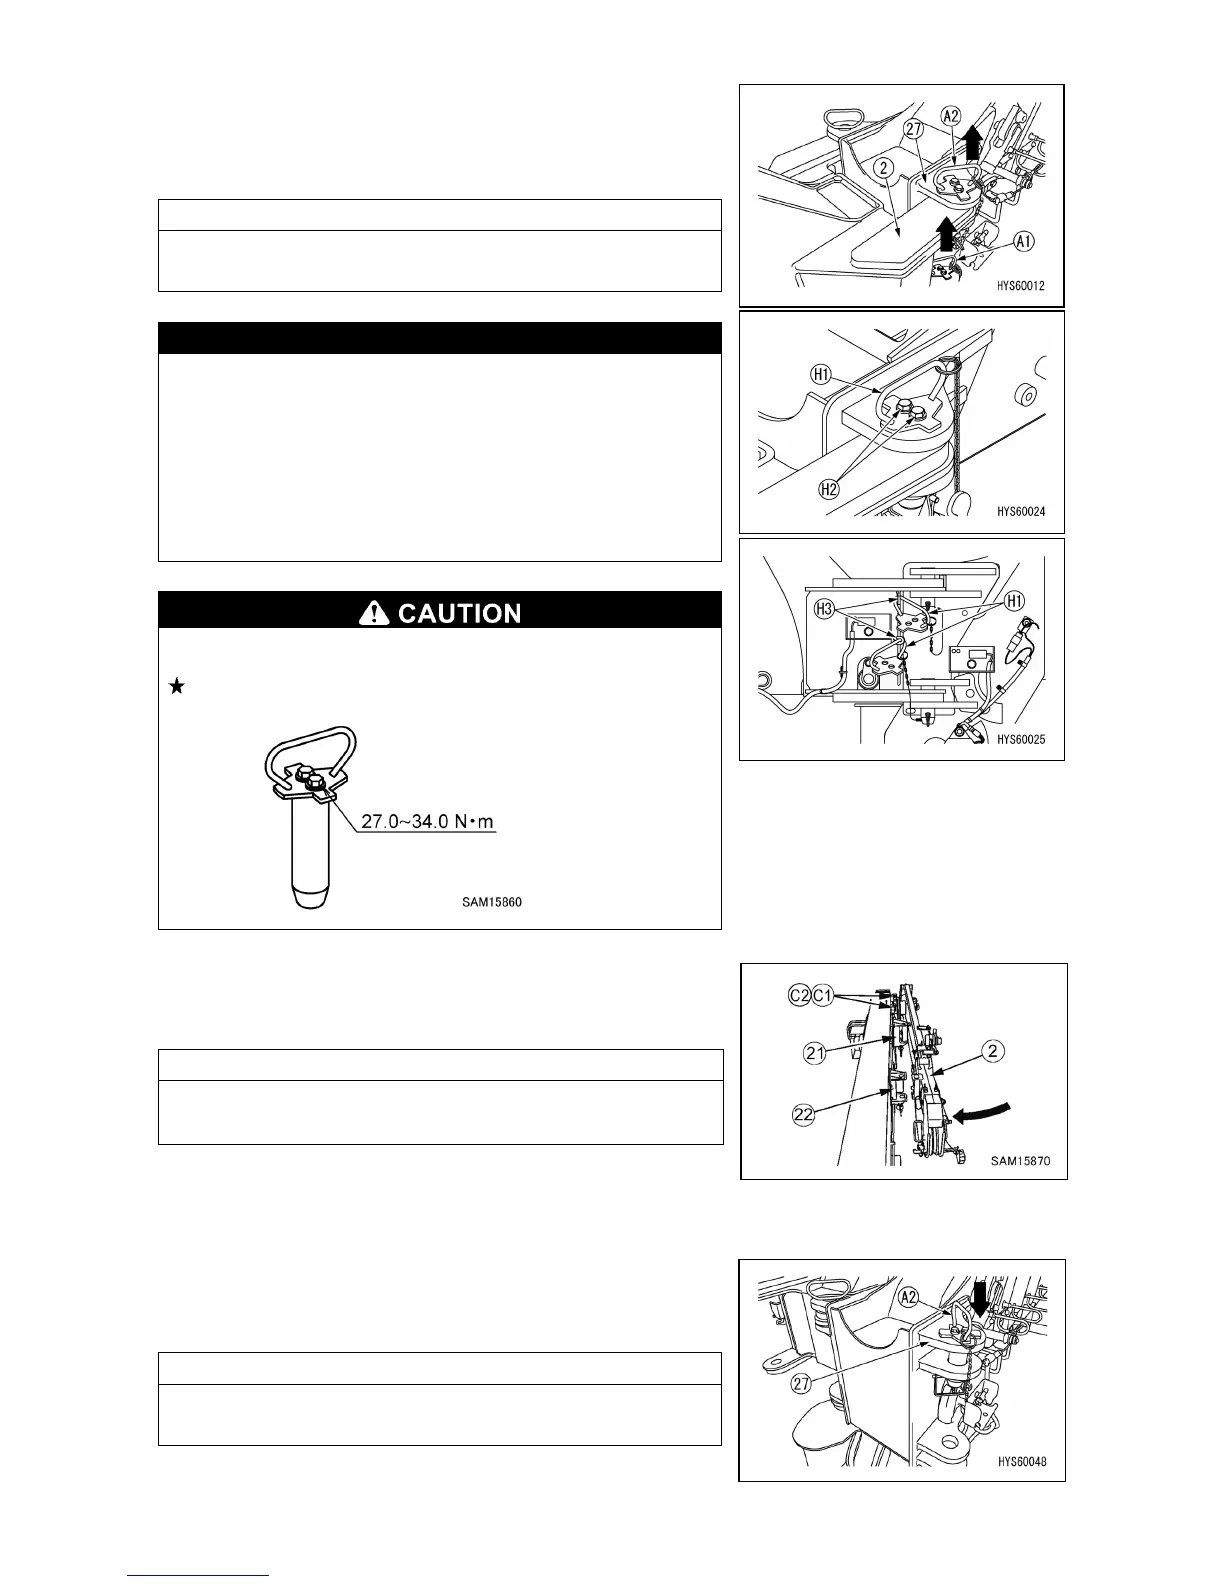
4. Remove linchpins of the position pins (A1, A2) installed in the
holes (C, D) of the bracket (27) on the left side of the main
boom tip and pull out the position pins (A1, A2) from the holes
of the bracket (27).
・ The removed position pins (A1, A2) will be
fixing and stowage of the Fly-jib.
If the position pins (A1, A2) cannot be pulled out, pull them
out by following the procedure below.
(1) Remove the bolt (H2) fixing the handle (H1) with the
linchpins left attached.
(2) Hang the removed handle (H1) on the hook (H3).
(3) The pins fall and are removed when the Fly-jib tip is
When removing the handle (H1), be sure to fasten it to the
main body of the pins to the specified torque.
Tightening torque: 27.0 – 34.0 N
m
5. Turn the No.1 Fly-jib (2) around the position pins (C1, C2) on
the right side of the Main boom tip and stow it into the Fly-jib
bracket A (21) on the side face of the Main boom.
When rotating the No. 1 Fly-jib (2), pull its tip. When the No.1
Fly-jib (2) turns too rapidly, hold it to stop turning.
6. Adjust the connection hole of No.1 Fly-jib (2) and hole of
Fly-jib bracket A (21) .
7. Insert the position pin (A2) into the bracket (27) on the left side
of the Main boom tip. At this time, be sure to turn over the ring
of the linchpin to lock securely.
The position pin (A1) is used later for fixing the Fly-jib.
 Loading...


