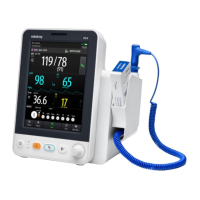
User Screen
5-7
The [View Other Patient] window covers the lower part of the waveform area and consists
of:
1. Information Area: shows the patient information (including department, bed number,
patient name, etc.), network status symbol, physiological/technical alarm messages.
2. View Area: shows physiological waveforms and parameters. This area contains four
areas, two waveforms areas and two parameter areas. You can switch a waveform area
to a parameter area by selecting your desired waveform area and then selecting
[Switch to Parameter Area], or switch a parameter area to a waveform area by
selecting your desired parameter area and then selecting [Switch to Waveform Area].
3. Care Group: shows the bedside monitors you select for viewing through the [View
Other Patient] window. The color a bedside monitor appears in matches its status:
Red: indicates the patient monitor is giving high-level physiological alarms.
Yellow: indicates the patient monitor is giving medium- or low-level
physiological alarms.
Blue: indicates the patient monitor is giving technical alarms.
Grey: indicates the patient monitor fails to be networked or stays in the standby
mode.
You can view a patient monitor’s alarms by selecting it from the care group, and
furthermore, you can select the [View This Patient] button to view this patient
monitor in the [View Other Patient] window.
4. Message Area: shows physiological, technical and prompt messages from the currently
viewed patient monitor. By selecting this area, you can enter the [Alarm Information
List].
Additionally, you can change a waveform or parameter for viewing. To change a waveform
for viewing, select the waveform segment where you want a new waveform to appear and
then select the waveform you want from the popup menu. To change a parameter for
viewing, select the parameter window where you want a new parameter to appear and then
select the parameter you want from the popup menu.
 Loading...


