System Preparation 3-7
Drivers of some HP printers have already been integrated in the system, and will be installed
automatically. If the auto-installation fails, a warning icon will display on the right lower
corner of the screen. You need to install the printer driver manually:
a) Download the ppd file from the printer’s official website (contact R&D engineer
if necessary), and copy the ppd file to the storage device (USB disk as an
example).
b) Connect the USB disk to the ultrasound system, run the ppd file and finish the
installation.
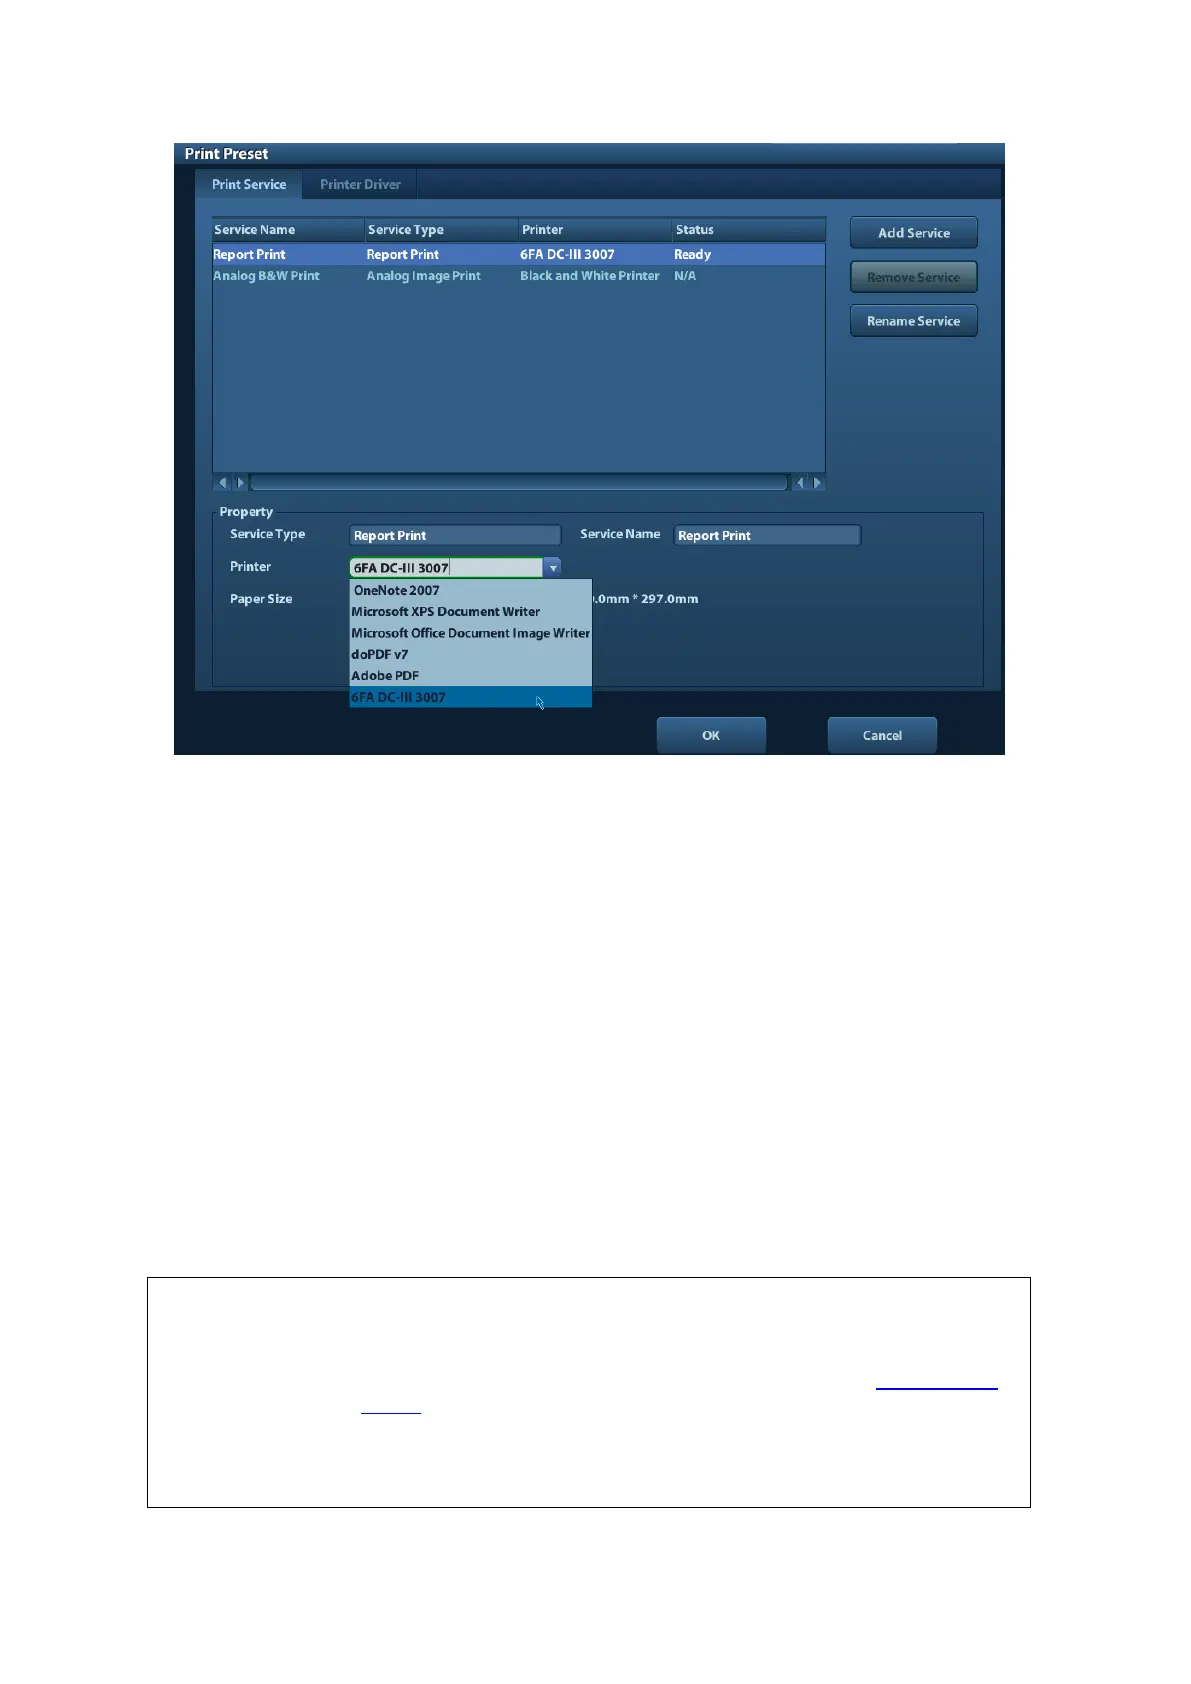
5. Select the printer after installation, and set the Properties.
6. Click [OK] to finish.
◼ Add network printer
1. As the system is connected into a LAN, open [Setup]-> [Printer Preset]-> [Printer Driver]
screen.
2. Click [Add Network Printer], and input information of the printer (IP Address, Shared
Printer Name, User name, Workgroup and Password).
3. After successful connection, return to Printer Driver page, and the printer name will be
listed on the page.
Before connectting the network printer, make sure the ultrasound system
and the printer are in the same network domain, and the network is
working normally.
The IP address and the server name should be valid, e.g. \\10.2.40.123
or \\5-HP, otherwise, the system will fail to connect.
If the server has set accessing limitation, the system will prompt a
dialogue box to identify the user. Enter the correct user name, domain
name and password, and then click [OK].