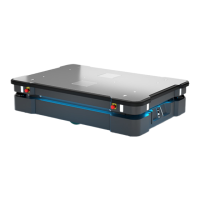
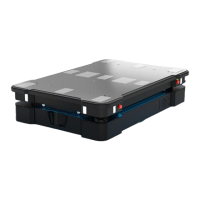
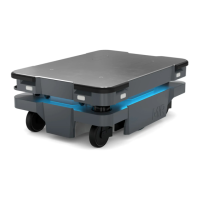
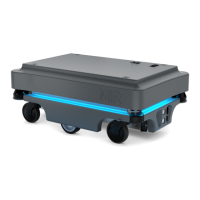
7. Battery and charging
MiR600 User Guide (en) 08/2021 - v.1.0 ©Copyright 2021: Mobile Industrial Robots A/S. 68
7. Battery and charging
The robot is powered by a lithium battery that can be charged with a MiR cable charger or a
MiRCharge48V charging station.
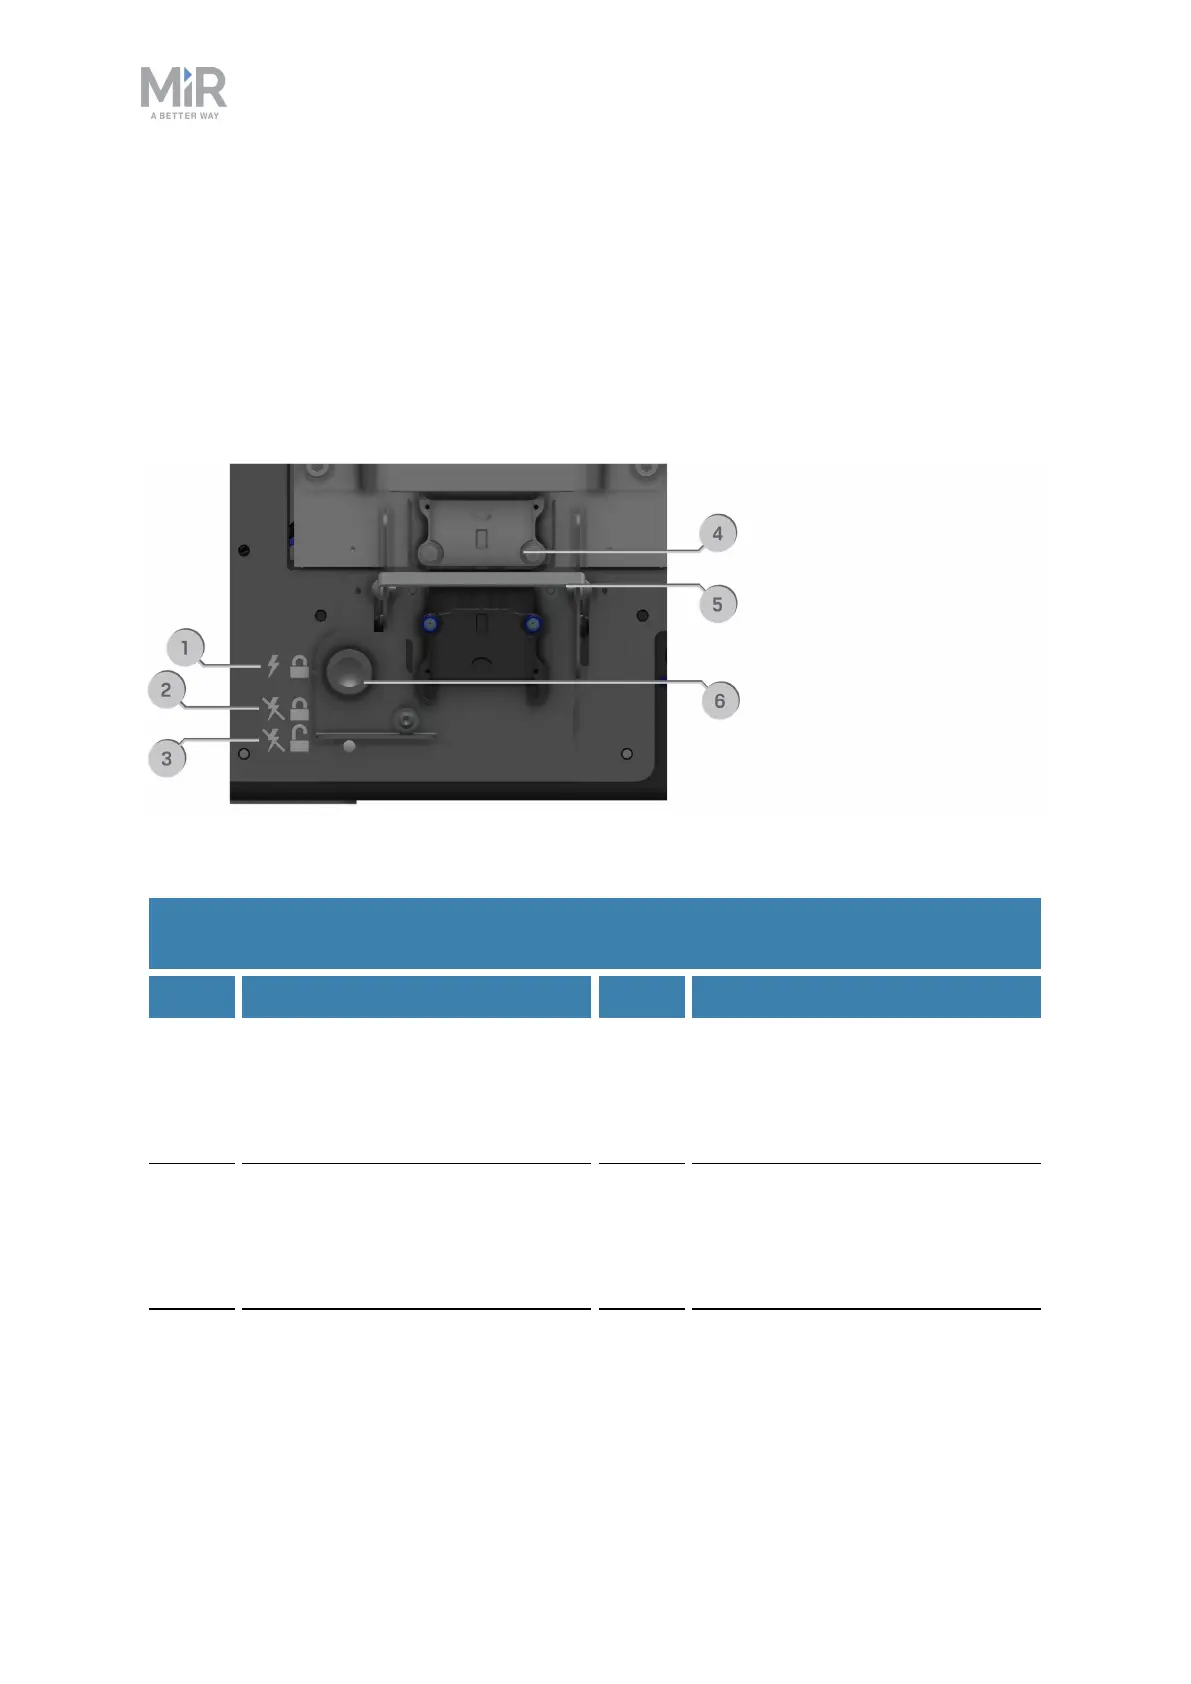
Table 7.1 identifies the main components of the battery fast-swap assembly and describes
the three different positions the assembly can be set to.
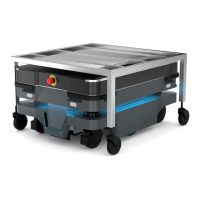
Figure 7.1. The main components of the Fast-swap battery assembly.
Pos. Description Pos. Description
1 Top position: The battery is
locked and connected. Use this
position when you want to
operate the robot.
2 Center position:The battery is
locked and disconnected. Use
this position when servicing or
transporting the robot.
3 Bottom position:The battery is
unlocked and disconnected. Use
this position when removing the
battery from the robot.
4 Battery connector: Connects the
battery to the robot.
5 Battery lever: Used to change
between top, center, and bottom
positions.
6 Battery lock pin:Pull the pin out
to enable you to move the
Battery lever between positions.
Table 7.1.
Identification of components in Figure 7.1