37
Installation
10. Connect the ribbon cable from the main display to terminal P12 on the main board.
11. Connect the microphone cable to terminal TS15 and TS18 on the main board.
3.2.4 Surface Mounting the BC-160
To Flush Mount the Enclosure
1. Find a suitable mounting location for the BC-160 that is next to a wall stud or supporting
structure, and a minimum of 6” below the panel requiring external battery power.
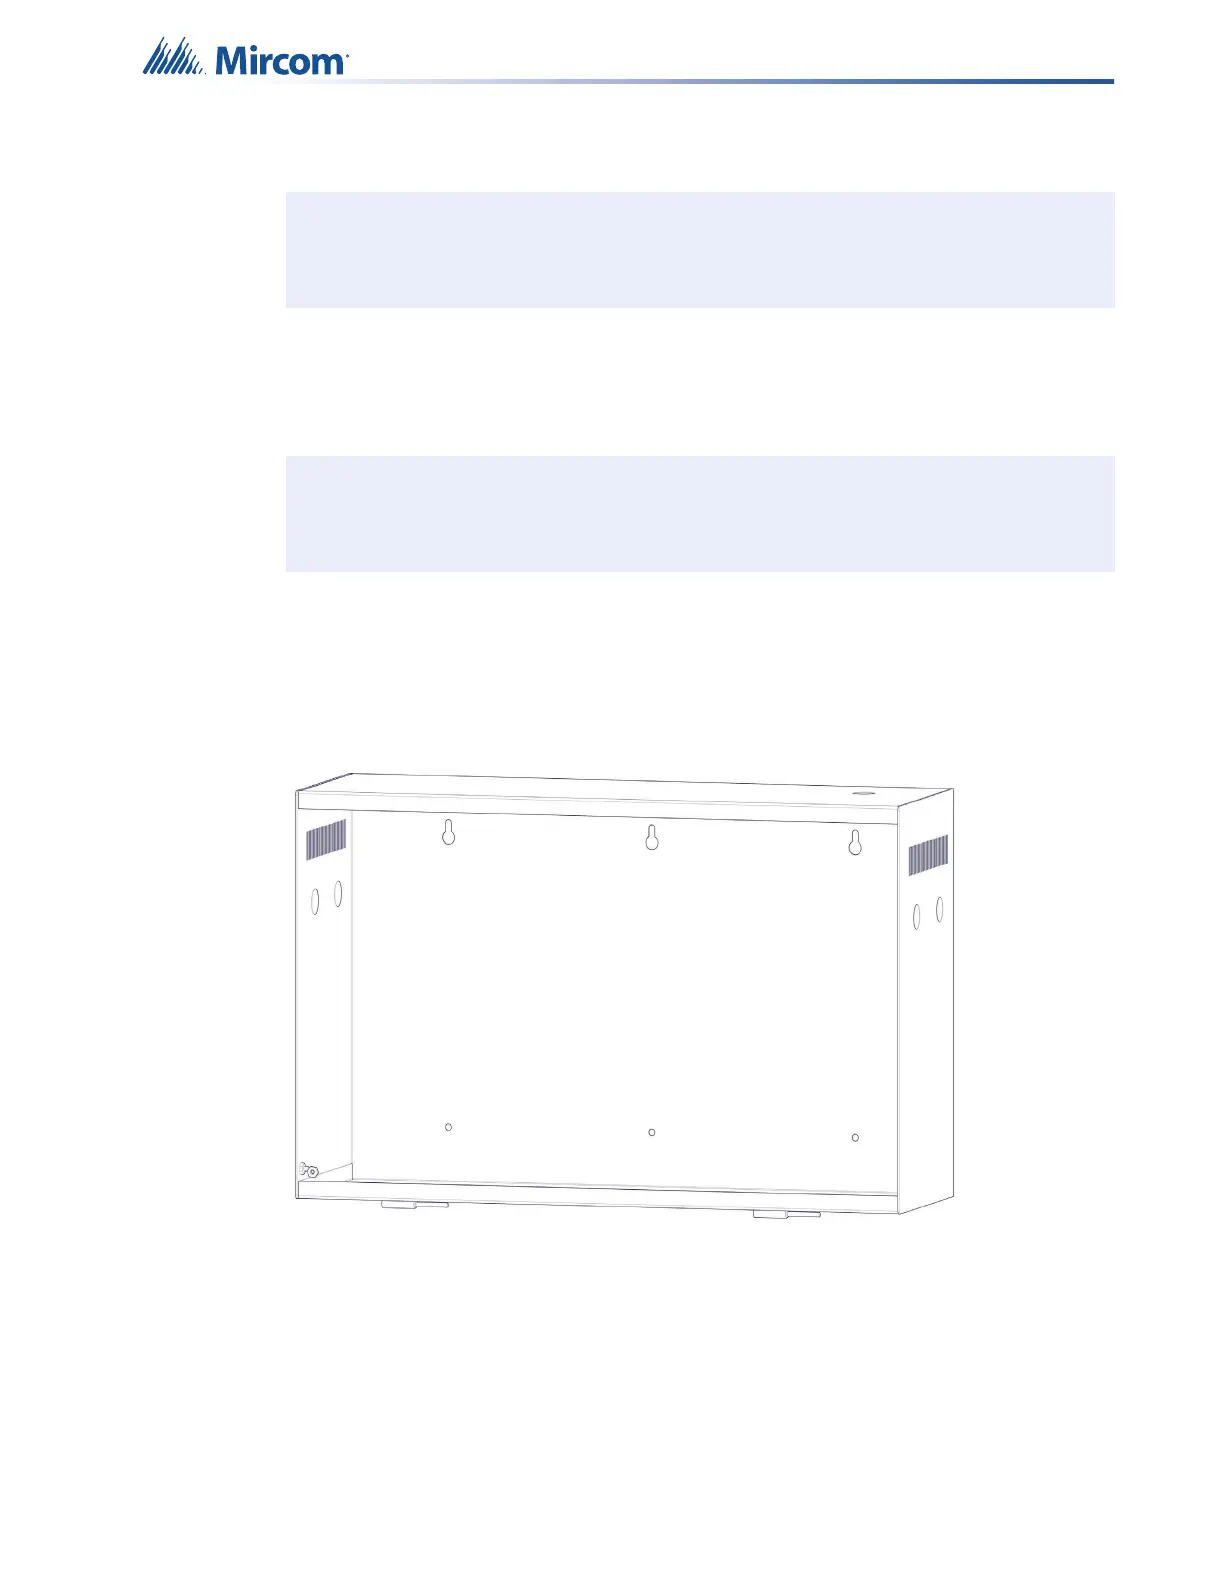
Figure 9 BC-160 cabinet
2. Align the BC-160 Cabinet's and Control Panel's knock-outs.
3. Mark an opening on the wall that matches each of the six anchoring holes and overall
dimensions of the BC-160 backbox. Ensuring that one side is aligned with the wall stud,
supporting structure, or secure mounting surface.
4. Remove necessary knockouts and attach conduit.
Note: If installing QX-mini-BP, the backbox installation is complete.
Note: BC-160 must be located within the same room as the QX-mini that it services.