40
Installation
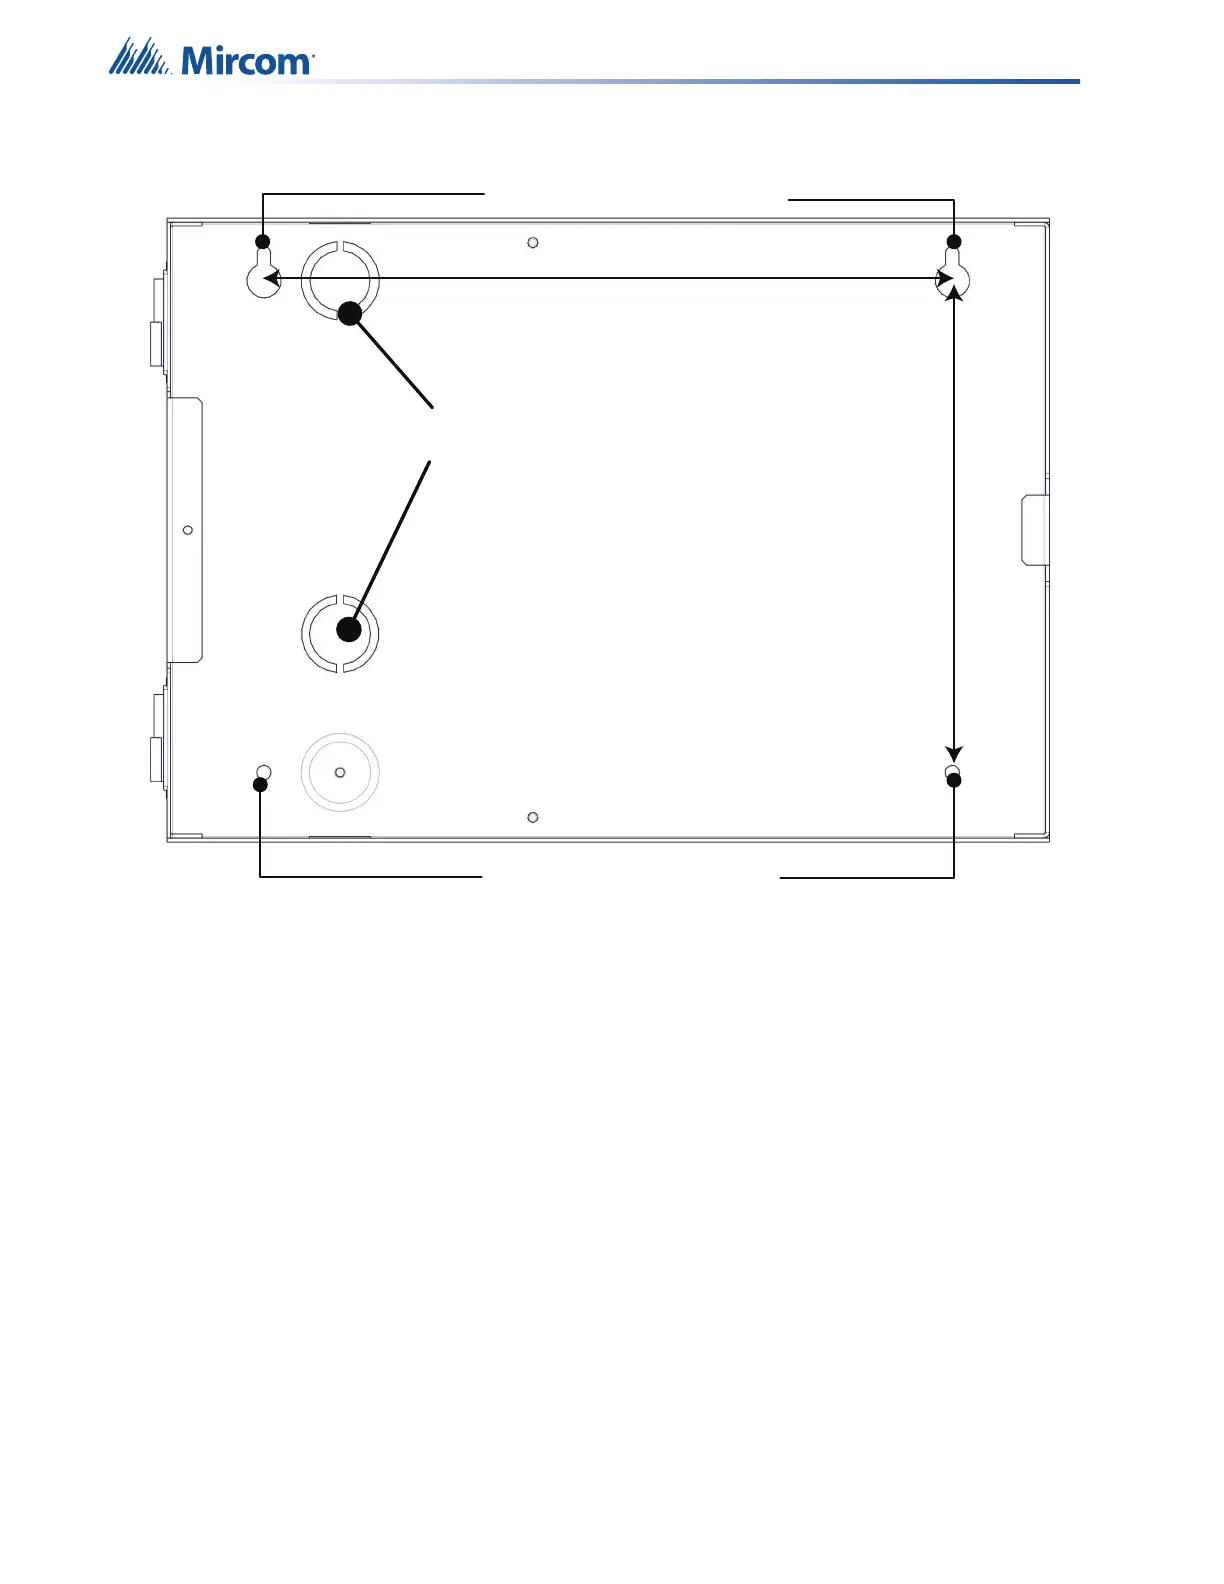
4. Mark the location of the top two mounting holes 9.95” apart on the wall.
Figure 12 QX-mini-RM mounting holes and knockouts
5. Fasten two screws halfway into the wall in the positions marked in step 4, using a
suitable screw size.
6. Hang the box onto the two screws.
7. Screw the other two screws at the bottom of the panel.
8. Tighten all four screws into place.
9. Attach the door to the chassis and then secure the ground straps to the doors using the
wingnuts removed in step 3.
10. Secure the CH-1124A PCB bracket to the backbox using the screws removed in step 2.
Screw Holes
Conduit
Knockout
Screw Holes
9.95”
7.5”