6. Tap the Save softkey to save your changes.
Set Date and Time
Configuring the Date and Time using the IP Phone UI
With a valid time server enabled your IP phone will synchronize the time displayed with the specified
configuration server. The phone will use the time from Time Server 1 unless it is not configured or
unavailable, in which case it will move on to Time Server 2, and if necessary Time Server 3.
1. Tap the Settings softkey on the phone screen to open the Settings menu.
2. Tap the (Time and Date) icon.
3. Tap the (Set Date and Time) icon.
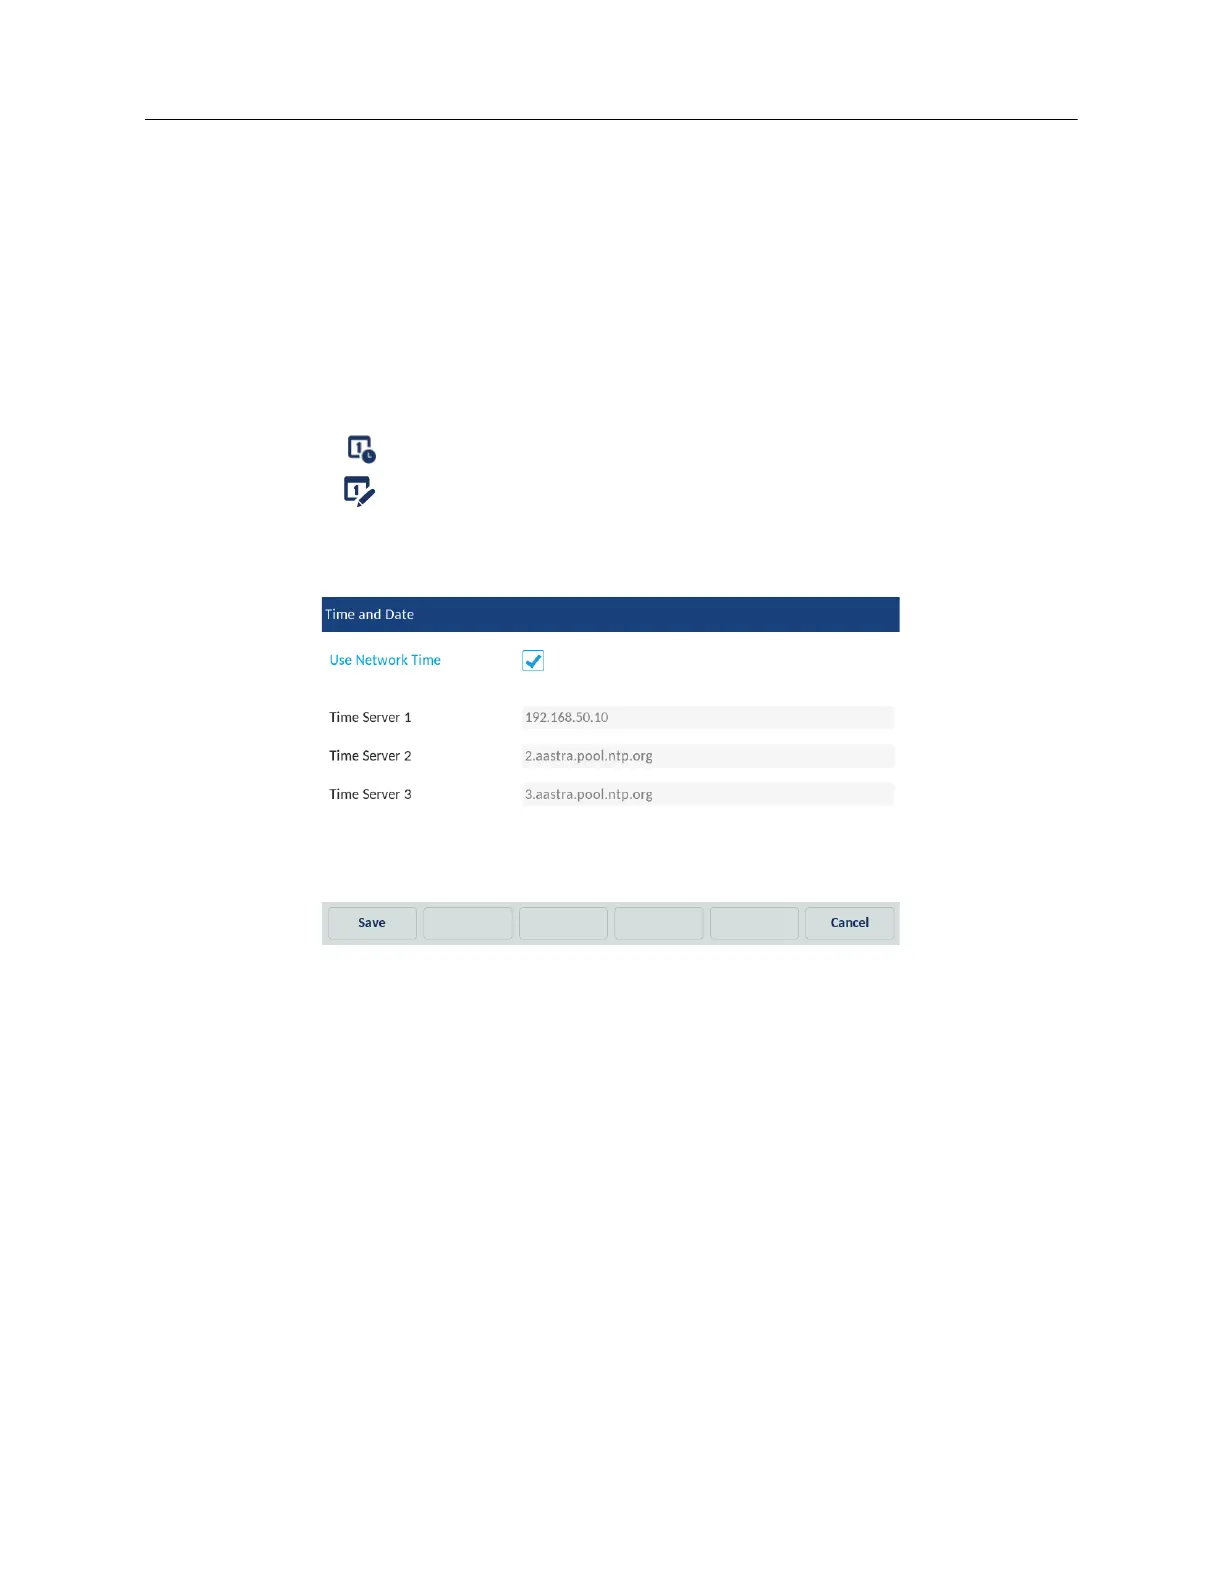
4. If you want to synchronize the time and date using a time server, ensure there is a checkmark
in the box corresponding to the Use Network Time setting. If there is no checkmark, tap the
checkbox to enable the Use Network Time setting.
a. Tap the Time Server 1, Time Server 2, or Time Server 3 field.
b. Using the on-screen keyboard, enter an IP address or domain name for the time server.