Serial interface (Modbus)
10/05 AWB8230-1541GB
148
Table 37: Technical features of the serial interface
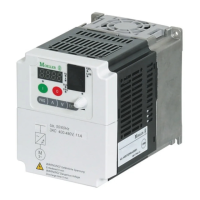
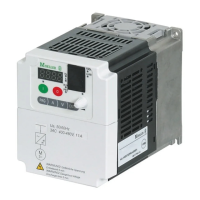
Connecting to a Modbus network
X Open the black protective cap .
X Plug the communications cable into the free RJ 45 socket .
Connect the DF51 through its RJ 45 socket, which is located
behind the keypad’s black protective cap.
Name Specification User adjustable
Baud rate (data transfer speed) 4800/9600/19200 Bit/s Yes
Communication mode Asynchronous No
Character code Binary No
LSB positioning LSB first transmission No
Data bits 8 bit (Modbus RTU mode) (ASCII mode not possible)
Parity None/even/uneven Yes
Stop bits 1 or 2 bits Yes
Data traffic starting the control (host, master) No
Communications fault (waiting time to fault
indication)
0 to 1000 ms Yes
Address Addressing from 1 to 32 Yes
Interface RS 485, differential transmission No
Connection RJ 45 socket –
Twisted pair cable Twisted, double screened cable –
Fault monitoring Overflow, test code, CRC-16, horizontal parity –
Figure 154:Plugging in the connection cable
A
RUN
PRG
Hz
PRG
ENTER
I
O
POW
ER
ALARM
1
A
RUN
PRG
Hz
PRG
ENTER
I
O
POW
ER
ALARM
h
Open the protective cap, but do not remove it.
h
No tools are required to fit and remove the optional
keypads, LED displays and plug-in adapters.
Caution!
Fit and remove the keypad, LED display or plug-in adapter
only under no volt conditions and without using force.
1
2
h
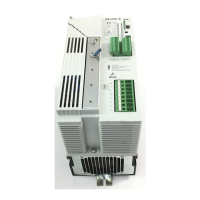
Do not connect terminals 1 to 4, 7 and 8. They are used
by the DF51 system for internal data transfer.
h
The network cable must have a bus termination resistor
(120 ohm) connected at each physical end to prevent
reflections and the resulting transmission faults.
The DF51 frequency inverter has no internal bus
termination resistor. When a DF51 is connected at the end
of a bus conductor, the bus termination must be
connected externally (pin 5 and 6). Keep in mind the
network conductor’s impedance.