1
2
3
Basic Fax Functions
Transmitting Faxes from a Computer 3-57
If you selected the shared address book or personal address book in step 9,
11
select the destinations using the check boxes, and click [Fax] to transmit via fax,
or [TO], [CC], or [BCC] to transmit via e-mail.
Click the index on top of the address book to filter the address book.•
For details on the selection method, refer to Chapter 2, “Transmitting Documents” in the •
OfficeBridge Guide.
Press [Back] to return to the screen in step 9.•
Proceed to step 15.•
If you selected LDAP searching in step 9, enter the search conditions in Search,
12
and click [Search].
For details on the searching method, refer to Chapter 2, “Transmitting Documents” in the •
OfficeBridge Guide.
Press [Back] to return to the screen in step 9.•
Specify the destinations from the search results, and click [Fax] to transmit via
13
fax, or [TO], [CC], or [BCC] to transmit via e-mail.
Proceed to step 15.
If you selected “Select User” in step 9, click [Add] after selecting the users or
14
user groups to transmit to.
For details on the selection method, refer to Chapter 2, “Transmitting Documents” in the •
OfficeBridge Guide.
Press [Back] to return to the screen in step 9.•
Repeat steps 9 to 14 to specify all the destinations.
15
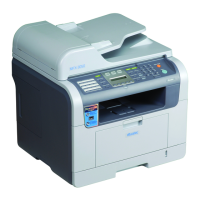
To attach a cover page, click the “
16
” for the cover page and specify the cover
page settings.
For details on the settings, refer to Chapter 2, “Transmitting Documents” in the OfficeBridge
Guide.
Click [Select Doc.] and select the document to attach and transmit a document
17
saved in a user box or shared box.
For details on selecting documents, refer to Chapter 2, “Transmitting Documents” in the
OfficeBridge Guide.
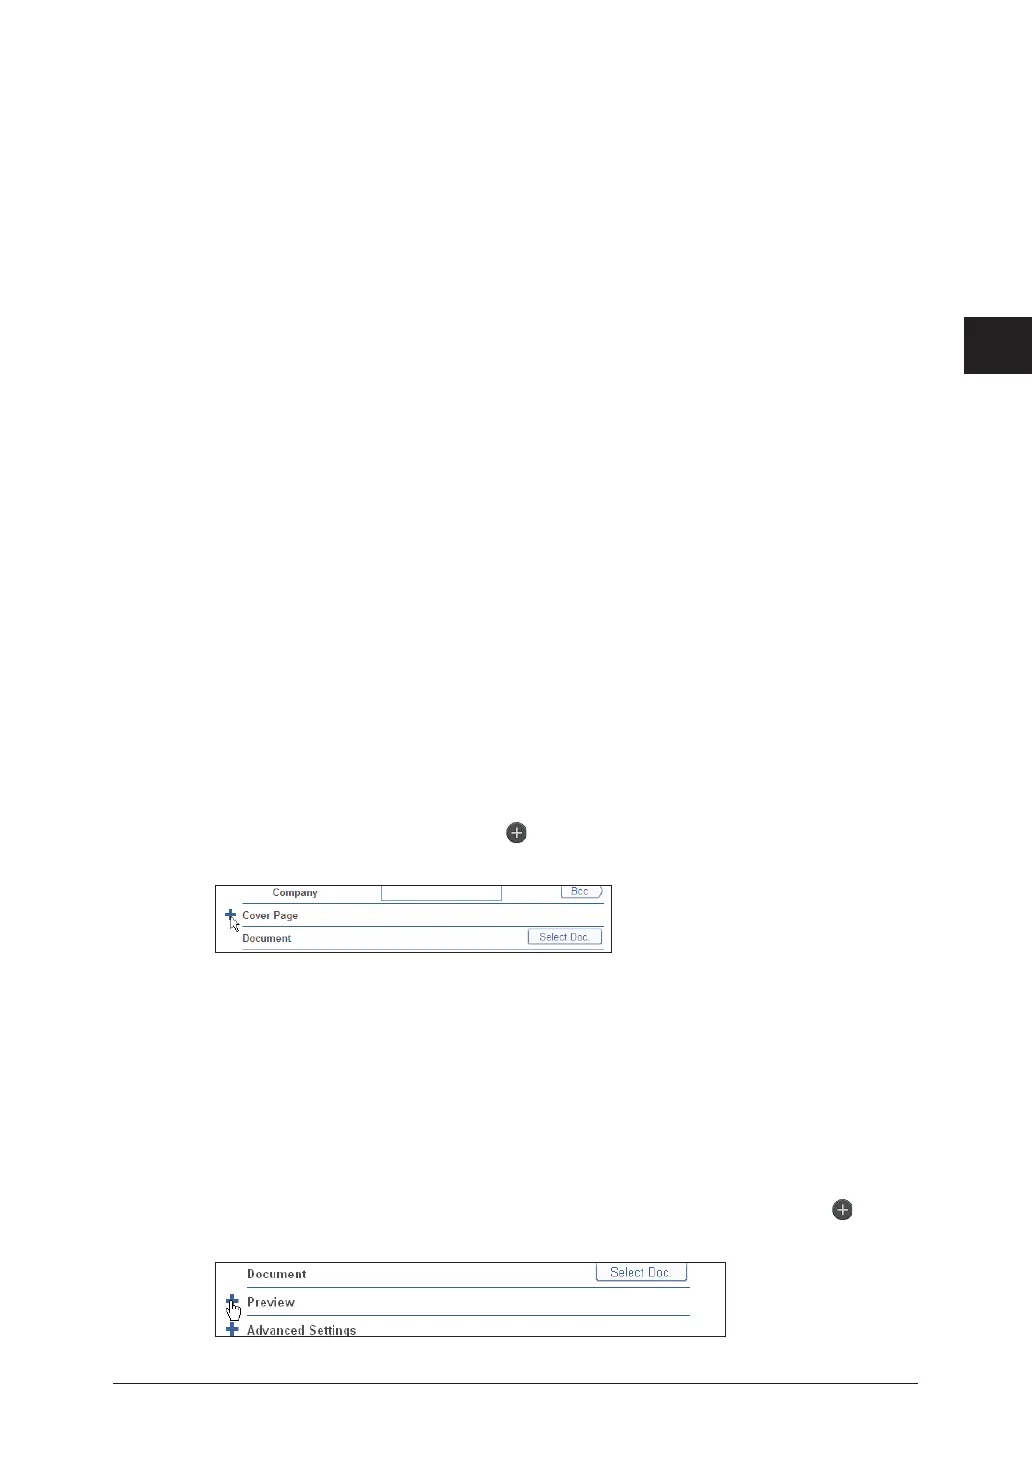
To confirm the image that will be transmitted for the document, click “
18
” for
the preview.

 Loading...